A practical kitchen ingredient bin storage guide for neat, safe, and accessible dry ingredients at home.
I’ve spent years testing pantry systems and helping friends design better kitchens, and this kitchen ingredient bin storage guide collects those tried-and-true tips. You’ll learn how to pick bins, arrange ingredients, avoid pests, and save time when cooking. Read on for clear steps, real-life examples, and easy layouts you can use today.

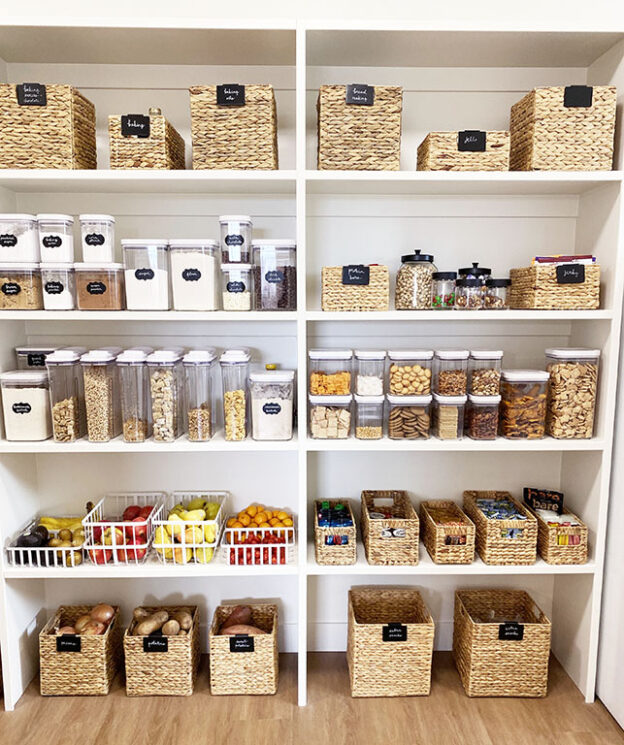
Why ingredient bin storage matters
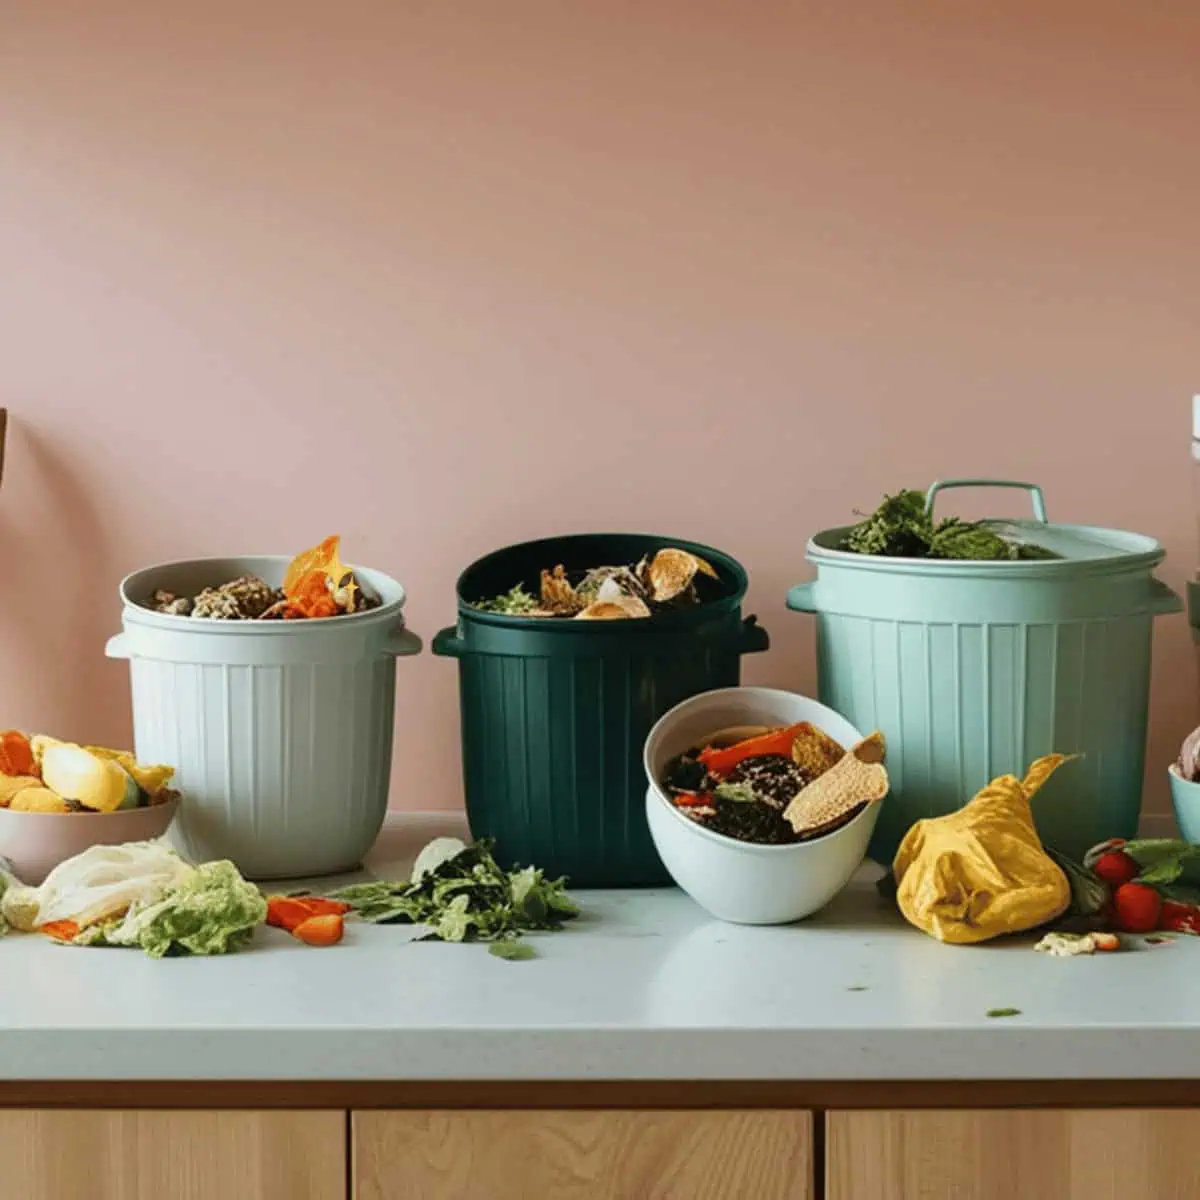
Good storage keeps food fresh, saves money, and makes cooking faster. This kitchen ingredient bin storage guide focuses on preserving flavor and preventing waste. Small changes in storage cut spoilage and reduce trips to the store. Proper bins protect against moisture, light, and pests, which all shorten shelf life.
Types of ingredient bins and containers
Choosing the right container type matters for function and look.
- Airtight canisters: Best for flour, sugar, and baking mixes. They block moisture and pests.
- Stackable plastic bins: Save shelf space and keep bulk items tidy.
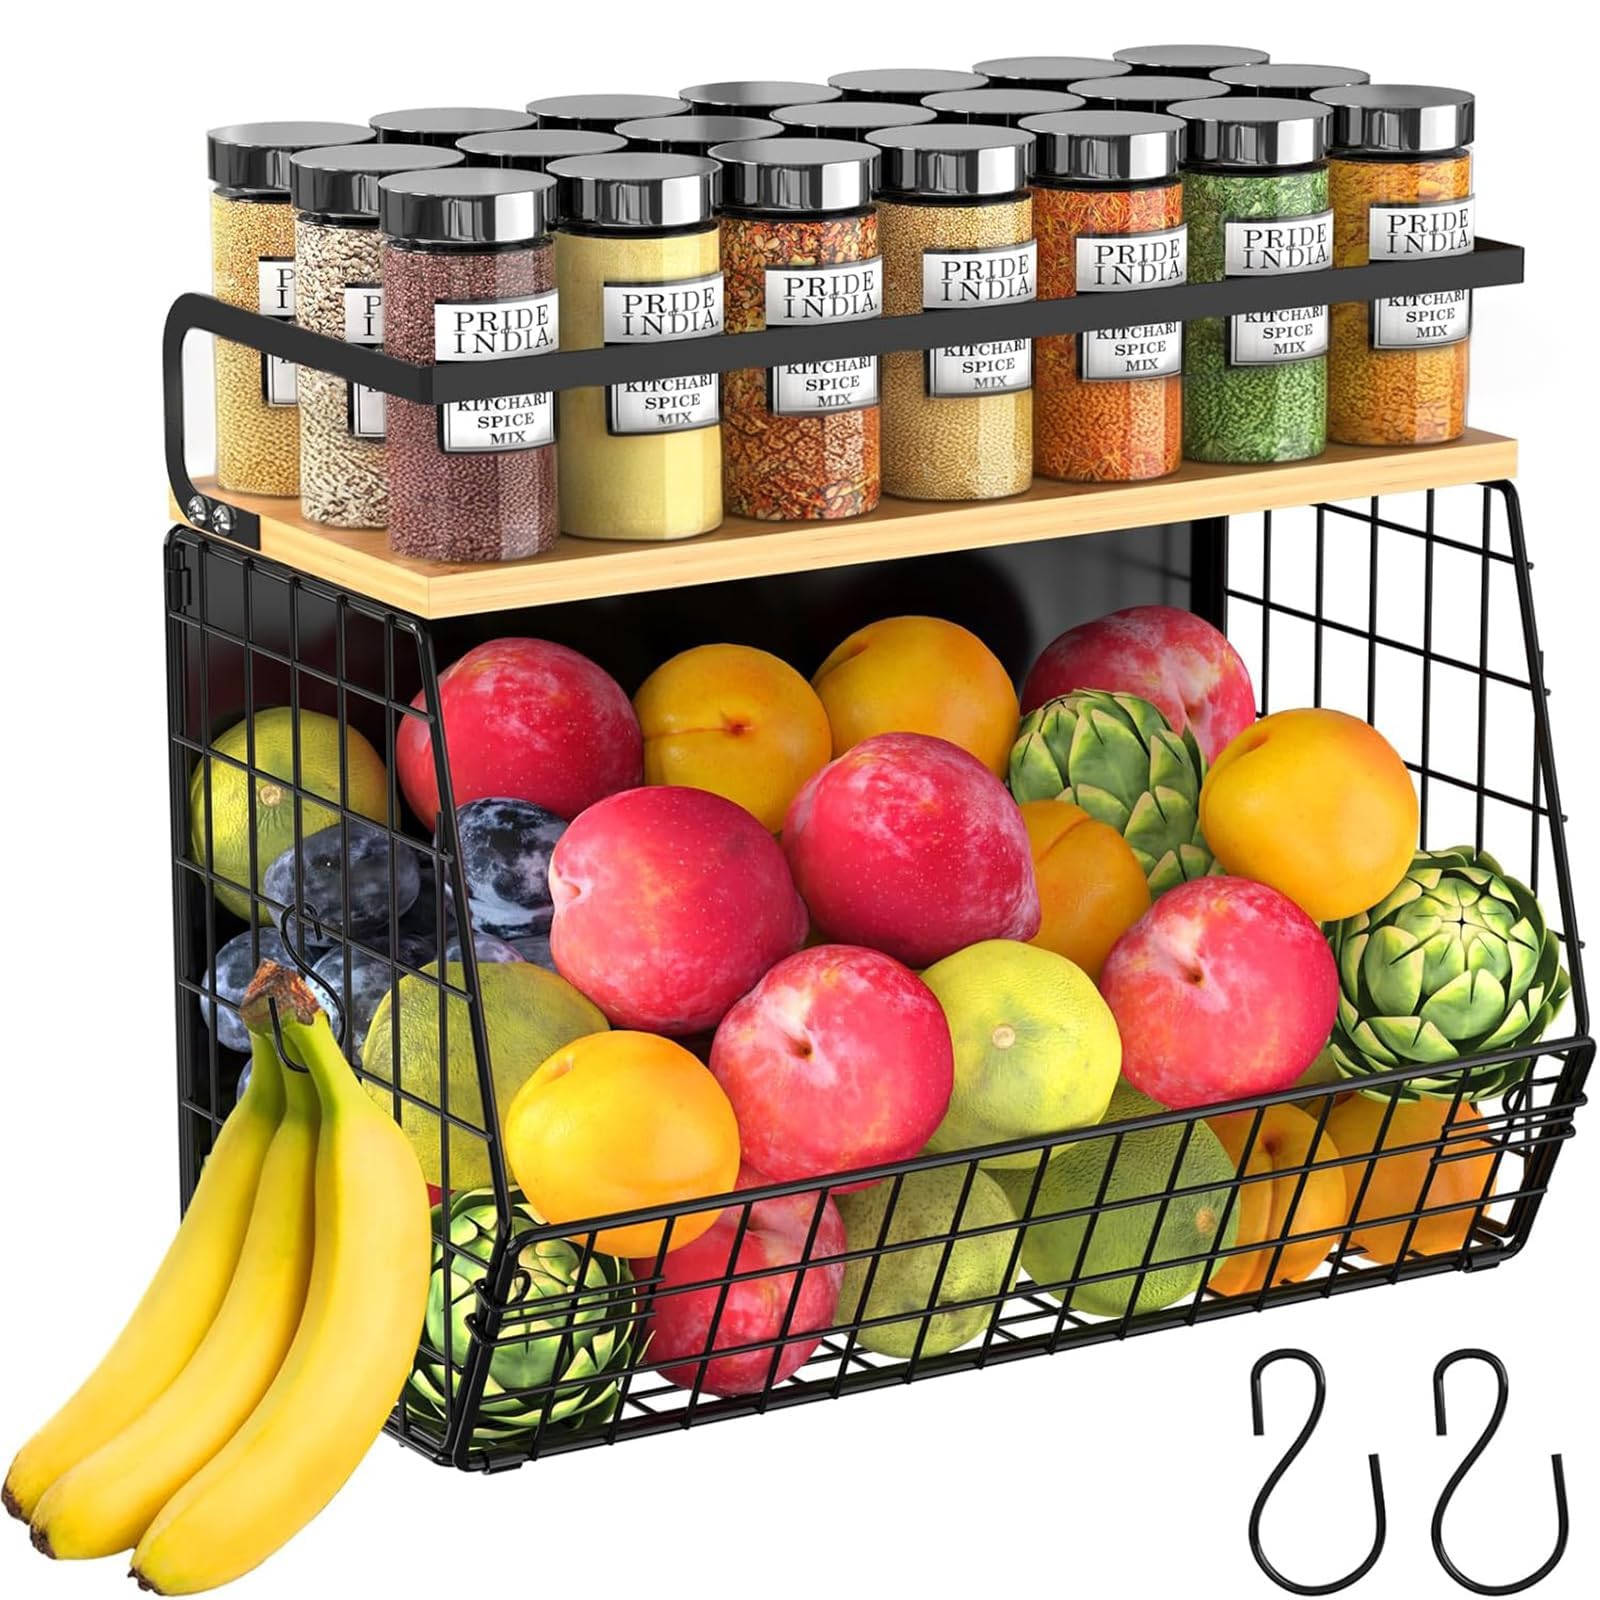
- Glass jars: Good for spices and small batches. They show contents at a glance.
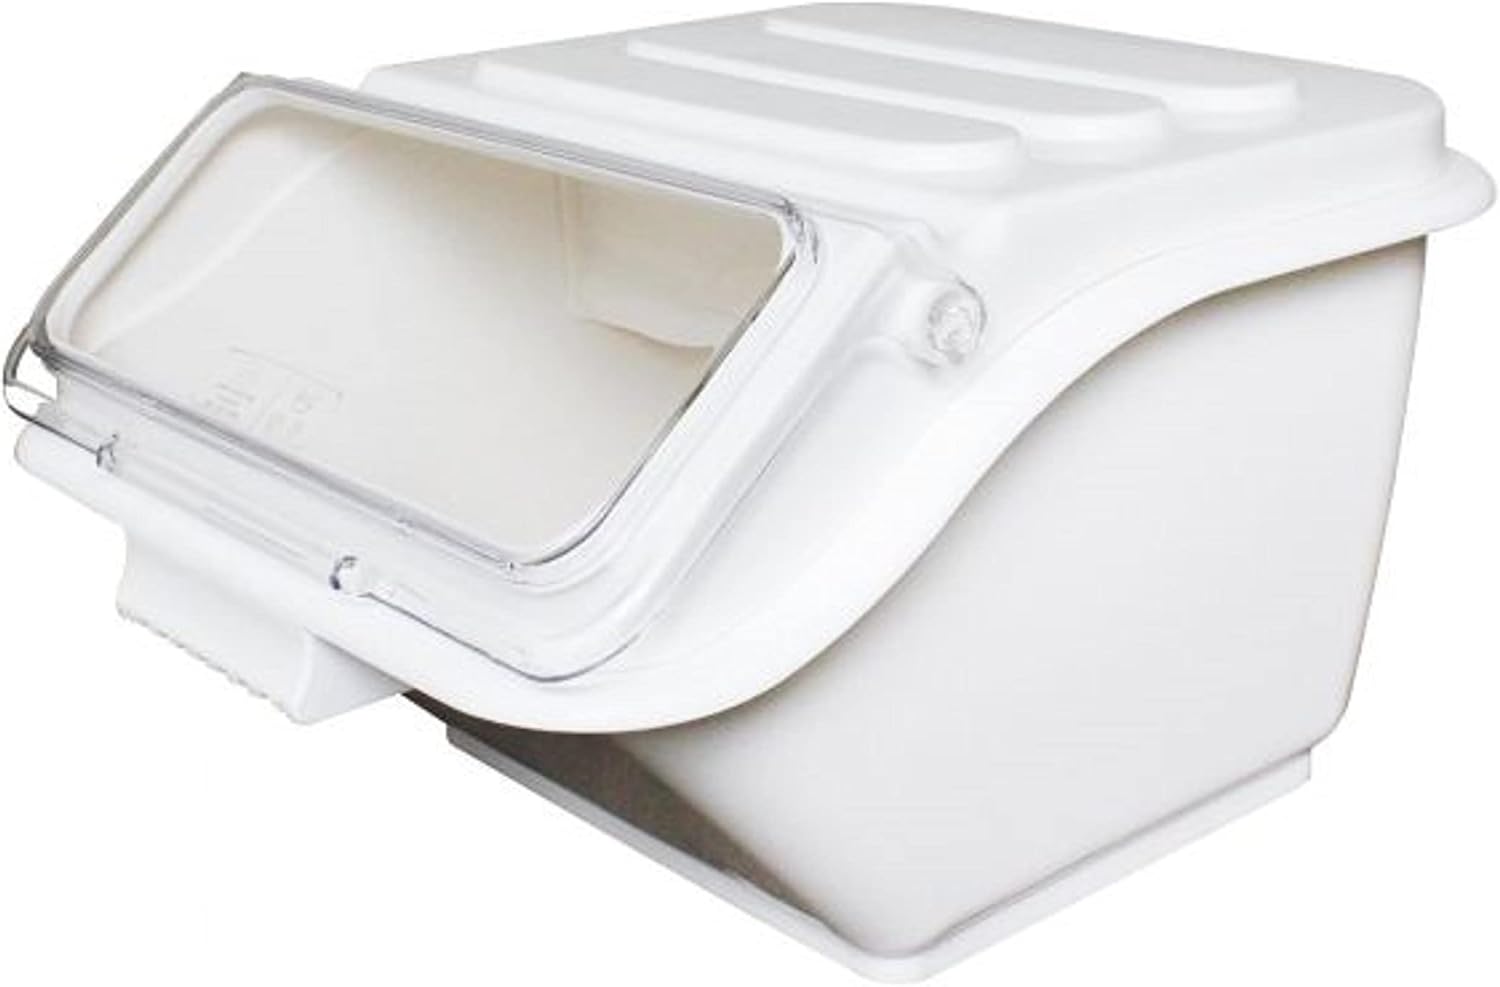
- Dispensers and gravity bins: Ideal for cereals, grains, and pet food for easy scooping.
- Bulk bins with scoops: Useful for rice, beans, and lentils in large households.
This kitchen ingredient bin storage guide emphasizes material trade-offs. Glass looks great but can break. Plastic is light but may stain. Stainless steel is durable but opaque, so label it well.

How to choose the right bin
Pick bins that match how you cook and shop.
- Measure your pantry space and available shelf height before buying.
- Choose airtight seals for flours and sugars to keep moisture out.
- Match capacity to purchase habits: buy large bins if you buy in bulk.
- Prefer wide mouths for scooping and refilling.
- Look for dishwasher-safe lids to ease cleaning.
This kitchen ingredient bin storage guide recommends testing one size first. I once bought large bins that were too heavy to handle. Start small and scale up as you see what works.
Organizing and labeling systems
A clear system saves time and reduces mistakes.
- Group by use: baking, grains, flours, sugars, snacks.
- Use FIFO (first in, first out) by dating new fills and placing them behind older ones.
- Label with content and purchase or open date using a label maker or chalk labels.
- Keep measuring tools (scoops and cups) with each bin for quick portioning.
- Place frequently used bins at eye level; rarely used items go higher or lower.
This kitchen ingredient bin storage guide suggests color-coding or icons for families with kids. Labels help guests and new cooks find things faster.

Cleaning, maintenance, and ingredient safety
Clean bins regularly to avoid odors and contamination.
- Empty and wash bins every few months or when you switch ingredients.
- Dry completely before refilling to prevent clumping and mold.
- Inspect for pests and discard suspicious contents immediately.
- Store bins away from heat sources and direct sunlight.
- Rotate spices and perishable ingredients by date.
This kitchen ingredient bin storage guide warns that even sealed bins can trap odors. I learned this after storing strong spices near flour—labeling and separate storage solved it.

Common mistakes and how to avoid them
Avoid small errors that cost time and food.
- Underfilling big bins lets air degrade ingredients faster.
- Mixing old and new without FIFO leads to stale food use.
- Using non-airtight bins for flour and sugar invites pests.
- Not labeling clear containers causes confusion.
- Storing oils or nuts in warm spots speeds rancidity.
This kitchen ingredient bin storage guide recommends writing dates on lids as a simple fix. It saved me wasted batches of baked goods.
Materials, safety, and health considerations
Material choice affects safety and lifespan.
- Food-grade plastics: Look for BPA-free markings.
- Glass: Nonreactive and odor-free; avoid if kids may drop it.
- Stainless steel: Durable and light-blocking, great for oils and coffee.
- Silicone lids: Good seals for non-breakable jars.
- Check seals often; replace worn gaskets to maintain airtightness.
This kitchen ingredient bin storage guide stresses checking manufacturer safety claims. Some plastics can leach if not food grade or if exposed to heat.
Budgeting, DIY options, and where to buy
You don’t need expensive bins to get organized.
- Dollar store jars: Cheap and serviceable for spices and small items.
- Thrifted glass jars: Clean and reuse for pantry staples.
- Mid-range canisters: Often balance quality and cost.
- Specialty pantry systems: Offer matching looks and modular design.
- Online retailers and hardware stores: Good for bulk dispensers and labels.
This kitchen ingredient bin storage guide suggests upcycling mason jars with printed labels for a low-cost, tidy look. I used thrifted jars to outfit a pantry on a tight budget with great results.
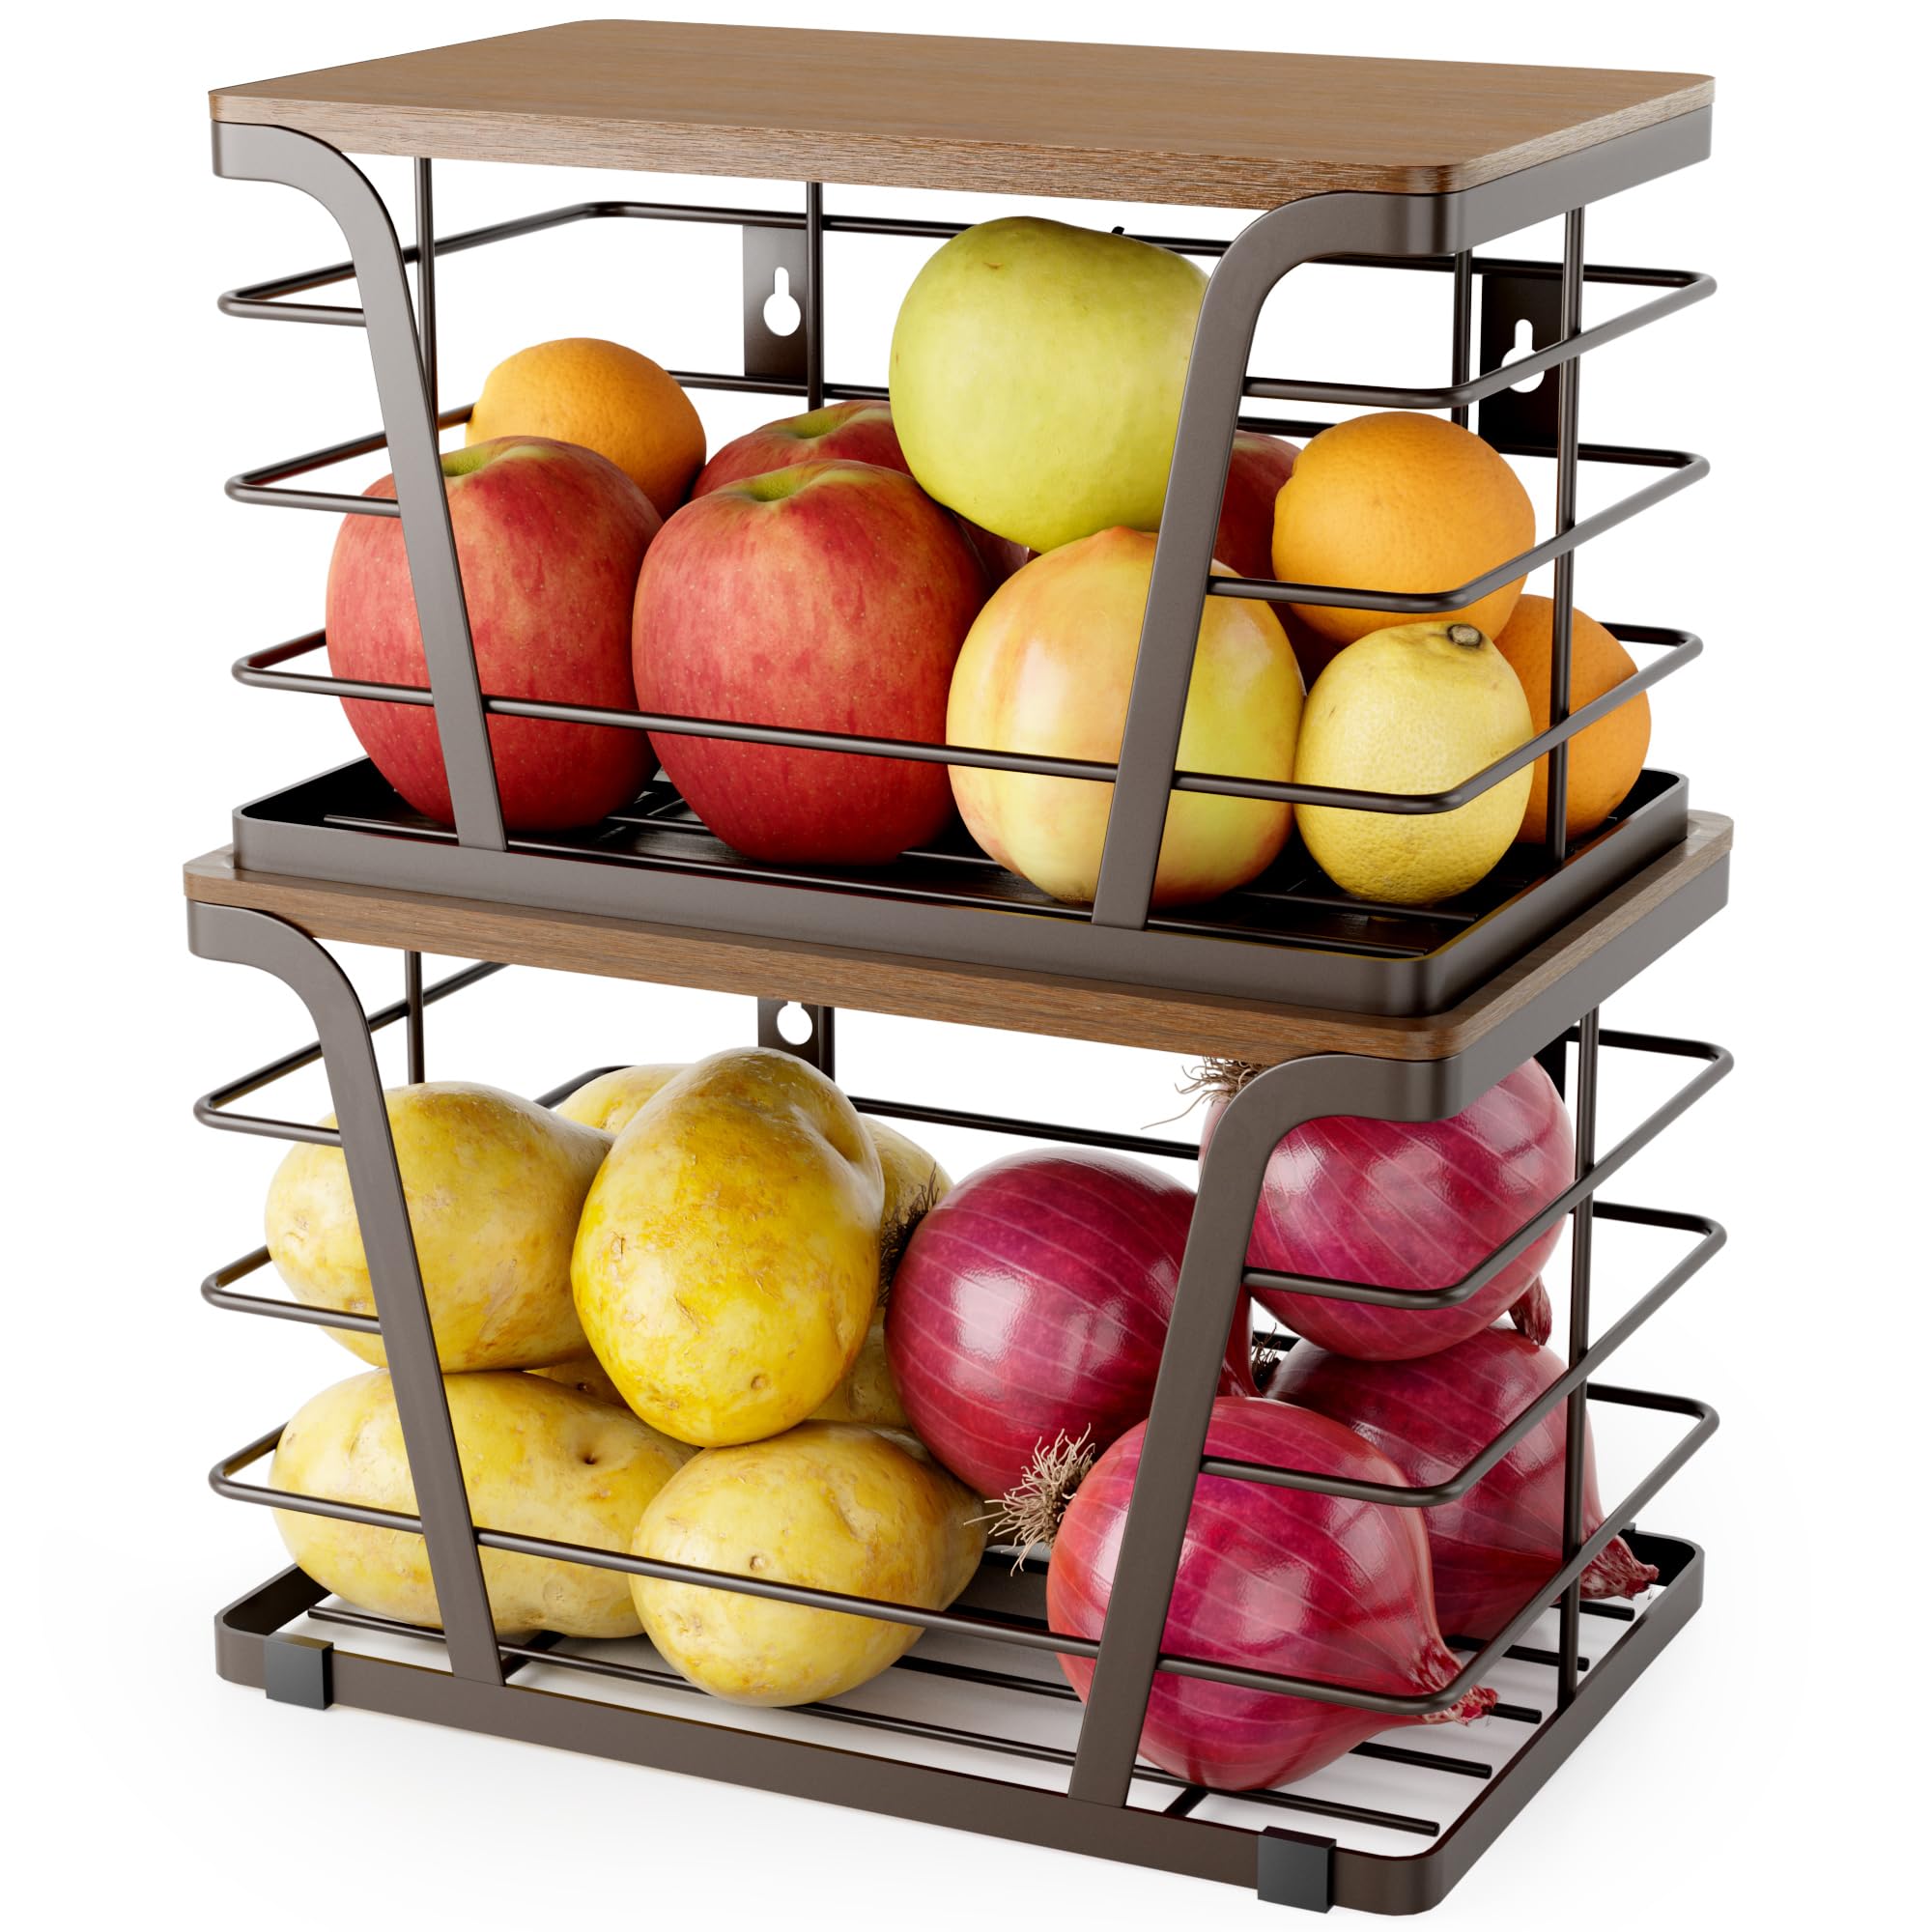
Real-life setup: practical layout and checklist
A simple layout helps daily cooking.
- Top shelf: Rarely used items and backups.
- Eye-level: Everyday grains, flour, sugar, and snacks.
- Lower shelf or pull-out: Heavy bulk bins and pet food.
- Counter dispenser: Coffee beans or frequently used cereal.
Simple checklist for a new setup:
- Empty and clean the space.
- Measure shelf depth and height.
- Decide on a material and capacity mix.
- Label and date all bins.
- Put tools next to matching bins.
This kitchen ingredient bin storage guide reflects my own kitchen revamp. I followed the checklist and cut meal prep time. Small front-row bins made a big difference.
PAA-style quick questions
How long do dry goods last in airtight bins?
Dry goods often last longer in airtight bins—usually months to a year depending on the item. Date your fills to track freshness.
Can I store flours together in one bin?
Avoid mixing flours; keep them separate for best results. Different flours absorb moisture and age differently.
Is it safe to store spices in clear jars?
Yes, but keep clear jars away from direct sunlight to preserve flavor. Label and rotate spices frequently.
Frequently Asked Questions of kitchen ingredient bin storage guide
What is the best material for kitchen ingredient bins?
Glass, stainless steel, and food-grade plastic all work well. Choose based on your needs for visibility, weight, and durability.
How often should I clean ingredient bins?
Clean bins every few months or whenever you change ingredients. Always dry thoroughly before refilling to prevent clumps or mold.
How do I prevent pantry pests?
Use airtight containers, keep the pantry dry, and check dates. Freezing new bulk grains for 72 hours can kill insect eggs.
How should I label bins for best results?
Label with content and open date. Use clear, consistent labels or icons to help everyone in the household find items quickly.
Can bulk items be stored in kitchen ingredient bins long-term?
Bulk items can be stored long-term if kept sealed, cool, and dry. For long storage, consider refrigeration or freezing for certain items like whole grains or nuts.
What size bins should I buy?
Match bin size to how often you use the ingredient and how often you shop. Start with medium sizes and add larger ones for staples you buy in bulk.
Conclusion
This kitchen ingredient bin storage guide offers practical steps to choose bins, organize items, and maintain freshness. Start by measuring your space, pick a few versatile bins, and label everything. Try one change this week—swap a messy bag of flour for an airtight canister—and notice how much smoother cooking becomes. Leave a comment with your pantry challenge or subscribe for more kitchen tips.