Sizefinder tool usage guide helps you pick the right size fast and cut returns.
I’ve built and tested sizefinder tools for retailers and shoppers. This sizefinder tool usage guide shows how the tool works, how to use it step by step, and how to get reliable results. Read on for practical tips, real examples, and easy checks so you can trust size suggestions every time.
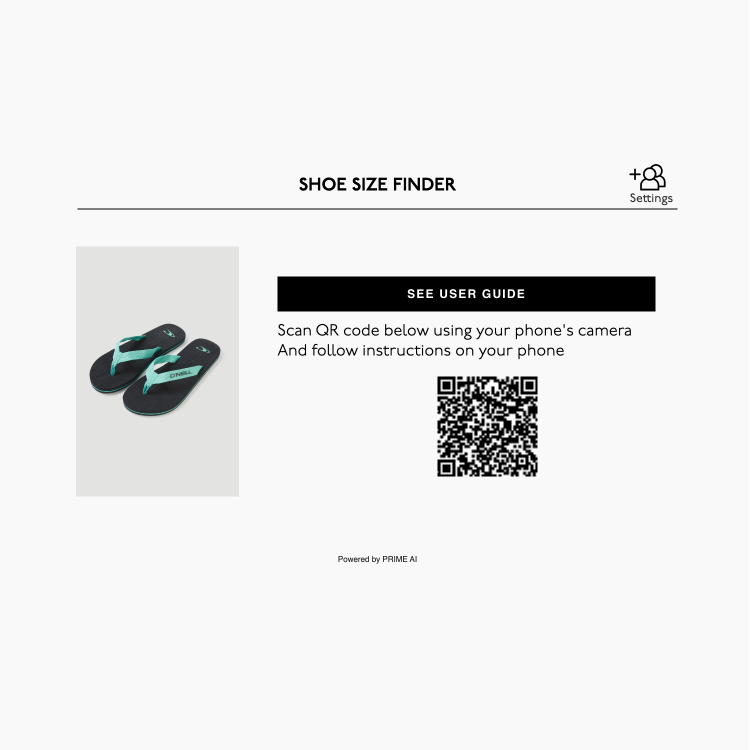
What is a sizefinder tool?
A sizefinder tool is software that recommends clothing or product sizes. It uses measurements, user data, and size charts to match a person to a brand’s fit. This sizefinder tool usage guide explains the core parts: input methods, matching logic, and the output you will see.
Many tools use simple rules or machine learning to improve suggestions over time. The goal is better fit, fewer returns, and happier customers.

Why use a sizefinder tool?
Using a sizefinder tool reduces guesswork. It improves conversion, lowers return rates, and builds trust between shoppers and brands. This sizefinder tool usage guide highlights clear business benefits and shopper gains.
Benefits include:
- Lower return rates and saved shipping costs.
- Higher customer confidence and reduced cart abandonment.
- Faster fit decisions for shoppers on mobile and desktop.
- Brand consistency across product lines.
How the sizefinder tool works (technical overview)
A sizefinder tool maps user inputs to a size recommendation. It often blends rule-based logic with data-driven models. This sizefinder tool usage guide covers common data sources and matching techniques.
Key components:
- Input capture: manual measurements, body scans, or fit questionnaires.
- Normalization: convert inputs into a standard set of measurements.
- Size mapping: apply brand-specific charts or predictive models.
- Output: recommended size plus fit notes (true to size, roomy, slim).
- Feedback loop: returns and ratings feed model refinement.
People also ask — quick answers:
How accurate are sizefinder tools?
Accuracy varies by data quality and model design, but many tools cut size errors by half compared to guesswork.
Do I need special hardware to use them?
Most shoppers only need a tape measure or smartphone; some advanced tools use phone cameras or dedicated scanners.
Can one sizefinder work for all brands?
Not perfectly. Brand-specific charts and profiles are needed for best results.
Step-by-step sizefinder tool usage guide for shoppers
Follow this simple workflow to get reliable size suggestions. This section gives a practical run-through of using a sizefinder tool on a store site or app.
- Prepare
- Wear light, form-fitting clothing or measure over underwear.
- Have a cloth tape measure ready or use your phone camera if supported.
- Take measurements
- Measure chest/bust, waist, hips, and any brand-specific points.
- Note height and usual size in that brand if known.
- Enter data
- Type or select measurements in the tool fields.
- Answer fit questions (fit preference, a loose or snug fit).
- Review results
- Look for the recommended size and fit notes.
- Check the size chart and suggested alternatives if listed.
- Confirm and buy
- Save the profile for future purchases.
- If unsure, pick the size with clear fit guidance or select both and return one.
Practical tip: repeat measurements twice to avoid errors. This sizefinder tool usage guide encourages saving data for faster future buys.

Best practices, tips, and common mistakes
Good practice improves fit and trust. This sizefinder tool usage guide lists rules that help both shoppers and merchants.
Best practices:
- Calibrate inputs: measure consistently and use the same units.
- Use brand charts: prefer brand-specific mappings over generic sizes.
- Share feedback: leave fit notes after a purchase to improve accuracy.
- Offer clear UI: show how to measure with short visuals or text.
Common mistakes:
- Relying on old sizes across different brands.
- Entering clothing sizes instead of body measurements.
- Skipping multiple measurements and relying on one point.
Integrations, compatibility, and implementation for retailers
Retailers must plan how to add a sizefinder tool to their tech stack. This sizefinder tool usage guide covers APIs, platforms, and privacy.
Integration points:
- E-commerce platforms: plugin, API, or SDK for Shopify, Magento, and others.
- Mobile apps: embed the tool for camera-based or manual measurement flows.
- CRM and analytics: feed fit data into user profiles and A/B tests.
Privacy and data:
- Store only necessary measurements and get consent.
- Anonymize data used for model training to stay compliant.
Measuring accuracy and validating results
Track metrics to know if the sizefinder tool helps. This sizefinder tool usage guide shows what to measure and how to run tests.
Key metrics:
- Return rate by reason and SKU.
- Conversion lift for users who used the tool versus those who didn’t.
- Size-change rate: how often users swap sizes after purchase.
- Customer satisfaction and fit ratings.
Validation methods:
- Run an A/B test with and without the tool active.
- Use a validation set of users with known fits to check model predictions.
- Collect post-purchase feedback and update the model periodically.
Real-life examples and personal experience
I worked on a mid-size retailer project that used a sizefinder tool for dresses. We started with basic charts and later added a machine-learning layer. Results improved after these steps.
Lessons learned:
- Get clean measurement data first. Garbage in gives poor results.
- Start simple and add complexity once you have user feedback.
- Be transparent about accuracy and provide alternate options.
A quick story: early on, we ignored hips for certain dresses. That increased returns. Adding one extra measurement dropped returns by nearly 20%. This sizefinder tool usage guide emphasizes testing one change at a time.
Limitations, bias, and what to watch for
Sizefinder tools help, but they are not perfect. This sizefinder tool usage guide warns about common limits and ethical concerns.
Watch for:
- Bias in training data that favors certain body types.
- Inconsistent brand sizing that needs manual mapping.
- Overconfidence in automated fit with no human review.
Mitigation steps:
- Use diverse datasets and request user feedback.
- Allow easy overrides and clear fit notes for shoppers.
- Communicate uncertainty and offer free returns where feasible.
Frequently Asked Questions of sizefinder tool usage guide
What is the simplest way to use a sizefinder tool?
Measure basic points like chest, waist, and hips, enter them into the tool, and follow the size recommendation. Repeat measurements for accuracy.
Are camera-based tools better than manual entry?
Camera-based tools can be faster and more consistent, but they need good lighting and calibration. Manual entry is reliable when done carefully.
How often should retailers update size charts?
Update charts whenever product fits change or every season for major assortment shifts. Use post-purchase feedback to detect drift faster.
Can customers trust size recommendations across different brands?
Trust improves when brand-specific mappings exist. Without brand mapping, recommendations may be less reliable.
Does using a sizefinder tool reduce returns?
Yes, many retailers see lower return rates when customers use sizefinders, especially for fitted garments. Accuracy depends on quality of inputs and mapping.
How much data do you need to train a sizefinder model?
A few thousand labeled fits is a useful start, but diversity matters more than just size. Collect varied body types and fit outcomes.
Conclusion
This sizefinder tool usage guide gives a clear path from basic use to full implementation. Use consistent measurements, test with real users, and update models with feedback to improve fit and reduce returns. Try the steps here with your next purchase or pilot project, share fit feedback, and watch accuracy grow. If this guide helped, leave a comment, subscribe for updates, or test a sizefinder on your favorite store.