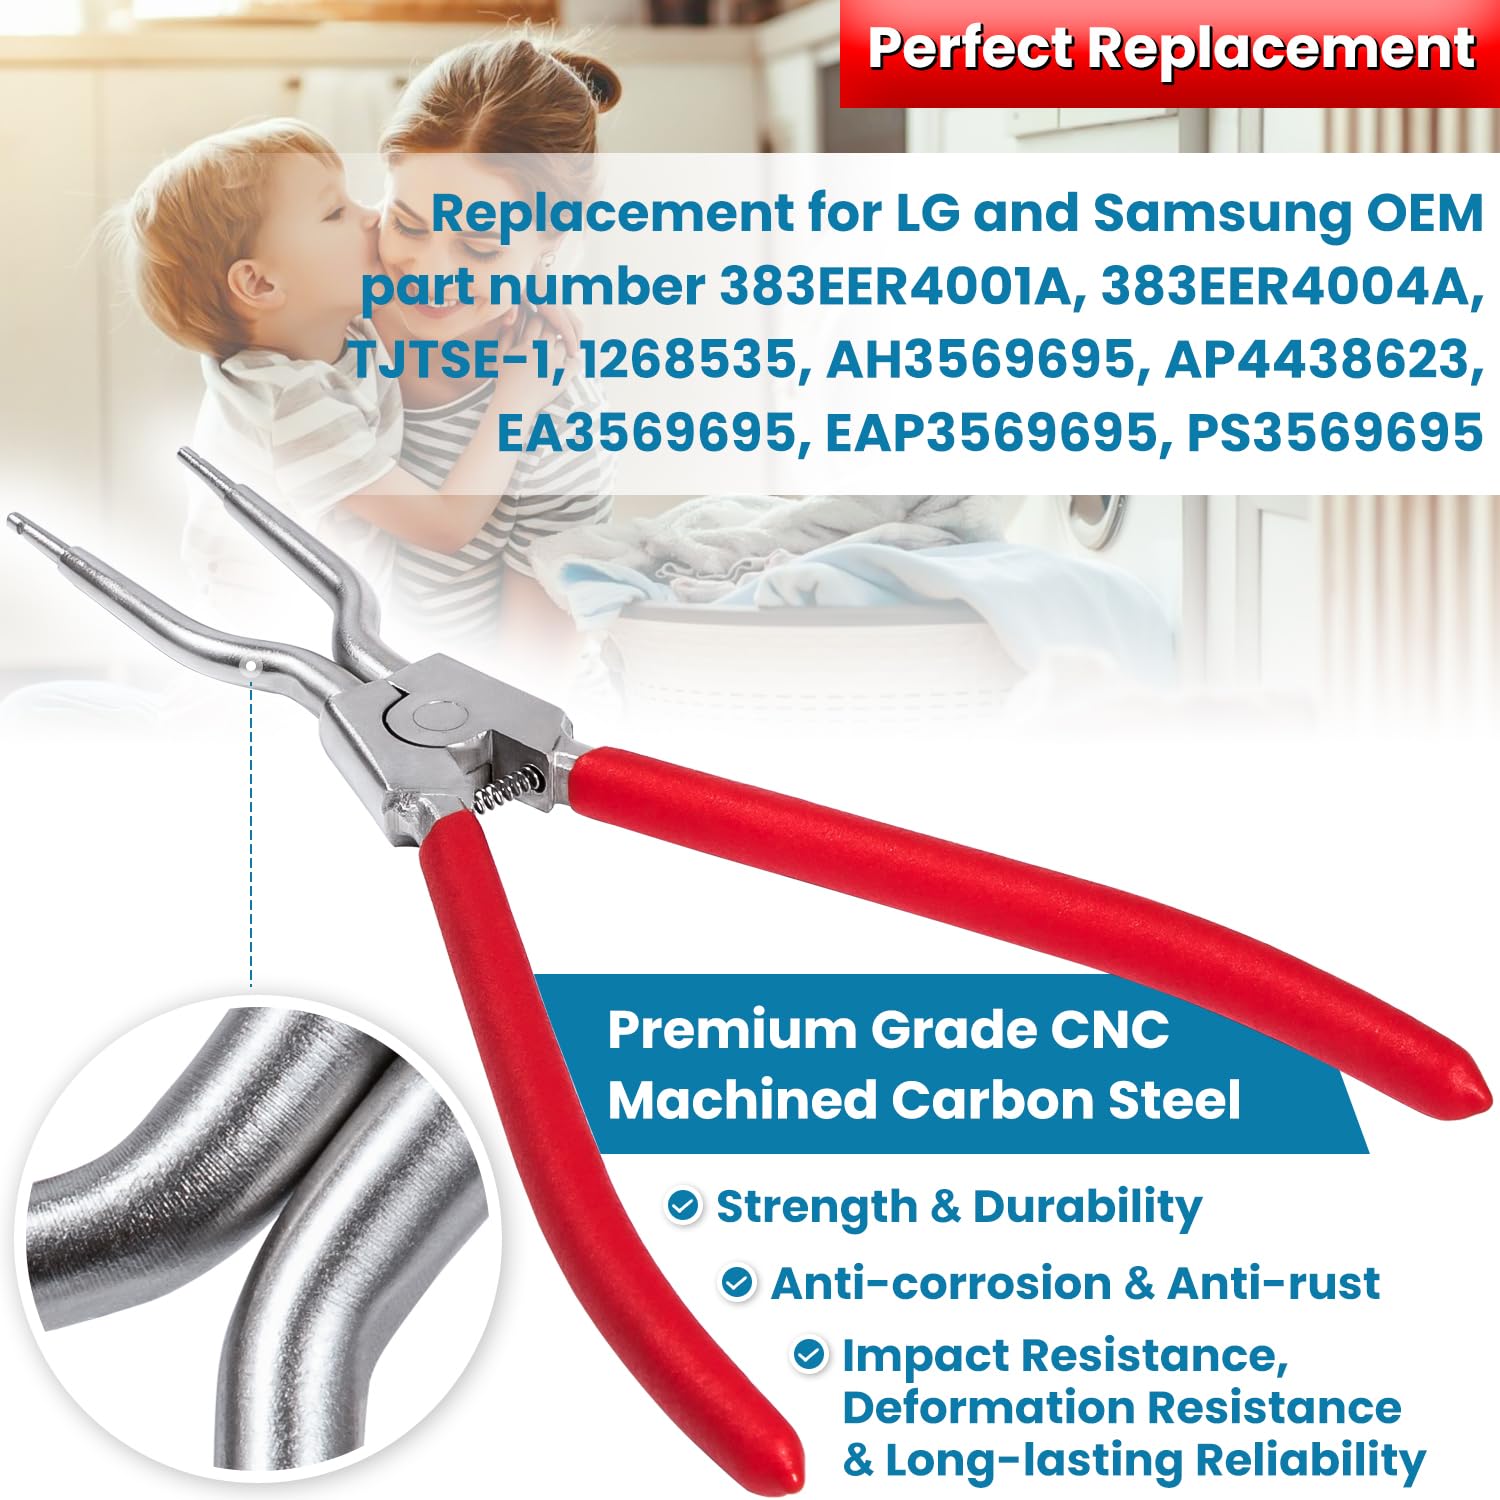
The 383eer4004a removes washers and seals from appliance shafts quickly and safely.
I have spent years repairing washers and dryers, and the washer removal tool 383eer4004a is a device I trust for tight-fit jobs. This guide walks you through washer removal tool 383eer4004a usage with clear steps, safety tips, troubleshooting, and buying advice so you can remove stubborn washers and seals with confidence.

What the washer removal tool 383eer4004a is and when to use it
The washer removal tool 383eer4004a is a purpose-built puller for removing washers, seals, and retaining rings from shafts and housings. It fits many appliance models and makes hard-to-reach washers come off without damage. Use the washer removal tool 383eer4004a usage when a press or pliers would damage parts or when space is tight. I often reach for the washer removal tool 383eer4004a usage for drum seals and backing washers during appliance repairs.

Key parts and how the tool works
The washer removal tool 383eer4004a has a gripping head, adjustable arms, and a central forcing screw or wedge. The arms hook behind the washer while the screw pushes the shaft or housing to free the part. This simple mechanical action makes the washer removal tool 383eer4004a usage efficient and precise. The tool’s design reduces slips and part damage compared to improvised methods.
Step-by-step: washer removal tool 383eer4004a usage
Follow these steps for safe, effective removal.
- Prepare the workspace and appliance.
- Unplug the appliance and move it to a well-lit space.
- Remove panels or access doors to expose the washer or seal.
- Inspect the washer and tool fit.
- Check that the washer removal tool 383eer4004a fits the washer size.
- Confirm no corrosion prevents the tool from seating properly.
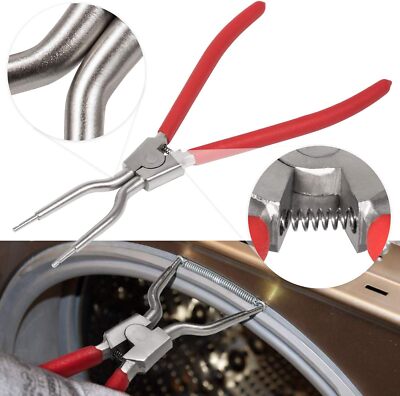
- Position the tool.
- Hook the arms behind the washer or lip of the seal.
- Center the forcing screw on the shaft or contact point.
- Apply steady force.
- Turn the forcing screw slowly to pull the washer free.
- Stop if the part shifts or the tool slips; reposition if needed.
- Remove and inspect parts.
- Once free, lift the washer straight off to avoid scratching.
- Clean the shaft and inspect for wear before installing new parts.
These steps make washer removal tool 383eer4004a usage repeatable and safe. From my workbench, slow steady pressure saved many clips that would have bent with pliers.

Safety tips and best practices
Use these rules to avoid injury and part damage.
- Always disconnect power and water.
- This prevents shocks and accidental starts.
- Wear safety glasses and gloves.
- Metal fragments and tight parts can slip.
- Use the right size setting for the washer.
- Forcing the wrong fit can break the tool or part.
- Apply force gradually.
- Sudden torque can warp housings or bend shafts.
- Keep a small magnet or tray close.
- Hold fasteners and small washers to avoid losing them.
Practicing safe washer removal tool 383eer4004a usage reduces repair time and keeps parts usable.
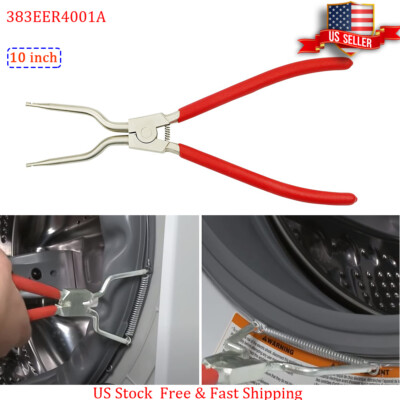 problems and troubleshooting”
style=”max-width: 100%; height: auto; border: 2px solid black; border-radius: 10px; display: block; margin: 0 auto;”
loading=”lazy”
/>
Common problems and troubleshooting
If the washer won’t budge or the tool slips, try these fixes.
- Corrosion or build-up
- Soak the area with penetrating oil for 15–30 minutes and tap lightly to break rust.
- Tool misalignment
- Re-seat the arms and ensure the forcing screw is centered on the shaft.
- Bent or damaged washer
- If the washer deforms, use a backing plate to spread force or replace the washer after extraction.
- Tool thread binding
- Clean and lubricate the screw threads; inspect for wear.
These checks help rescue stuck jobs during washer removal tool 383eer4004a usage.

Maintenance and care for long tool life
A well-kept tool lasts longer and works better.
- Clean after each use.
- Remove grease and debris from arms and threads.
- Lubricate screw threads lightly.
- Use a light machine oil to prevent rust and binding.
- Inspect for wear and cracks.
- Replace the tool if arms bend or threads strip.
- Store in a dry case.
- Keep metal parts from corroding and losing fit.
Proper maintenance preserves tool accuracy for future washer removal tool 383eer4004a usage.

Compatibility and buying tips
Not every puller fits every job. Consider these points when choosing.
- Check shaft and washer dimensions.
- Match the tool’s jaw span and screw reach to the part.
- Look for hardened steel parts.
- These resist bending during tough pulls.
- Read model fit lists.
- Many suppliers list compatible appliance models for the washer removal tool 383eer4004a usage.
- Consider a set that covers sizes.
- A small set is handy if you repair varied brands.
When I bought my first 383eer4004a, I confirmed fit on three common drum sizes; that saved returns and delays.
Real-world examples and lessons learned
A few quick stories from repair work.
- Front-load dryer drum seal
- A stuck backing washer would not budge with pliers. The washer removal tool 383eer4004a usage removed it cleanly with minimal force.
- Corroded mounting ring
- Penetrating oil and a few minutes with the 383eer4004a prevented ring distortion and made part reuse possible.
- Wrong size frustration
- I once tried a too-small puller and stripped the edges. The lesson: verify fit to avoid extra costs.
These examples show why careful washer removal tool 383eer4004a usage matters.
PAA-style questions to answer user intent
What parts can the washer removal tool 383eer4004a remove?
The tool removes washers, seals, backing rings, and some retaining clips from shafts and housings. It works best on flat washers and ring-style seals.
Is the washer removal tool 383eer4004a safe to use on plastic shafts?
Use low force and a padded backing when removing washers from plastic shafts to avoid cracking. If unsure, use a protective plate between the tool and plastic.
How do I know the tool will fit my appliance?
Measure the washer diameter and shaft reach, then compare those to the tool specs or fit list provided by the seller. A fit check avoids damage and wasted time.
Frequently Asked Questions of washer removal tool 383eer4004a usage
How do I choose the right size for the tool?
Measure the washer or seal diameter and shaft depth, then pick a tool or set that covers that range. A tool that can adjust to the part is ideal.
Can I use the tool on corroded parts?
Yes, but apply penetrating oil and let it sit first. Gentle taps and patience prevent part breakage during washer removal tool 383eer4004a usage.
Will this tool damage bearings or shafts?
If used properly, the tool should not harm bearings or shafts; center the forcing screw and use steady force to avoid side loads. Use a backing plate for extra protection.
Do I need professional training to use it?
No formal training is required, but follow step-by-step instructions and safety rules. Practice on a scrap part to build confidence.
What if the tool thread strips during use?
Stop immediately and inspect. Replace the tool or screw if stripped. Lubrication and not over-torquing reduce thread damage.
Conclusion
The washer removal tool 383eer4004a usage is a simple, powerful method to remove washers and seals without damage. Follow the step-by-step method, adopt safety habits, and do routine tool care to get reliable, repeatable results. Try the tips here on a small job, keep a maintenance routine, and you’ll save time and money on future repairs. Share your results, ask questions, or subscribe for more hands-on repair guides.