Leveling feet keep furniture stable, protect floors, and fix wobbles fast.
I’ve spent years fitting, testing, and repairing furniture hardware for homes and offices. This furniture leveling feet guide shares clear, practical steps, pro tips, and real-world lessons to help you pick, install, and maintain the right leveling feet for any piece of furniture. Read on to learn how to stop wobble, protect floors, and get a long-lasting, stable result.
What are furniture leveling feet and why they matter
Furniture leveling feet are small, adjustable supports fitted to the legs or base of furniture. They let you raise or lower each corner to match uneven floors. Use them on tables, cabinets, sofas, shelves, and workbenches.
Benefits of using furniture leveling feet:
- Stabilizes wobbly furniture and reduces tipping risk.
- Protects floor surfaces from scratches and dents.
- Allows precise height and tilt adjustments for appliances and counters.
- Extends life of joints and fasteners by reducing stress.
How this furniture leveling feet guide helps you:
- Defines types, materials, and sizes.
- Shows step-by-step installation and adjustment.
- Offers troubleshooting, maintenance, and buying tips.
Types of furniture leveling feet
Different tasks need different leveling feet. Choosing the right type avoids mistakes and saves time.
Common types:
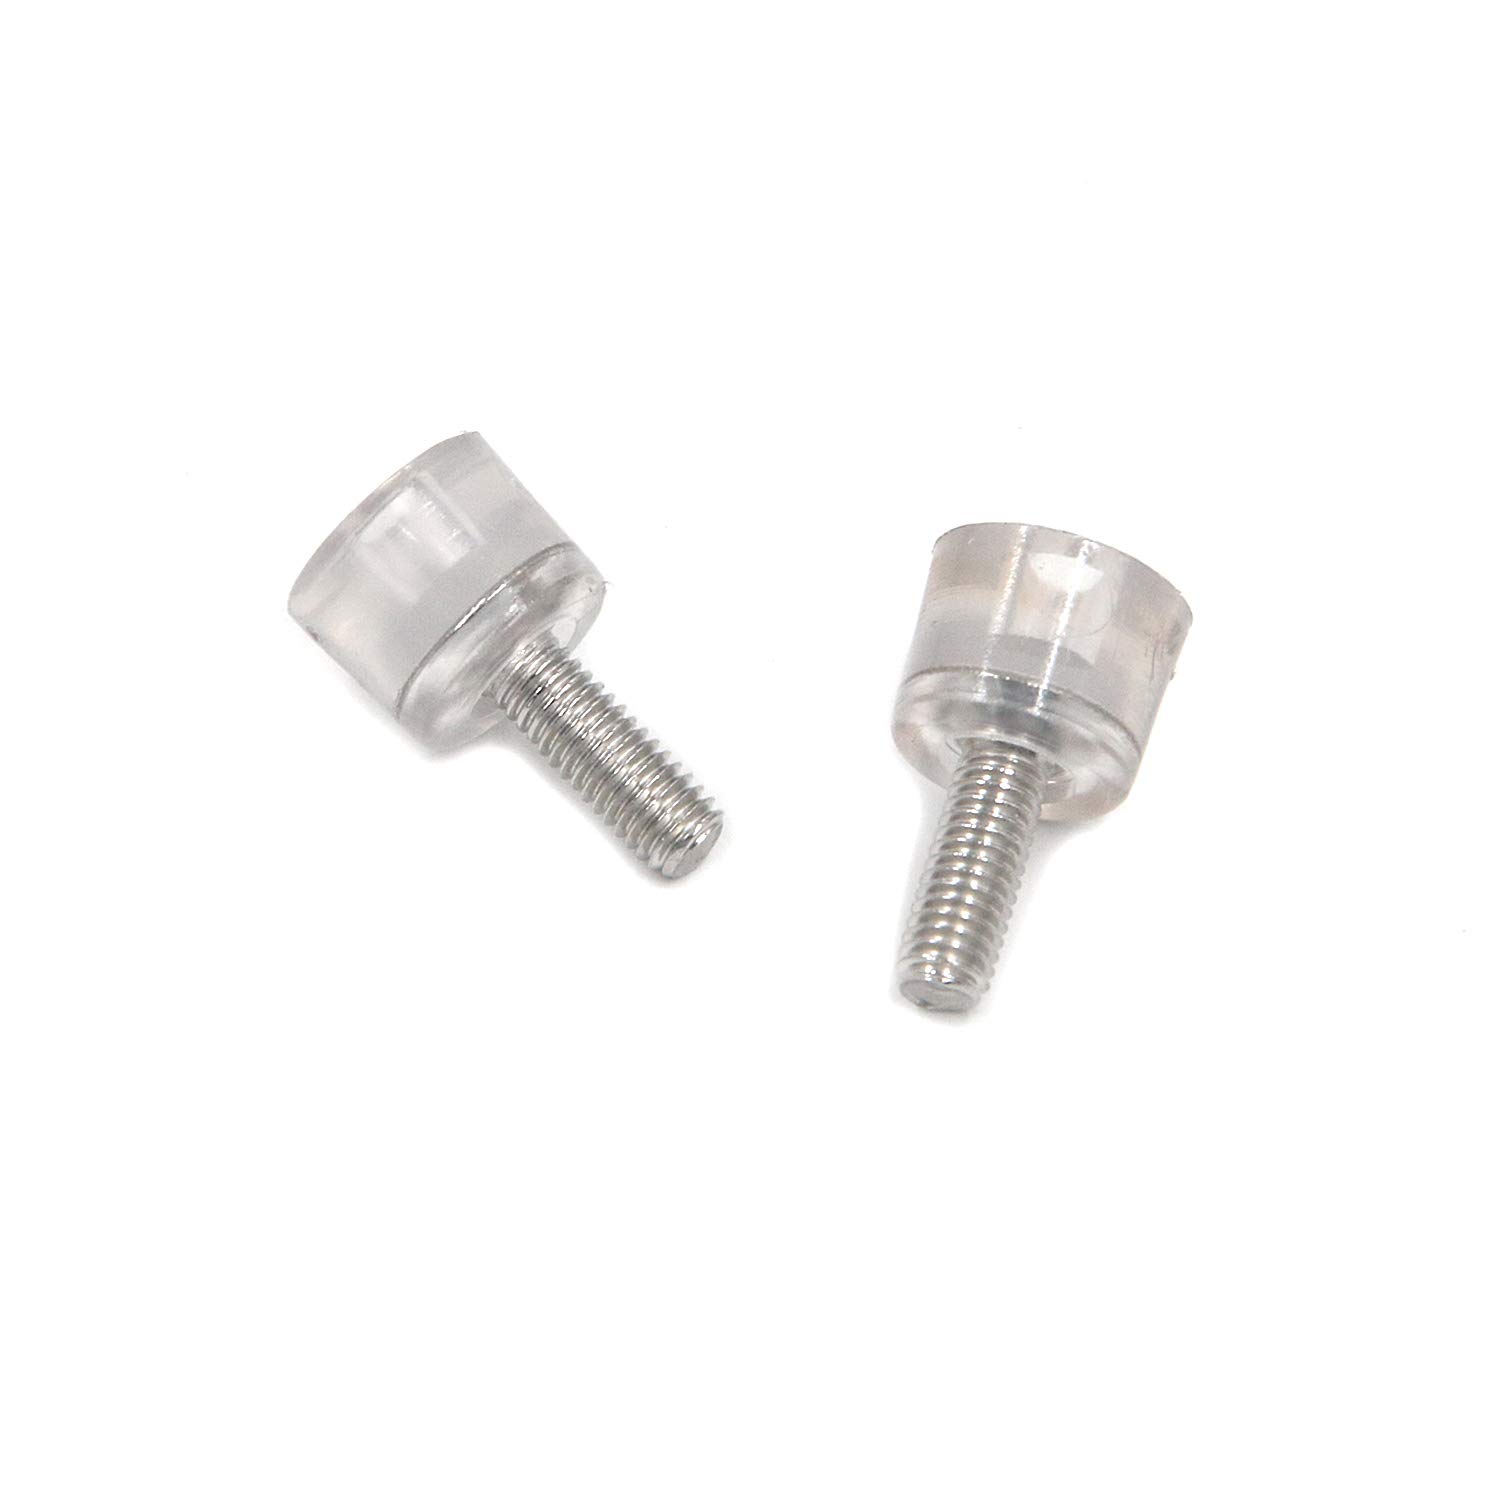
- Threaded leveling feet: Screw into a threaded insert or stud. Good for adjustable metal and wood legs.
- Glides with threaded stems: Have a smooth pad and a thread to screw into bases.
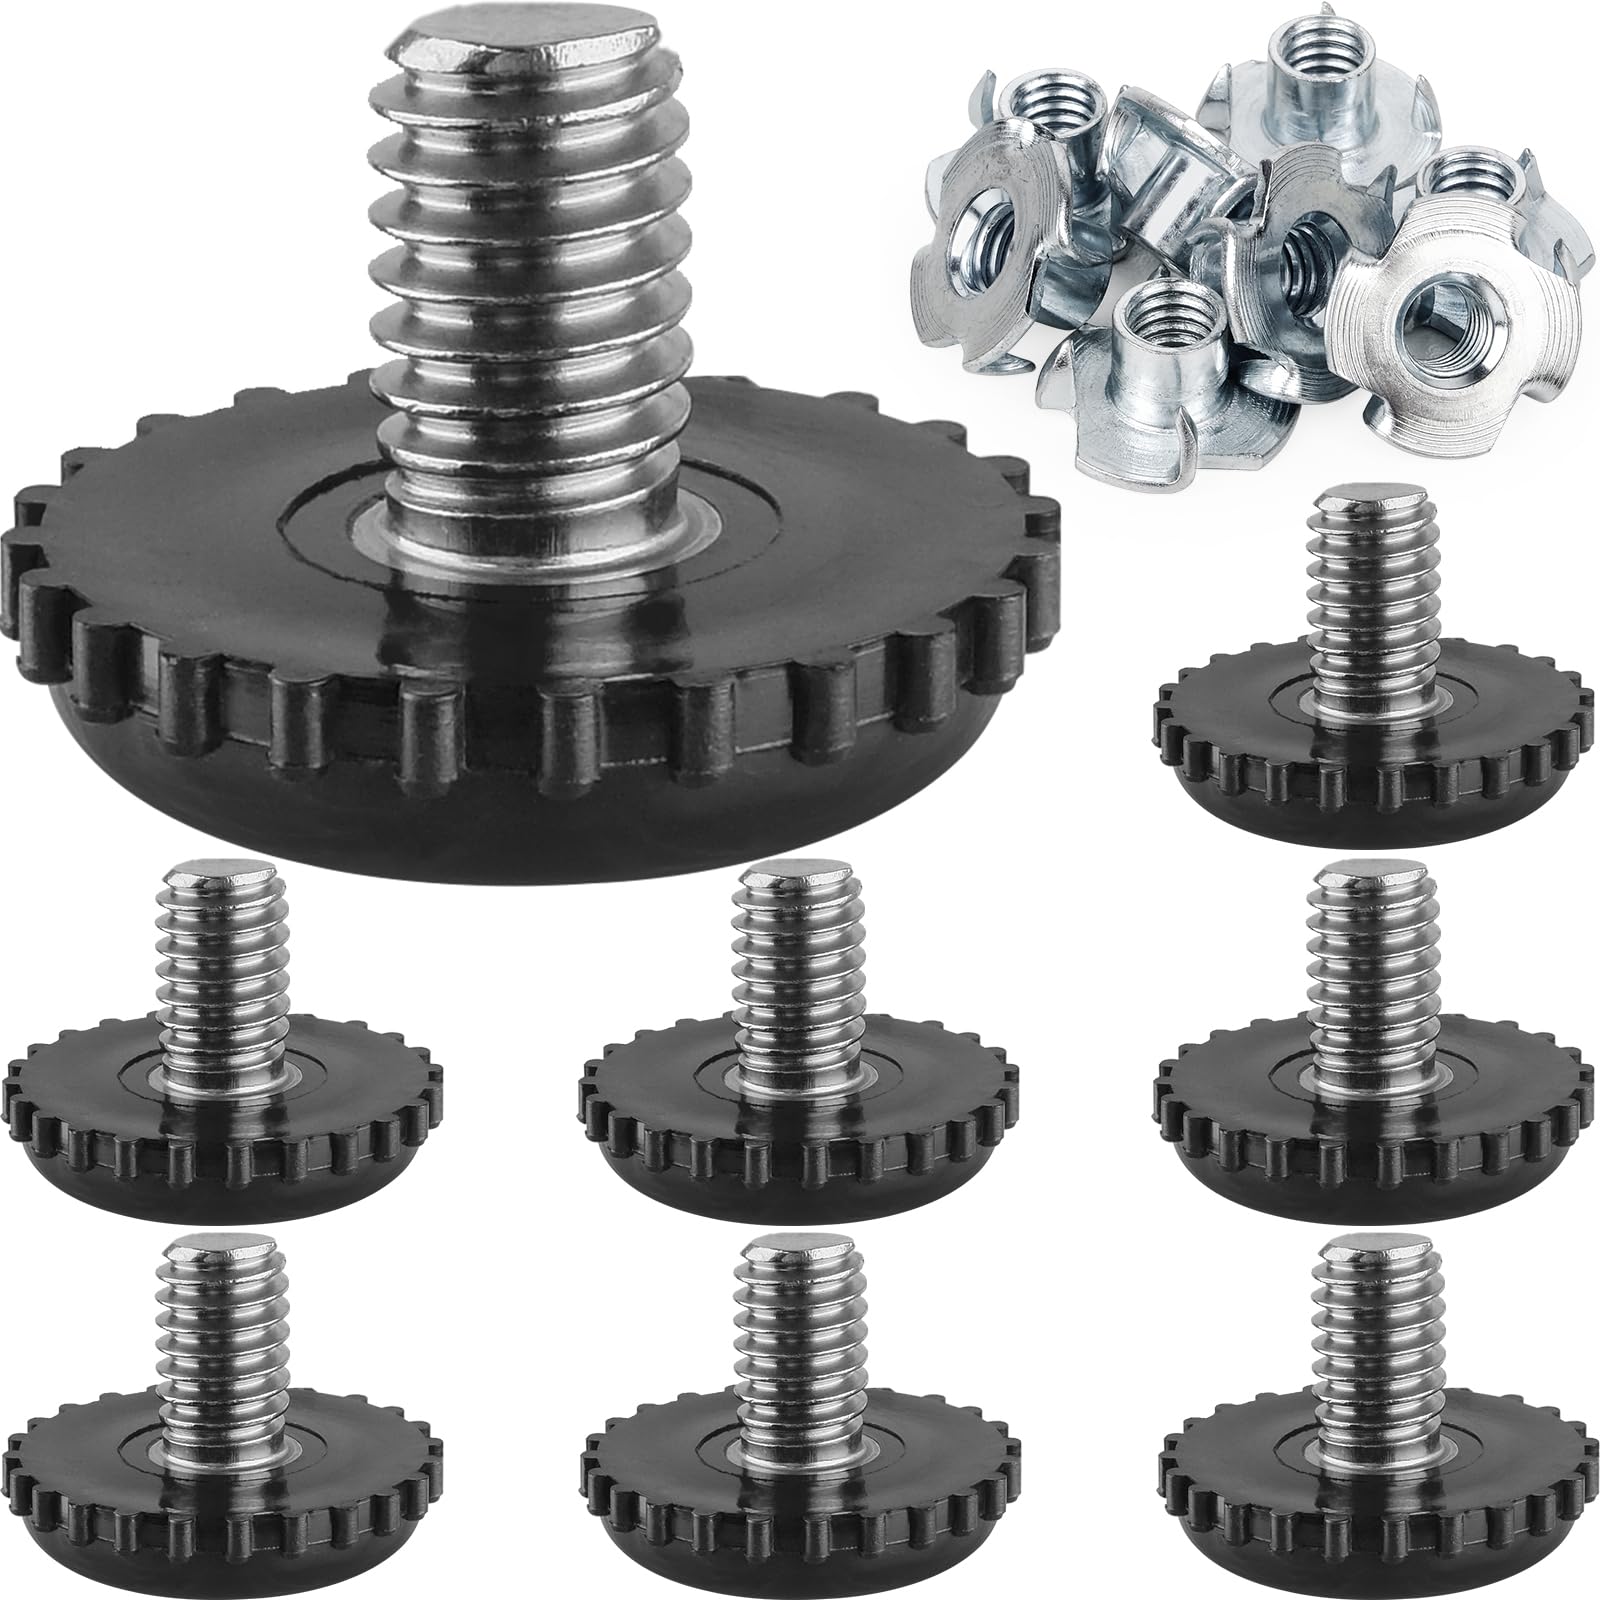
- Adjustable plates: Flat plate mounts with a screw adjustment for heavy furniture.
- Threaded stem with ball swivel: Allows leveling on irregular floors with full contact.
- Leveling casters: Combine wheels with adjustable leveling feet for mobile but stable furniture.
- Adhesive or screw-on non-adjustable glides: Simple pads for minor unevenness or protection.
Where to use each:
- Threaded leveling feet: Chairs, tables, cabinets.
- Leveling casters: Mobile workbenches and carts.
- Swivel feet: Stone or tile floors that need full contact and grip.
This furniture leveling feet guide will show which fits your project best.

Materials and finishes: match foot to floor and load
Materials affect durability, grip, and floor protection. Match material to load and floor type.
Material options:
- Plastic or nylon: Low-cost, good for light indoor furniture. Slightly slippery on smooth floors.
- Rubber or elastomer pads: Offer grip and floor protection. Good on hardwood and tile.
- Stainless steel: Durable and corrosion-resistant. Best for outdoor or humid areas.
- Zinc-plated steel: Strong and budget-friendly but can corrode over time.
- Felt pads on top of glides: Protect hardwood floors from scratches.
Consider finish and pad type:
- Hard plastic base: Best for carpeted floors where sliding is okay.
- Soft rubber pad: Use on wood, tile, or laminate to avoid marks.
- Felt + rubber combo: Felt prevents scratching; rubber prevents sliding.
When I install for clients, I match pad material to the floor first, then pick the stem material based on weight and environment. This helps avoid premature wear and scuffs.

How to choose the right furniture leveling feet
Follow a simple checklist to choose the right part. This furniture leveling feet guide breaks it down.
Step-by-step selection:
- Measure weight per leg: Divide total furniture weight plus expected load by the number of legs. Choose feet rated above that number.
- Check thread size: Measure existing threaded insert or leg stud. Common sizes include M6, M8, and 1/4"-20. Match thread type.
- Decide base diameter: Larger bases spread load and stabilize better. Choose at least 1 inch for light furniture and 1.5–2 inches for heavy units.
- Pick material for floor type: Soft rubber for wood; hard plastic for carpet; stainless steel for damp areas.
- Account for height range: Ensure the adjustable travel fits the unevenness you need to correct.
- Consider appearance: Choose finish and cap style that match your furniture style.
Common mistakes to avoid:
- Choosing undersized load ratings.
- Ignoring thread compatibility.
- Picking hard bottoms for delicate wood floors.
This furniture leveling feet guide recommends measuring twice before ordering parts.
Installation and adjustment: step-by-step
Installation is easy if you follow a clear method. I’ll walk you through the simplest, most reliable approach.
Tools you may need:
- Adjustable wrench or pliers
- Screwdriver and drill (for inserts)
- Threaded inserts or T-nuts (if needed)
- Bubble level or laser level
- Tape measure and marker
Installation steps:
- Prepare the leg: Remove old glide or cap. Clean the area and inspect threads or holes.
- Install insert if missing: Drill a pilot hole and press in a threaded insert or T-nut. Follow the insert instructions for depth.
- Screw in the leveling foot: Turn by hand until snug, then use a wrench to set initial height.
- Rough adjust: Lower all feet so the furniture rests evenly. Leave small gaps if needed for final fine-tuning.
- Level precisely: Place a level on top. Adjust each foot slowly until level across two axes.
- Lock if available: Tighten lock nuts or use threadlocker for a permanent fix.
- Test load: Sit, push, or place weight and recheck level. Fine-tune if needed.
Pro tip from experience:
- Start with a low setting on most feet, then lift each leg slightly to make fine adjustments. This avoids over-tightening and damage.
This furniture leveling feet guide recommends checking the level after moving furniture or changing load.

Maintenance and troubleshooting common problems
Routine checks keep leveling feet working well. Here’s how to solve common issues.
Regular maintenance:
- Inspect feet every 6–12 months for wear, corrosion, or cracked pads.
- Clean dirt and grit from pads to keep floors safe.
- Tighten loose lock nuts and check thread inserts for play.
- Replace worn pads to avoid floor damage.
Troubleshooting tips:
- Persistent wobble: Check load distribution and thread inserts for looseness. Replace bent stems.
- Creaking or noise: Add a small amount of lubricant on metal threads or replace hard plastic pads with rubber.
- Uneven sinking on carpet: Use larger base plates or furniture coasters to spread load.
- Corrosion: Replace with stainless steel parts in damp environments.
When I found a heavy cabinet tilting on tile, swapping to swivel leveling feet with larger rubber pads fixed the wobble instantly. Small changes make big differences.

Personal experience, mistakes to avoid, and pro tips
I’ve installed hundreds of pieces. These quick lessons save time and money.
Lessons learned:
- Always check thread type before buying replacements. Mismatched threads strip and ruin inserts.
- Use locking nuts for heavy furniture. They prevent gradual loosening.
- For antique or delicate legs, add protection pads under a leveling foot to avoid drilling.
- When in doubt, overspec the load rating. It is cheaper than a failed foot.
Pro tips:
- Keep a small kit with common thread sizes, inserts, and spare pads for quick repairs.
- Use a 4-foot level or laser for long tables to avoid twist.
- For rental units, use removable inserts or clamp-style leveling feet to avoid damage.
This furniture leveling feet guide reflects hands-on tests and common field fixes I use regularly.
PAA-style questions (short answers)
Q: How much weight can a leveling foot hold?
A: Capacity varies by model; small nylon feet hold 50–150 pounds while heavy-duty steel feet can hold several hundred pounds per foot. Check manufacturer specs.
Q: Can I add leveling feet to furniture without pre-drilled holes?
A: Yes. Use threaded inserts, T-nuts, or clamp mounts suitable for wood or metal legs to add new adjustable feet.
Q: Are leveling feet safe on hardwood floors?
A: Yes, if you choose soft rubber or felt-topped pads to prevent scratches and distribute pressure.

Frequently Asked Questions of furniture leveling feet guide
What size thread do I need for furniture leveling feet?
Measure the existing thread or insert. Common metric sizes are M6 and M8; common imperial is 1/4"-20. Match the thread pitch exactly.
How do I stop furniture from wobbling with leveling feet?
Adjust each foot slowly while watching a level. Tighten lock nuts and ensure load is centered on the legs.
Can leveling feet be used on outdoor furniture?
Yes, but choose corrosion-resistant materials such as stainless steel and UV-stable plastics for longevity.
How often should I replace leveling feet?
Inspect yearly. Replace sooner if pads are worn, threads damaged, or feet corroded. Heavy-use items may need replacement every 2–5 years.
Do leveling feet damage floors?
Not if you use the correct pad. Soft rubber or felt protects wood and tile. Hard plastic can mark delicate floors.
Can I add leveling feet to a metal frame?
Yes. Welded studs, threaded inserts, or clamp-on options work well for metal frames and maintain strong attachment.
What if a leveling foot keeps turning under load?
Install a lock nut or use a thread-locking compound. For sustained loads, use a foot with an integrated locking mechanism.
Conclusion
This furniture leveling feet guide covers types, materials, selection steps, installation, maintenance, and common fixes so you can stop wobble and protect your floors. Start by measuring load and thread, pick the right material, and install carefully. Take action today: check one unstable piece of furniture, measure its legs, and order the right leveling feet to make it safe and steady. Share your before-and-after results, subscribe for more practical guides, or ask a question below.