Bondo wood filler guide: Fast, strong repair steps for wood and fiberglass projects.
I have used Bondo products for furniture fixes and auto trim repairs for years. This bondo wood filler guide covers what Bondo is, when to use it, how to mix and apply it, finishing tips, safety, and troubleshooting. Read on for clear, tested steps and simple tips that save time and give lasting results.
What is Bondo wood filler?
Bondo wood filler guide: Bondo is a polyester-based body filler that bonds to wood, metal, and fiberglass. It cures fast and sands to a hard, paintable surface.
Bondo is not a traditional water-based wood filler. It is made of polyester resin and a hardener. The mix creates a putty that sets chemically, not by drying. Expect strong repair patches that resist shrinkage when mixed properly. I use Bondo when I need fast, durable fill for big gaps or rot repairs that will be painted or veneered.

Types and formulations you should know
This part of the bondo wood filler guide explains common formulas and when to pick them.
- Standard body filler. Good for big holes and structural fills. It is dense and sands well.
- Lightweight filler. Easier to sand and less weight added. Use it for thin repairs and furniture.
- Spot putty. Thin, easy-to-smooth product for small surface imperfections.
- Fiberglass-reinforced filler. Best for deep or structural repairs and areas that flex.
Choose the right formula to match the repair needs. I often keep a standard and a lightweight formula in my shop to match scale and finish goals.

When to use Bondo wood filler
Use this bondo wood filler guide to decide if Bondo is right for your repair.
- Use Bondo for large holes, splits, delamination, or rot that will be painted or covered.
- Avoid Bondo when you need stainable or natural wood finish; Bondo does not accept stain well.
- Use epoxy fillers when you need long open working time or when repairing load-bearing structural wood.
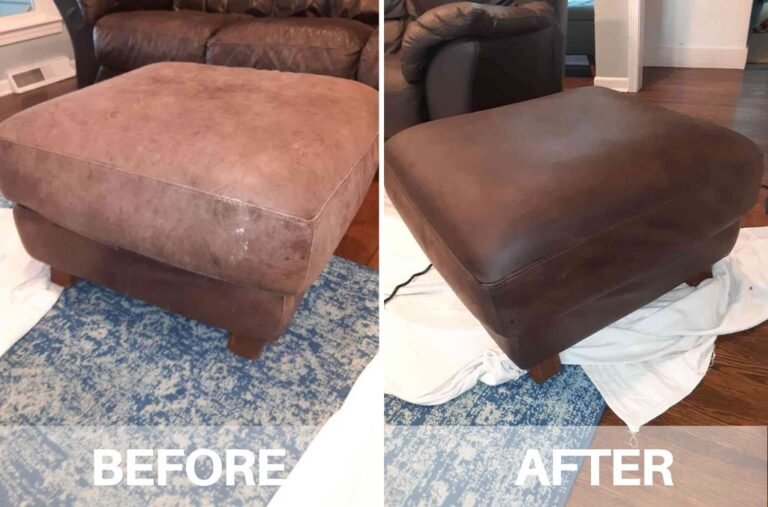
From my experience, Bondo shines on painted cabinets, door frames, and porch boards that will be repainted. For fine furniture where the grain must show, choose a stainable wood filler or wood patch.
Step-by-step: How to use Bondo wood filler
Follow these steps from my shop-tested bondo wood filler guide to get clean results.
- Prepare the area.
- Remove loose paint, rot, and dust. Clean with a solvent or a degreaser.
- Dry the wood. Moisture blocks adhesion.
- Roughen the surface.
- Use coarse sandpaper or a rotary wire brush for better grip.
- Mix the filler.
- Scoop filler onto a clean board. Add hardener in the amount recommended by the product. Mix until uniform in color.
- Work in small batches. Bondo cures fast (minutes).
- Apply the filler.
- Press the mixed putty into the void. Overfill slightly to allow sanding down.
- Smooth with a plastic spreader or putty knife.
- Let it cure.
- Wait until the filler hardens fully. Cure time depends on temperature and mix.
- Shape and sand.
- Start with coarse sandpaper, finish with fine grit for a smooth surface.
- Prime and paint.
- Use a good primer before paint to seal the repair.
I learned to mix small amounts at a time. Mixing too much leads to wasted material and hurried work. Always follow the hardener ratio on the package.
Finishing: Sanding, priming, and painting
Finishing is where the repair blends in. This bondo wood filler guide shows how to finish cleanly.
- Sand in stages. Start with 80–120 grit, then move to 180–220 grit for final smoothing.
- Feather edges of the filler into the existing surface to hide seams.
- Clean dust with a tack cloth or damp rag before priming.
- Use a high-adhesion primer to seal the polyester filler.
- Paint with at least two coats for even coverage.
From practice, wet sanding with fine grit gives a smoother finish on painted parts. For furniture, hand-sanding and careful priming make the patch nearly invisible.

Safety, storage, and disposal
Safety is critical in this bondo wood filler guide. Polyester filler has fumes and skin risks.
- Ventilate. Work outdoors or use fans to move air.
- Wear gloves, eye protection, and an N95 or organic vapor mask.
- Avoid skin contact. Wipe small spills immediately with solvent, then wash.
- Store filler in a cool, dry place. Keep lids sealed to avoid hardening.
- Dispose of unused mix and rags per local hazardous-waste rules.
I always keep a spill kit and a respirator in the shop. The small extra cost is worth safety and peace of mind.

Common mistakes and troubleshooting
This section of the bondo wood filler guide lists mistakes to avoid and fixes.
- Mixing wrong ratio. Too much hardener makes the filler brittle. Too little causes soft spots.
- Working in cold or damp conditions slows or prevents cure. Warm the workspace slightly.
- Not roughening the surface leads to poor adhesion. Always prep well.
- Over-sanding into the substrate. Sand gently and check frequently.
- Expecting stainable results. Bondo will not match natural grain or stain.
If the filler cracks after curing, remove the crack and reapply with correct prep. If adhesion fails, strip to sound material and start over.
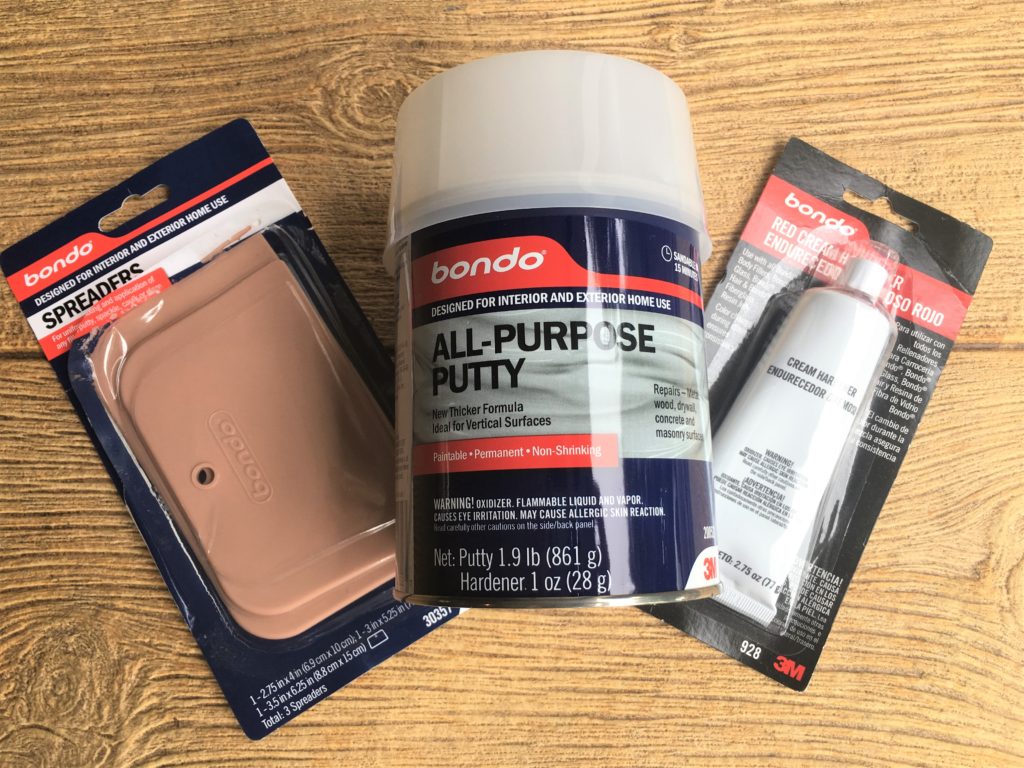
Tools, materials, and cost checklist
Use this short bondo wood filler guide checklist to prepare for a job.
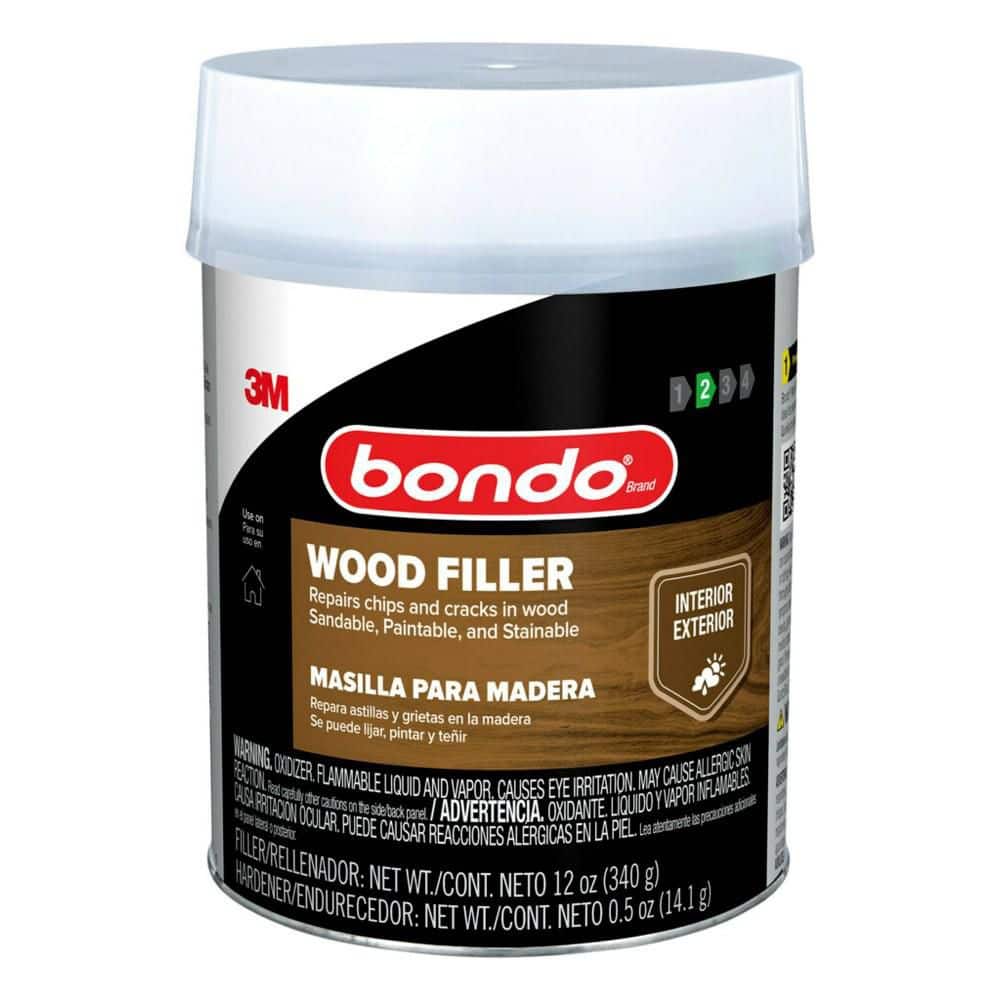
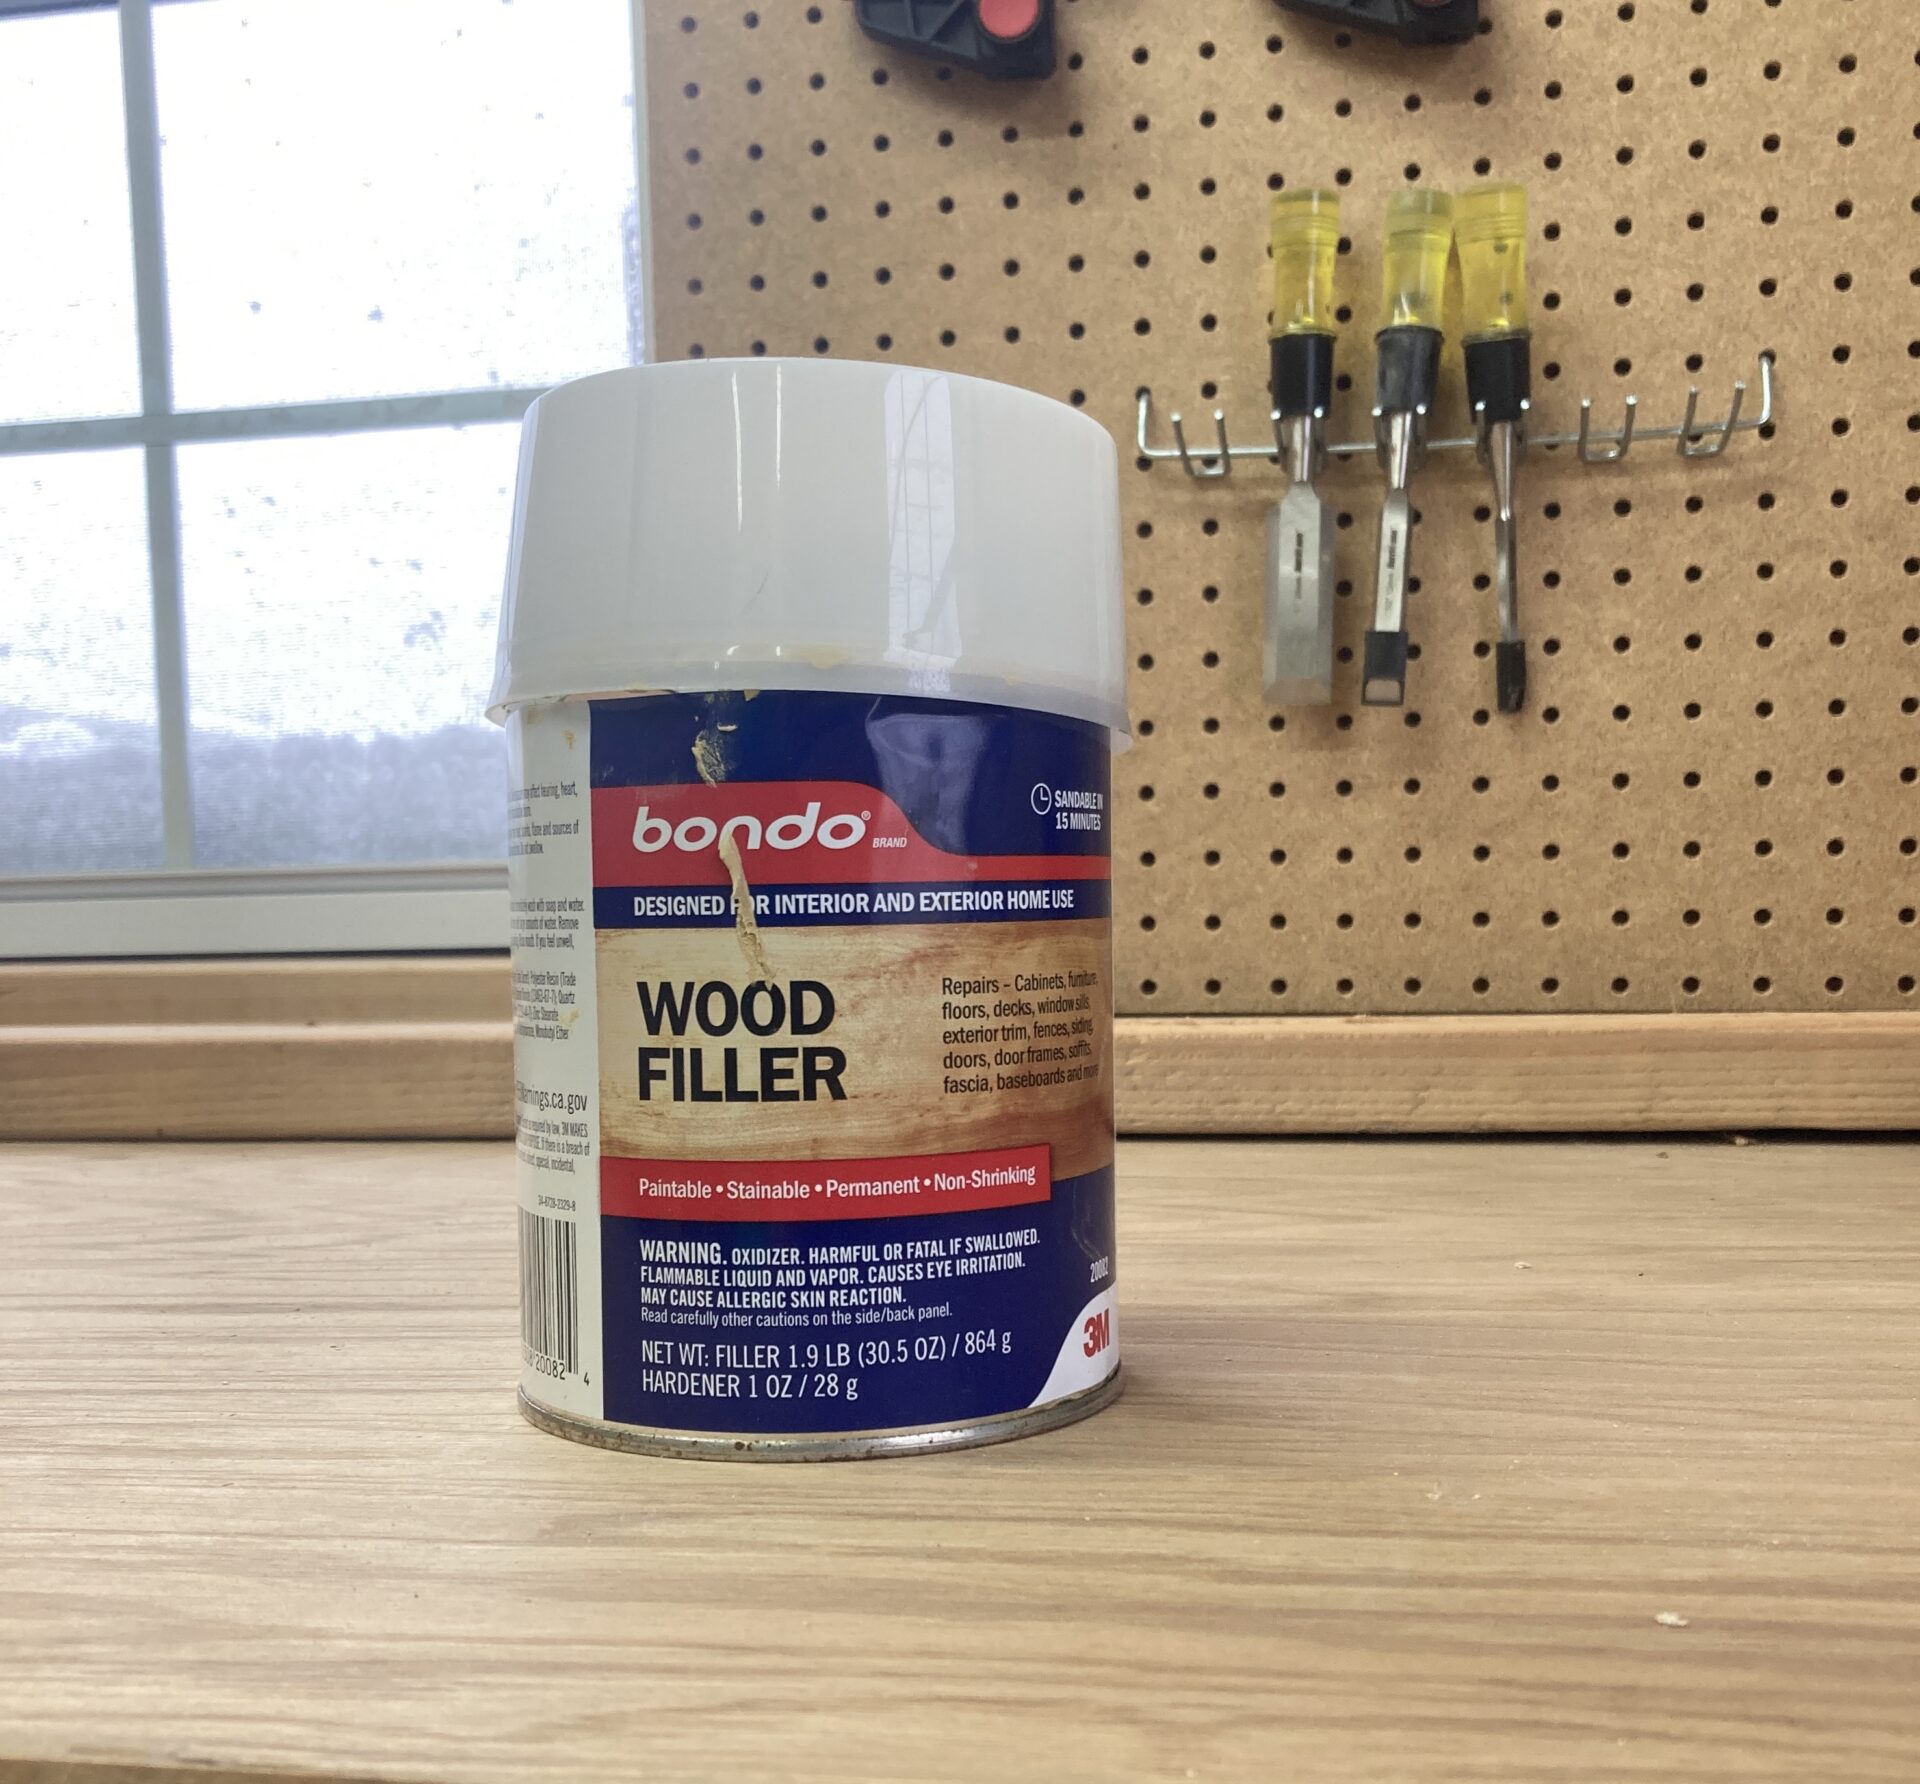
- Bondo product (standard, lightweight, or putty)
- Hardener (often included)
- Mixing board and spreader
- Sandpaper in 80, 120, 180, 220 grits
- Clean rags and solvent
- Primer and paint
- Gloves, eye protection, and respirator
Costs vary, but a small kit usually runs low to mid price. Investing in good sandpaper and a proper primer makes the repair last longer.

Frequently Asked Questions of bondo wood filler guide
What surfaces can Bondo wood filler bond to?
Bondo bonds to wood, metal, fiberglass, and many plastics. Proper surface prep improves adhesion and durability.
How long does Bondo take to cure?
Bondo sets in minutes and can be sanded in 15–30 minutes under normal conditions. Full cure strength develops over several hours.
Can I stain Bondo to match wood grain?
No. Bondo does not accept stain like wood. Use Bondo for painted finishes or cover with veneer for natural grain looks.
Is Bondo waterproof?
Bondo is water-resistant when cured and sealed with paint, but it is not a waterproof repair by itself. For submerged or high-moisture areas, use marine-grade epoxy.
Can I use Bondo on structural wood repairs?
Bondo can fill and reinforce small areas but is not a replacement for true structural repair. For load-bearing fixes, pair Bondo with proper mechanical or epoxy repairs.
How much hardener should I mix with Bondo?
Follow the product instructions for the ratio. Small deviations can change cure and strength, so measure carefully.
Conclusion
This bondo wood filler guide gives clear, practical steps for choosing, mixing, applying, and finishing Bondo repairs. Use the right formula, prep surfaces well, mix small batches, and finish with proper sanding and primer to get long-lasting results. Try a small test patch first and adjust technique for your project. If this guide helped, subscribe for more repair tips or leave a comment with your project questions.