A practical, step-by-step Lokman rivet nut kit guide for reliable blind nut installs.
I have worked with fasteners for years and I wrote this Lokman rivet nut kit guide to help you pick, use, and troubleshoot a rivet nut kit with confidence. This article breaks the kit down into clear parts, shows step-by-step installation, offers real-world tips from my shop experience, and covers common problems and solutions. Read on to learn how the Lokman rivet nut kit guide can save you time, reduce errors, and give strong, repeatable threaded anchors in thin materials.

What is the Lokman rivet nut kit guide and why it matters
The Lokman rivet nut kit guide explains how to use a rivet nut kit to add strong threads to thin metal, plastic, or composite parts. The guide covers parts, sizes, tools, and best practices for reliable installs. The Lokman rivet nut kit guide matters because rivet nuts let you add threaded anchors where you cannot tap a hole. This opens design options and fixes retrofit needs fast. The guide also helps avoid weak installs and wasted parts.

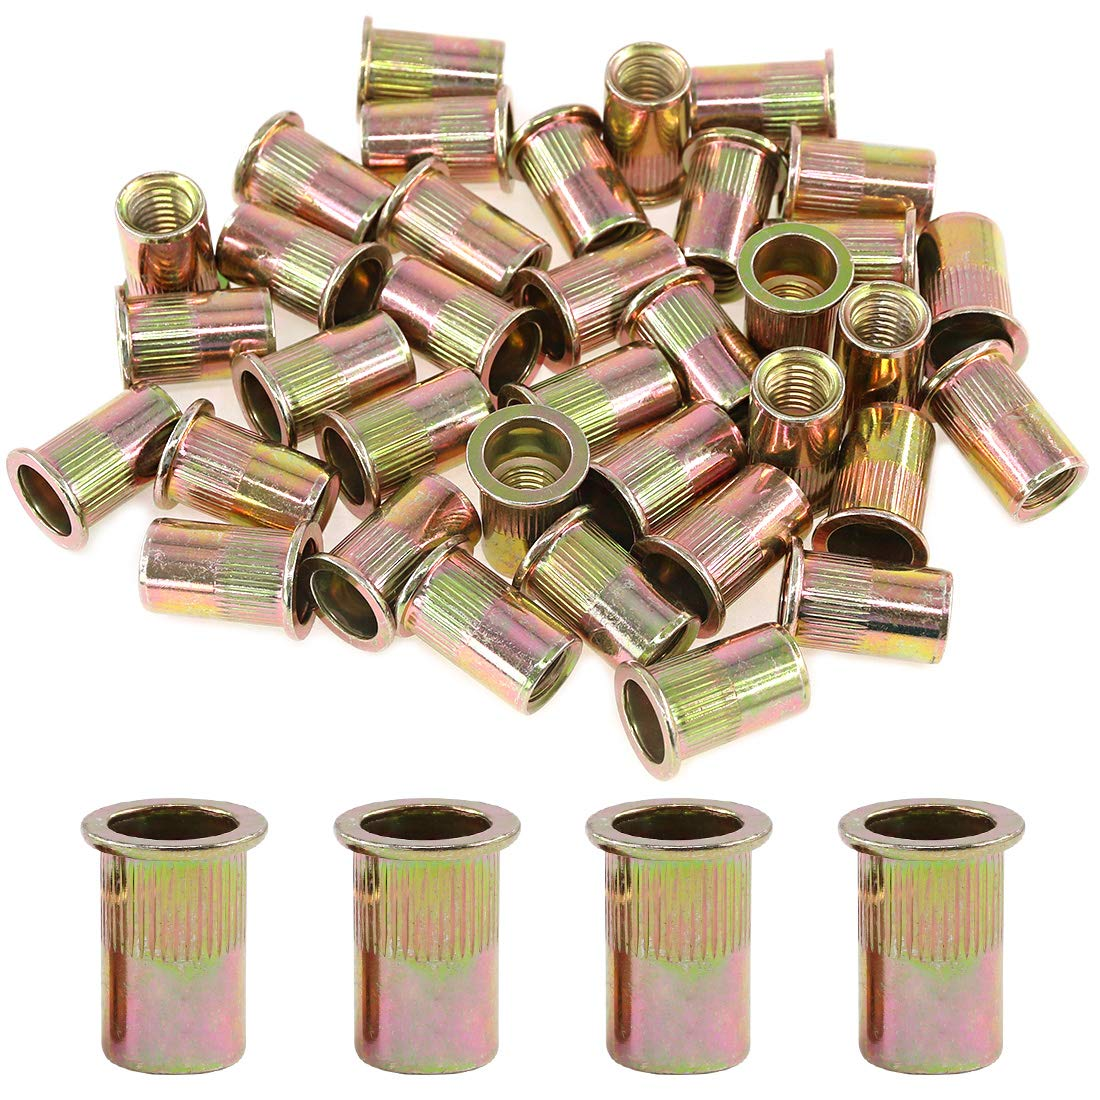
Key components in a Lokman rivet nut kit
A clear parts list makes installs smooth. Here are what you will find and why they matter.
- Rivet nuts
- Blind threaded inserts that expand to grip the base material.
- Common shapes include round and hexagonal.
- Mandrels and nosepieces
- These attach to the rivet nut tool and match rivet nut sizes for proper setting.
- Hand or pneumatic tool
- A manual or air tool compresses the rivet nut. Some kits include both.
- Spanner, wrenches, and sample gauge
- For changing mandrels and testing installed nuts.
- Case and instructions
- Keep parts organized and track size markings.
The Lokman rivet nut kit guide teaches you which component matches which part and how to care for each tool.
How to choose the right rivet nut size and material
Choosing wrong wastes parts and weakens the joint. Use these simple checks.
- Match thread size to the bolt you plan to use.
- Check grip range vs. base material thickness.
- Choose material to match environment: steel for strength, stainless for corrosion resistance, and aluminum for light weight.
- Use geometry: hex rivet nuts resist spin in soft panels. Round nuts work for thin sheet where access is restricted.
The Lokman rivet nut kit guide shows how to read thickness charts and pick mandrel noses that fit. I learned early that trial pieces save time and money. Test one part before a big run.

Step-by-step: installing a rivet nut using the Lokman rivet nut kit guide
Follow this method for neat and strong installs.
- Prepare the hole
- Drill or punch the correct hole size. Clean burrs and chips.
- Place the rivet nut on the mandrel
- Thread the rivet nut onto the tool nose gently. Hand-start to avoid cross-threading.
- Insert the rivet nut into the hole
- Push the part flush to the panel. Check alignment.
- Compress the rivet nut
- Operate the tool until the rivet nut forms a strong flange. See the tool stop or feel resistance.
- Remove the tool and verify
- Thread the bolt in to confirm engagement. Check for wobble or movement.
This step list from the Lokman rivet nut kit guide keeps installs fast and repeatable. A test fit saved me from wasting dozens of nuts on a mis-sized panel.

Common mistakes and how the Lokman rivet nut kit guide helps you avoid them
Avoid these frequent errors for better results.
- Wrong hole size
- Drill template and verify with a sample rivet nut.
- Over-torquing the bolt
- Use recommended torque. Excessive torque strips threads or pulls the nut out.
- Using the wrong mandrel
- Match mandrel to rivet nut size. Wrong mandrel will deform the nut.
- Poor surface prep
- Clean and de-burr holes to ensure full clamp and grip.
The Lokman rivet nut kit guide highlights these risks and shows exact fixes. I once installed softer nuts in a steel panel without a washer and lost clamp strength. A simple washer and correct torque fixed it.

Tools and accessories that improve results
A few add-ons make installs consistent and faster.
- Torque-limiting driver
- Prevents stripped threads and over-stressing the insert.
- Hole gauge and step drill
- Quick way to hit the correct hole size every time.
- Backup jaw or spin-prevention plate
- Stops the rivet nut from spinning in soft or thick panels.
- Thread-locking compound
- Use where vibration would loosen the fastener.
The Lokman rivet nut kit guide recommends these to reduce rework and improve joint life. I keep a small kit of spares in my van for on-site fixes.

Performance, limits, and testing
Know what a rivet nut can and cannot do.
- Strength depends on base material, insert size, and embedment.
- Rivet nuts are not meant to replace studs in heavy-load structures without engineering review.
- Test installed inserts with a pullout or torsion check when strength is critical.
- Environmental factors like salt and heat affect long-term performance. Choose stainless or coated parts for longevity.
The Lokman rivet nut kit guide urges testing and conservative design. I always document pull-out tests for client projects to show safety margins.

Maintenance and storage tips from field experience
Care for tools and parts to keep the kit ready.
- Clean and oil mandrels lightly after use.
- Store nuts in labeled compartments.
- Inspect nosepieces for wear before big jobs.
- Rotate stock to avoid long-term corrosion on plated parts.
These small habits in the Lokman rivet nut kit guide saved me downtime and replaced fewer tools. Proper care keeps installs stable and predictable.

Case studies and practical examples
Short examples help you apply the Lokman rivet nut kit guide.
- Automotive dash retrofit
- Problem: thin steel panel needed new threaded points. Solution: hex rivet nuts prevent spin and give strong anchor for trim screws. Result: secure fit with no panel distortion.
- Marine outlet install
- Problem: saltwater exposure. Solution: stainless rivet nuts and sealed through-bolts. Result: rust-free holds after seasonal tests.
- Solar mount retrofit
- Problem: aluminum rail needed threaded studs. Solution: use aluminum rivet nuts sized to grip the rail. Result: light, corrosion-safe anchor for panels.
These examples show typical uses covered in the Lokman rivet nut kit guide. Try a mock fit to confirm choices for your part.
Buying guide: what to look for in a Lokman rivet nut kit
Select a kit that matches your work and budget.
- Included sizes and thread types
- Ensure the kit covers the thread sizes you use most.
- Tool quality
- Durable tools save time. Look for replaceable mandrels.
- Spare parts and cases
- Organized storage and spares reduce job delays.
- Warranty and support
- Good vendors offer guidance and part replacement.
The Lokman rivet nut kit guide recommends investing in a mid-range kit if you use rivet nuts regularly. A cheap tool often costs more in scrap and time.
Personal tips and lessons learned
Practical advice from my hands-on work using rivet nut kits.
- Always test one piece first to verify hole size and grip.
- Label mandrels and nosepieces for quick swaps.
- Keep a small calibration chart in the case for fast checks.
- Train helpers on correct mandrel change to avoid cross-threading.
These small steps from the Lokman rivet nut kit guide speed work and cut errors. I learned the hard way that clear labeling prevents wrong mandrel use on busy jobs.
Frequently Asked Questions of lokman rivet nut kit guide
What is a rivet nut and when should I use one?
A rivet nut is a blind threaded insert that expands to grip the material. Use it when the base is too thin to tap threads or when you need a strong anchor on one side only.
How do I pick the correct hole size for a rivet nut?
Consult the kit chart or test with a sample insert. Measure the rivet nut’s outer diameter and use the recommended drill size to ensure a snug fit.
Can I install rivet nuts with hand tools?
Yes, many kits include a hand rivet nut tool. For higher volume or thicker materials, a pneumatic tool is faster and less tiring.
Do rivet nuts work in plastic and composites?
They can, but choose the right type and possibly use backing plates. Softer materials may need larger contact areas or hex inserts to prevent spin.
How do I prevent a rivet nut from spinning in the hole?
Select a hex or serrated rivet nut for anti-spin action, or use a backing plate or adhesive for soft materials. Proper hole fit and correct mandrel help too.
How much torque can a rivet nut take?
Torque limits depend on insert size, material, and base thickness. Check manufacturer specs and run a pull or torque test for critical joints.
Conclusion
This Lokman rivet nut kit guide gives you clear steps, tools, and tips to choose and install rivet nuts with confidence. Use the right size, test first, and care for your tools to get reliable anchors every time. Take one small action today: test a rivet nut on a scrap piece to confirm fit and torque. If this guide helped, try a kit and share your results or questions below — I’d love to hear about your projects.