Crimping tool vs wire stripper: crimping secures connectors, while strippers remove insulation for safe, clean wires.
I’ve spent years wiring homes and fixing electronics. I know how confusing the tools can be. This article breaks down crimping tool vs wire stripper. You will get clear definitions, side-by-side differences, when to use each, real tips from hands-on work, and step-by-step how-tos. Read on and you will feel confident picking and using the right tool for the job.
Definitions: crimping tool vs wire stripper
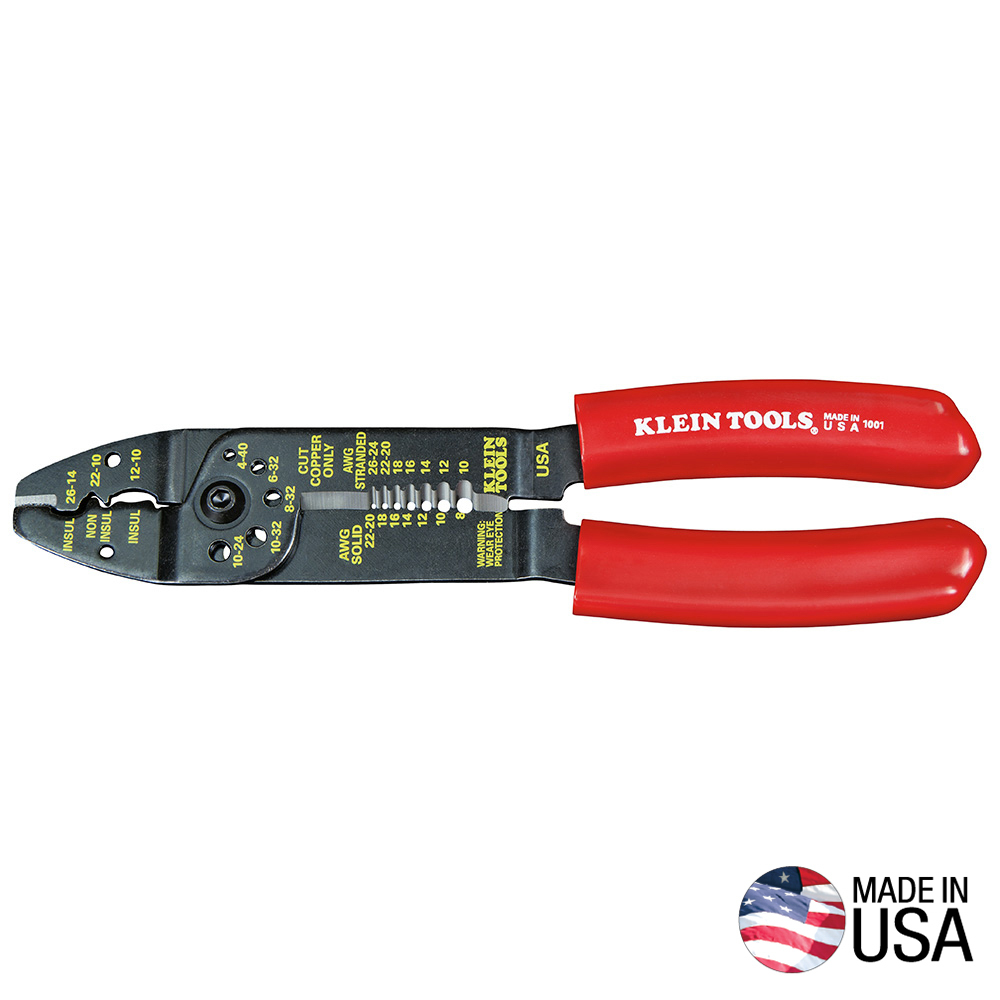
A crimping tool compresses a connector onto a wire. It forms a tight mechanical and electrical join. Crimped joints can be fast and durable when done right.
A wire stripper removes the plastic or rubber insulation from a wire. It exposes the metal core for soldering, crimping, or connecting. Good stripping preserves the conductor and avoids nicks.
Why this matters: you rarely use one without the other. You strip to expose metal. You crimp to secure a terminal or plug. That simple flow helps most wiring jobs go smoothly.

Key differences: crimping tool vs wire stripper
Here are the main contrasts to help quick decisions.
- Purpose: A crimping tool attaches a terminal to a wire. A wire stripper removes insulation cleanly.
- Action: Crimping deforms a metal sleeve or connector. Stripping cuts and pulls insulation away.
- End result: Crimping makes a permanent mechanical join. Stripping prepares the conductor for a join.
- Skill level: Both need care. Crimping needs correct die and pressure. Stripping needs correct gauge setting.
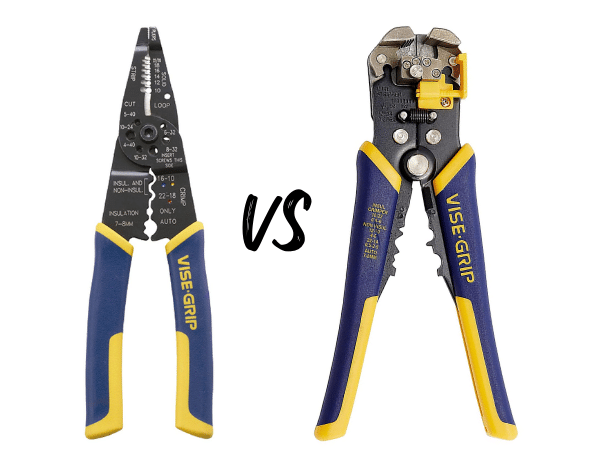
- Tools: Some multi-tools combine stripping and crimping. Dedicated tools often perform better.
- Typical use cases: Crimping for terminals and RJ45/RJ11 plugs. Stripping for any exposed conductor work.
Real example: when I made Ethernet cables, I stripped 10 mm of jacket, untwisted pairs, then used a crimping tool to seat the RJ45 connector. Bad stripping or wrong crimping ruined the cable.

When to use each: practical scenarios
Use a wire stripper when you need to expose the conductor. This includes soldering, joining, or inserting into a terminal block.
Use a crimping tool when you attach ring terminals, butt splices, insulated terminals, or network plugs. Crimps give a solid, repeatable join.
People also ask:
Q: Can you crimp without stripping?
A: No. You must strip the wire enough to seat the conductor in the connector before crimping.
Q: When is soldering better than crimping?
A: Soldering works when space is tight and you need a conductive join, but it can make the join brittle without proper strain relief.
From my work: I once crimped speaker leads with the wrong die. The crimp looked tight but failed under vibration. Lesson learned: match the terminal, strip correctly, test the pull force.

Types and features: choosing crimping tool vs wire stripper
Crimping tool types
- Ratchet crimpers: lock until full compression. Good for consistent crimps.
- Manual pliers: quick, affordable, less consistent.
- Modular crimpers: for specific plugs like RJ45.
- Hydraulic crimpers: heavy duty for large cables.
Wire stripper types
- Adjustable strippers: set to AWG sizes. Good for various wires.
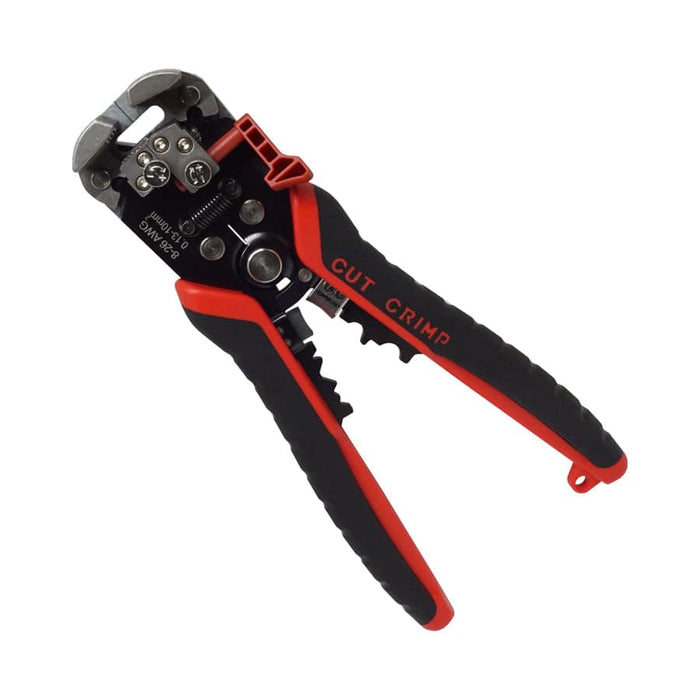
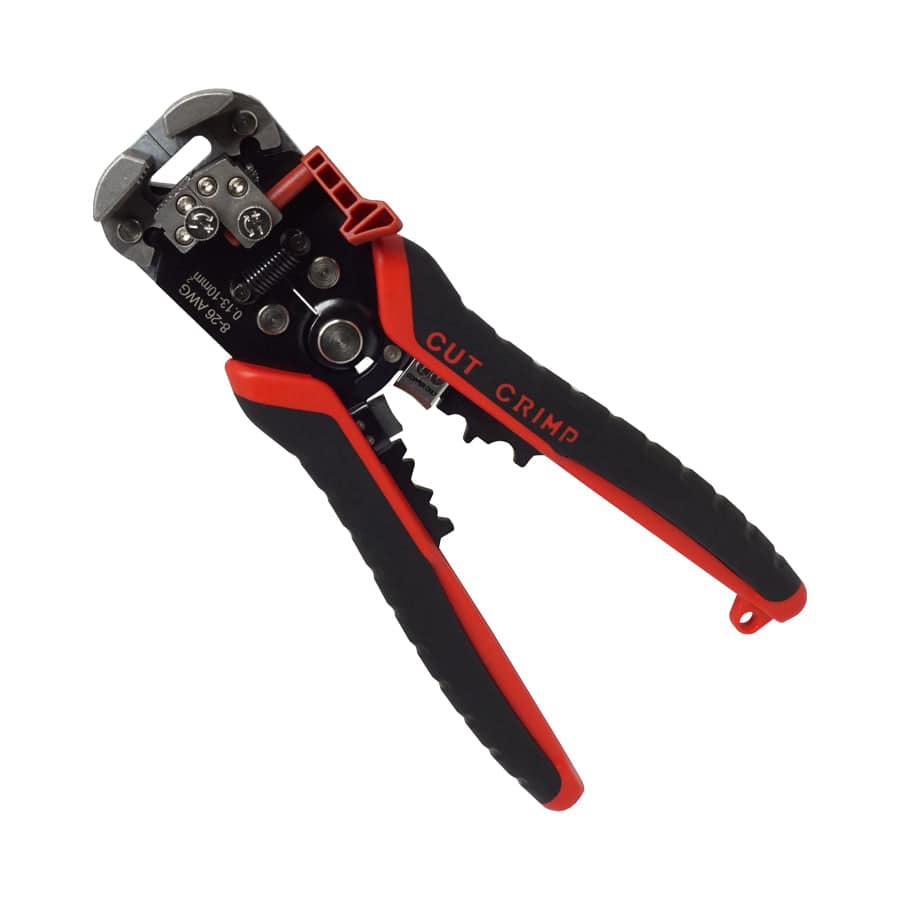
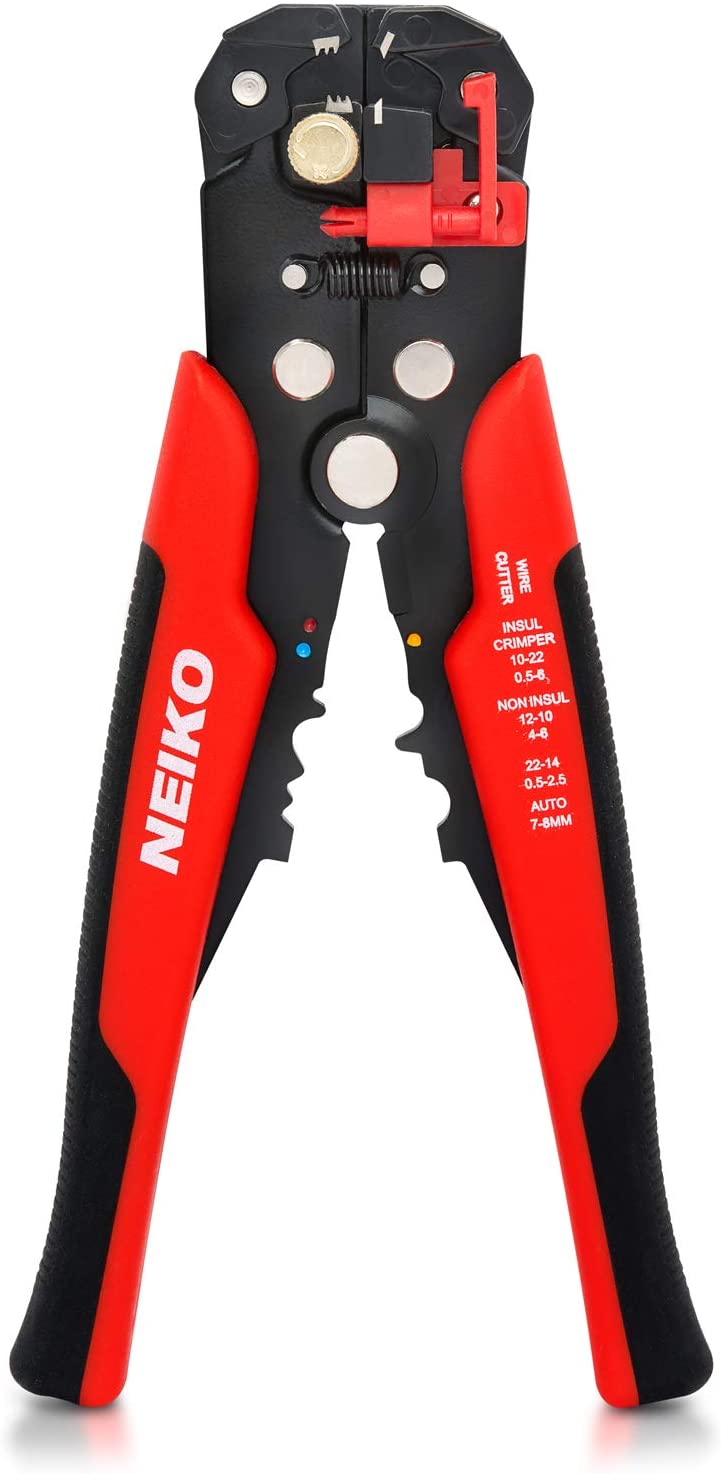
- Self-adjusting strippers: pull and strip in one motion. Fast for many tasks.
- Thermal strippers: melt insulation for delicate wires.
Feature checklist when you buy
- AWG range: fit your wire sizes.
- Die options: matches terminals.
- Ratchet action: ensures consistent crimps.
- Jaw alignment: prevents poor crimps or nicks.
- Comfort grips: reduce hand fatigue.
I prefer a ratchet crimper for automotive work. For small electronics, a fine adjustable stripper works best.
How to choose: practical buying guide
Decide by task and budget. For occasional home tasks, a mid-range multi-tool works well. For pro work, buy dedicated crimpers and a quality stripper.
Steps to choose
- List common wire sizes you use.
- Check tool AWG range and die compatibility.
- Look for ratchet action if you need repeatable crimps.
- Test ergonomics in hand if possible.
- Read spec on insulation types and terminal formats.
If buying one tool only
- Choose a solid wire stripper with decent gauge settings.
- Pick a small modular crimper if you do network plugs often.

Step-by-step: how to strip and crimp correctly
Follow these simple steps for reliable results.
- Measure and mark how much insulation to remove.
- Set the stripper to the correct AWG.
- Strip smoothly and inspect the conductor. Avoid nicks.
- Choose the right connector and match it to the wire gauge.
- Insert the stripped conductor fully into the connector barrel.
- Position the connector in the correct crimp die.
- Squeeze the crimping tool until the ratchet releases.
- Inspect the crimp for tightness and correct shape.
- Pull test gently to confirm the connection holds.
- Add heat-shrink or insulation if needed.
Tip: For stranded wire, twist strands lightly before inserting. For plated wire, ensure full contact surface inside the barrel.
Common mistakes and troubleshooting
Avoid these common errors I see in the field.
- Using wrong gauge: leads to loose or crushed conductors.
- Over-stripping: reduces wire length and strength.
- Under-stripping: prevents full insertion into connector.
- Wrong die or connector: crimps look fine but fail under load.
- Skipping pull tests: missed failures show up later.
Troubleshoot quick
- If crimp slips, re-crimp with correct die and test again.
- If conductor frays when stripping, check stripper blade alignment.
- If network cables fail, ensure pins are fully seated in modular connector.
Maintenance and safety
Care keeps tools accurate and safe. Clean blades and dies after use. Lubricate pivot points lightly. Store tools dry to avoid rust.
- Wear eye protection when cutting or stripping.
- Keep fingers clear of crimp jaws.
- Use the right tool for the wire size.
- Do not reuse damaged connectors.
I keep a small calibration check rig in my toolkit. I pull a known weight on a crimp to verify consistency. It saves time and prevents field failures.
Frequently Asked Questions of crimping tool vs wire stripper
What is the main difference between a crimping tool and a wire stripper?
A crimping tool secures connectors by deforming metal sleeves. A wire stripper removes insulation to expose the conductor for connections.
Can I use pliers instead of a crimping tool?
You can in a pinch, but pliers often give unreliable crimps. Use a proper crimper for safe, repeatable joints.
How much insulation should I strip before crimping?
Strip just enough so the conductor fills the connector barrel. Typically 3 to 8 millimeters depending on the terminal.
Are self-adjusting strippers accurate for all wires?
Self-adjusting strippers work well for common sizes but can struggle with very thin or very thick wires. Verify the cut and avoid nicks.
Do crimped connections need soldering?
No. Correct crimping creates a solid mechanical and electrical joint without solder. Soldering is sometimes used for extra conductivity but can cause stress.
How do I test a crimped connection?
Visually inspect the crimp shape, then perform a gentle pull test and check continuity with a meter if needed.
Conclusion
Choosing between a crimping tool vs wire stripper is not about one being better. They do different jobs. Strip first. Crimp next. Learn the right sizes and practice simple steps. My advice: invest in a good stripper and a ratchet crimper for reliable work. Try a small practice batch before any important job, and test each crimp.
Take action: check your toolkit now. Buy the right matching dies and terminals. Leave a comment with your tool choices or a problem you want help with.