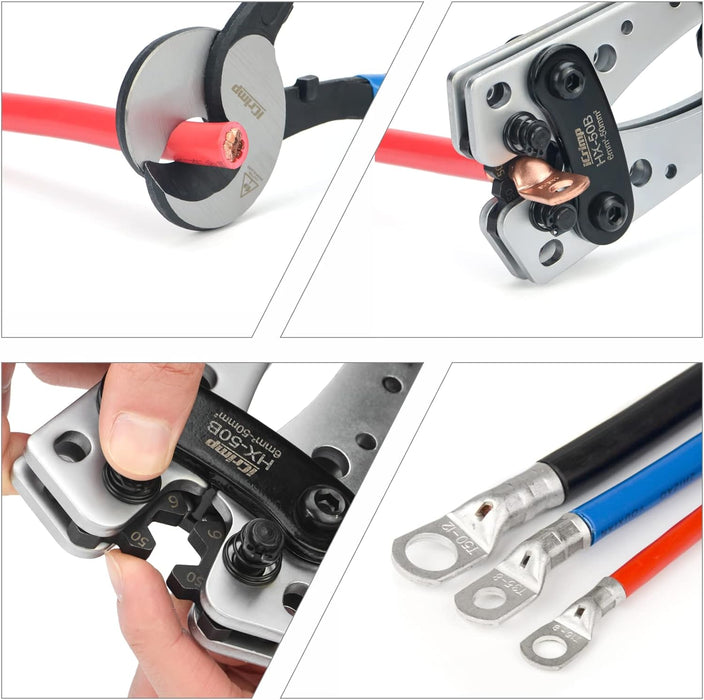
A cable lug crimping tool creates a safe, durable electrical joint by compressing lugs onto wires.
I’ve spent years working on electrical panels and field installs, and this cable lug crimping tool guide will help you pick, use, and maintain the right crimper. You’ll get clear steps, safety tips, common fixes, and real-world advice that I’ve learned the hard way. Read on to save time, avoid rework, and make reliable connections every time.
Why proper crimping matters
Good crimping keeps electricity flowing and prevents heat, corrosion, and failures. A bad crimp can raise resistance and cause fires or downtime. This cable lug crimping tool guide explains why pressure, die fit, and technique all matter. Follow basic checks to ensure every joint is safe and long lasting.

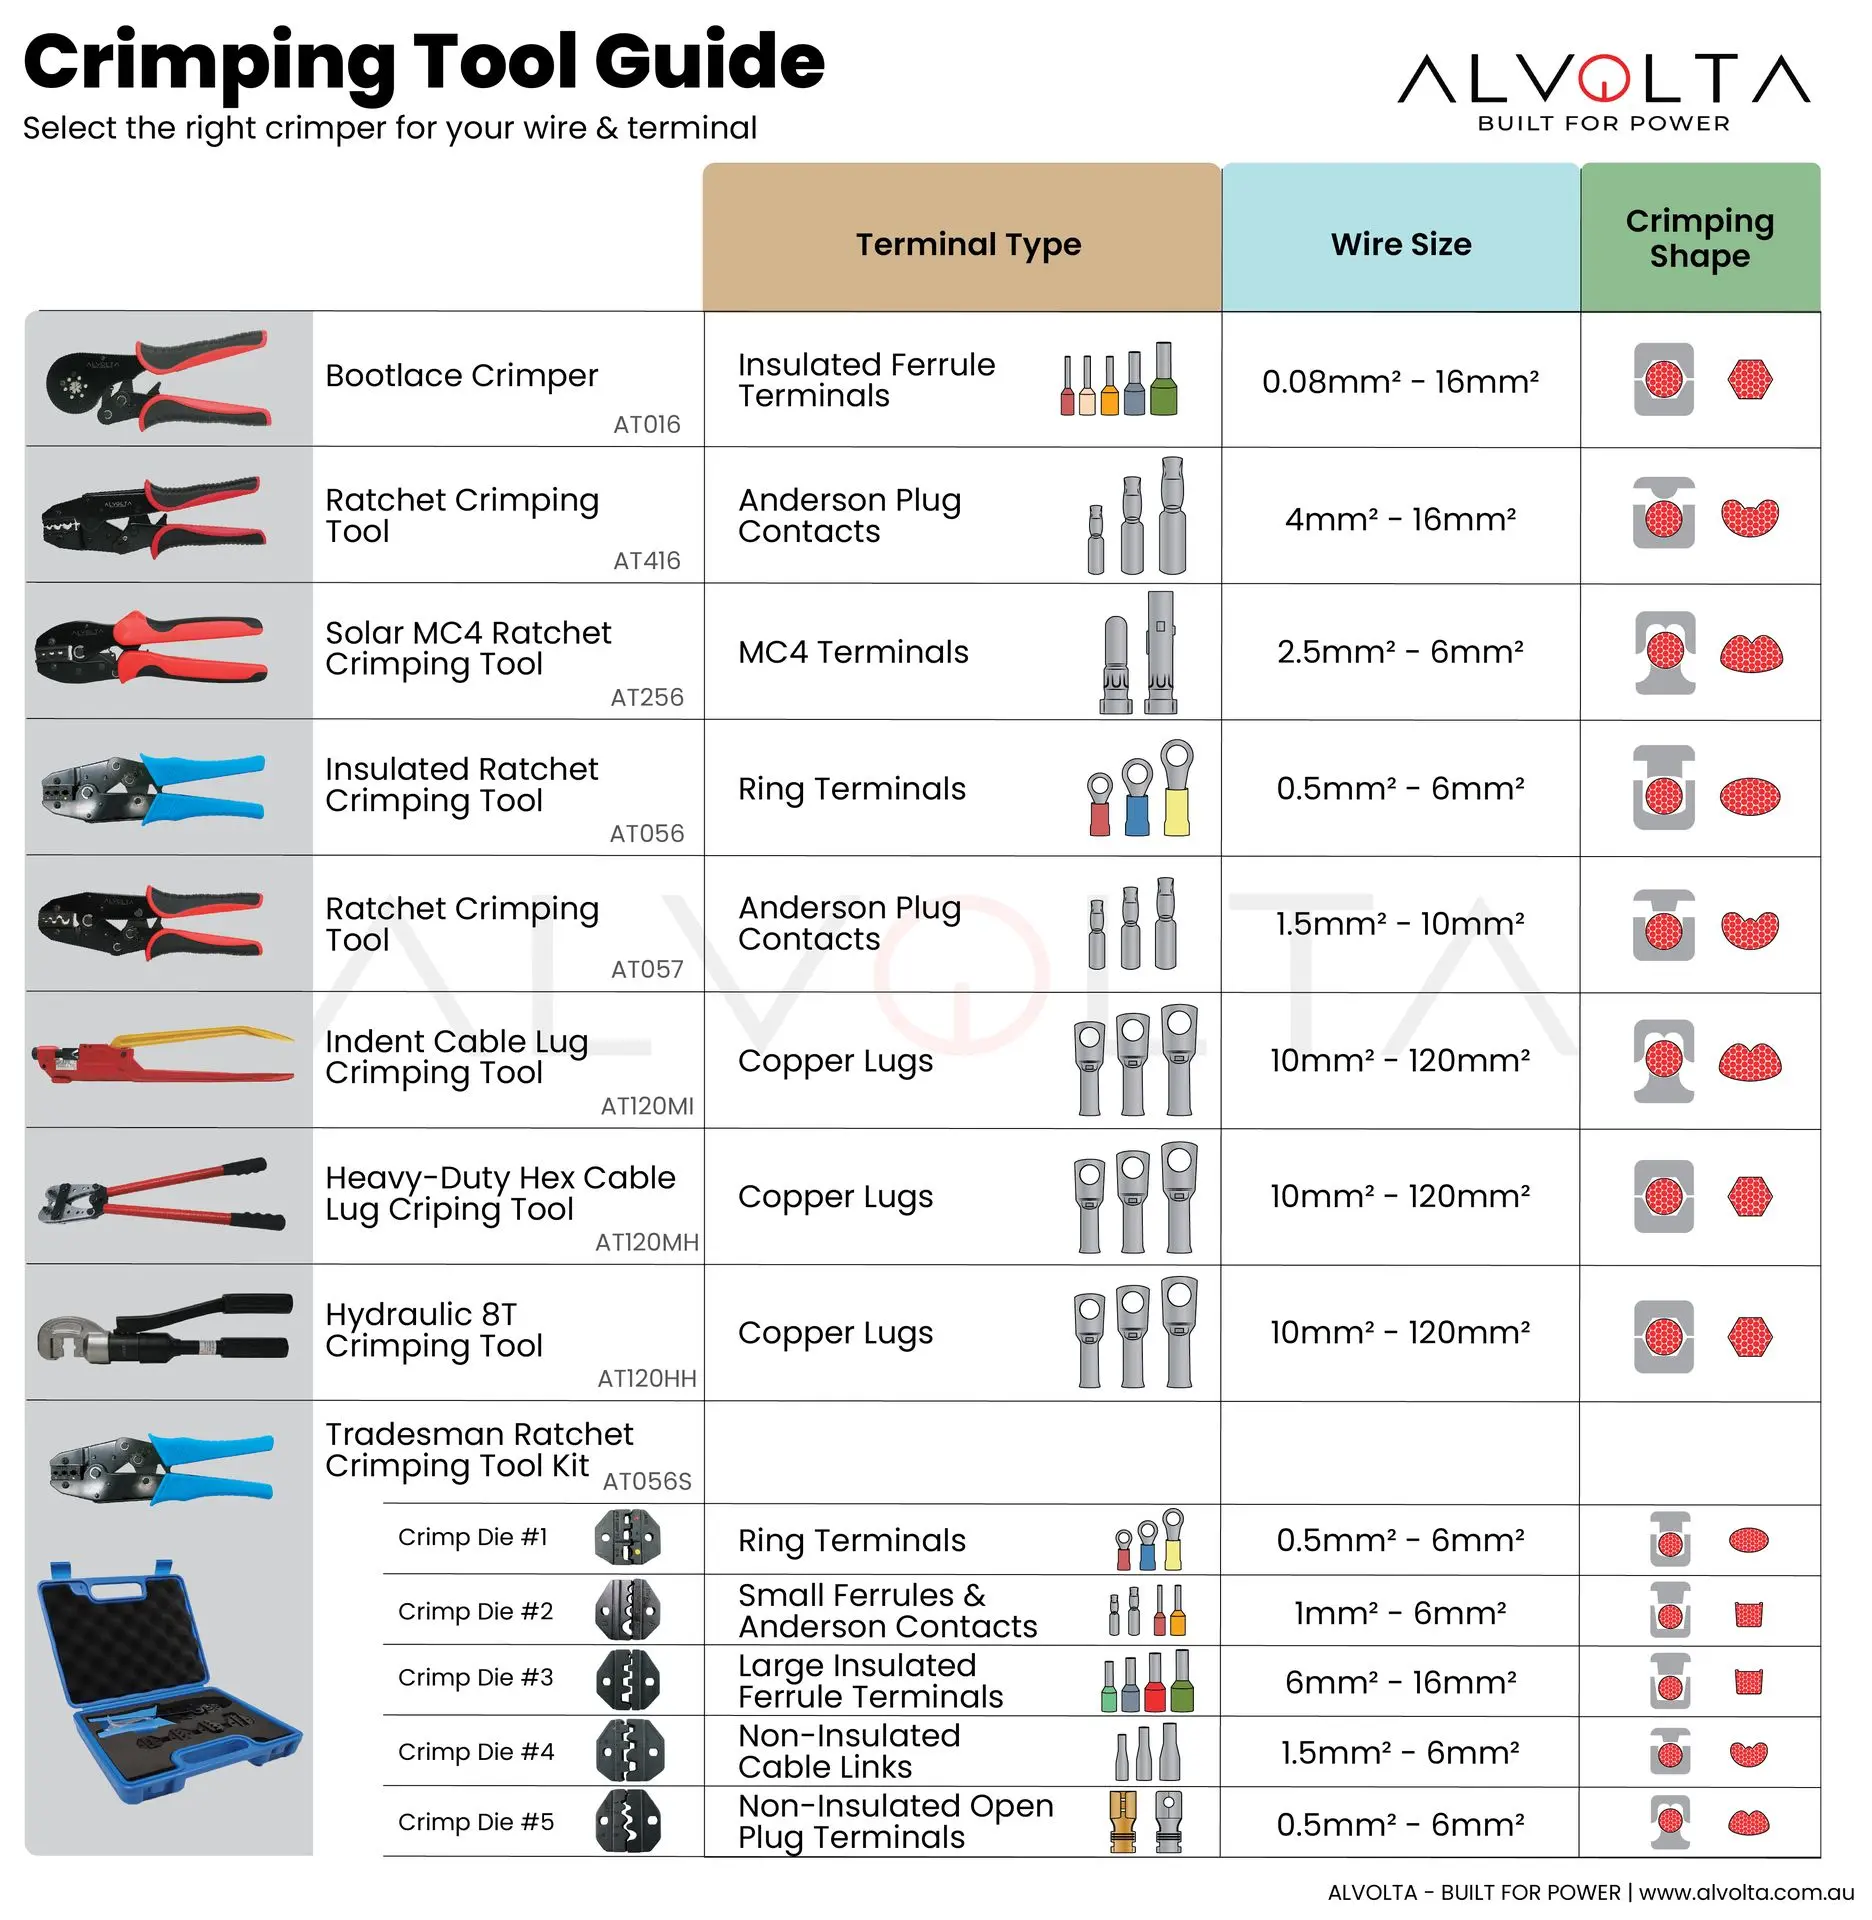
Types of cable lug crimping tools
Choose a type that matches your work. Each tool suits certain wire sizes and job scopes.
- Hand crimpers — Simple pliers-style tools. Best for small wires and light work.
- Ratchet crimpers — Provide consistent pressure and release only when the crimp is complete.
- Hydraulic crimpers — Use fluid power for large cables and heavy-duty lugs.
- Battery-powered crimpers — Portable and fast for site work with larger cables.
- Pneumatic crimpers — Great for high-volume shop work where air power is available.
This cable lug crimping tool guide helps match tool type to job needs and budgets.
How to choose the right cable lug crimping tool
Pick a tool based on cable size, lug type, volume, and precision needs. Consider these points.
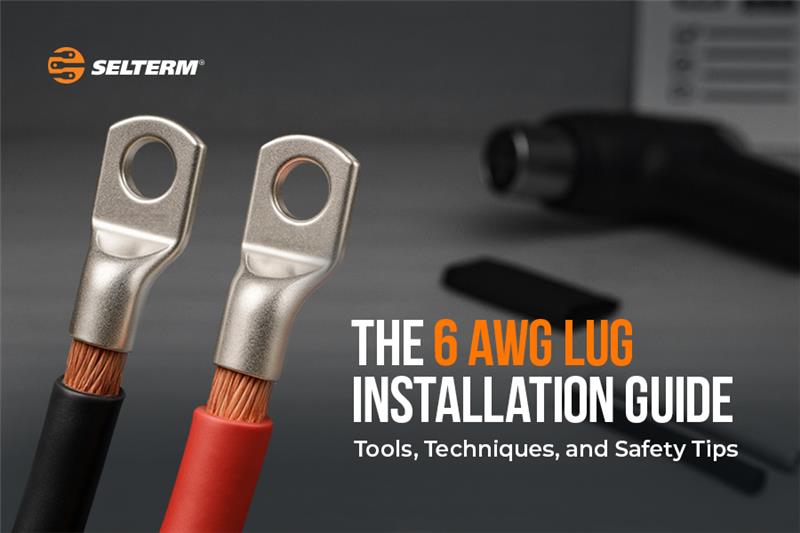
- Cable size compatibility — Match the tool’s die range to your conductor AWG or mm².
- Lug material and shape — Some tools fit closed-barrel, open-barrel, or flared lugs.
- Crimp quality standard — Choose tools rated to meet standards like UL, IEC, or manufacturer specs.
- Repeatability — Ratchet or hydraulic crimpers give repeatable crimps for many connections.
- Portability and power — Hand or battery tools for field work; hydraulic for heavy cables.
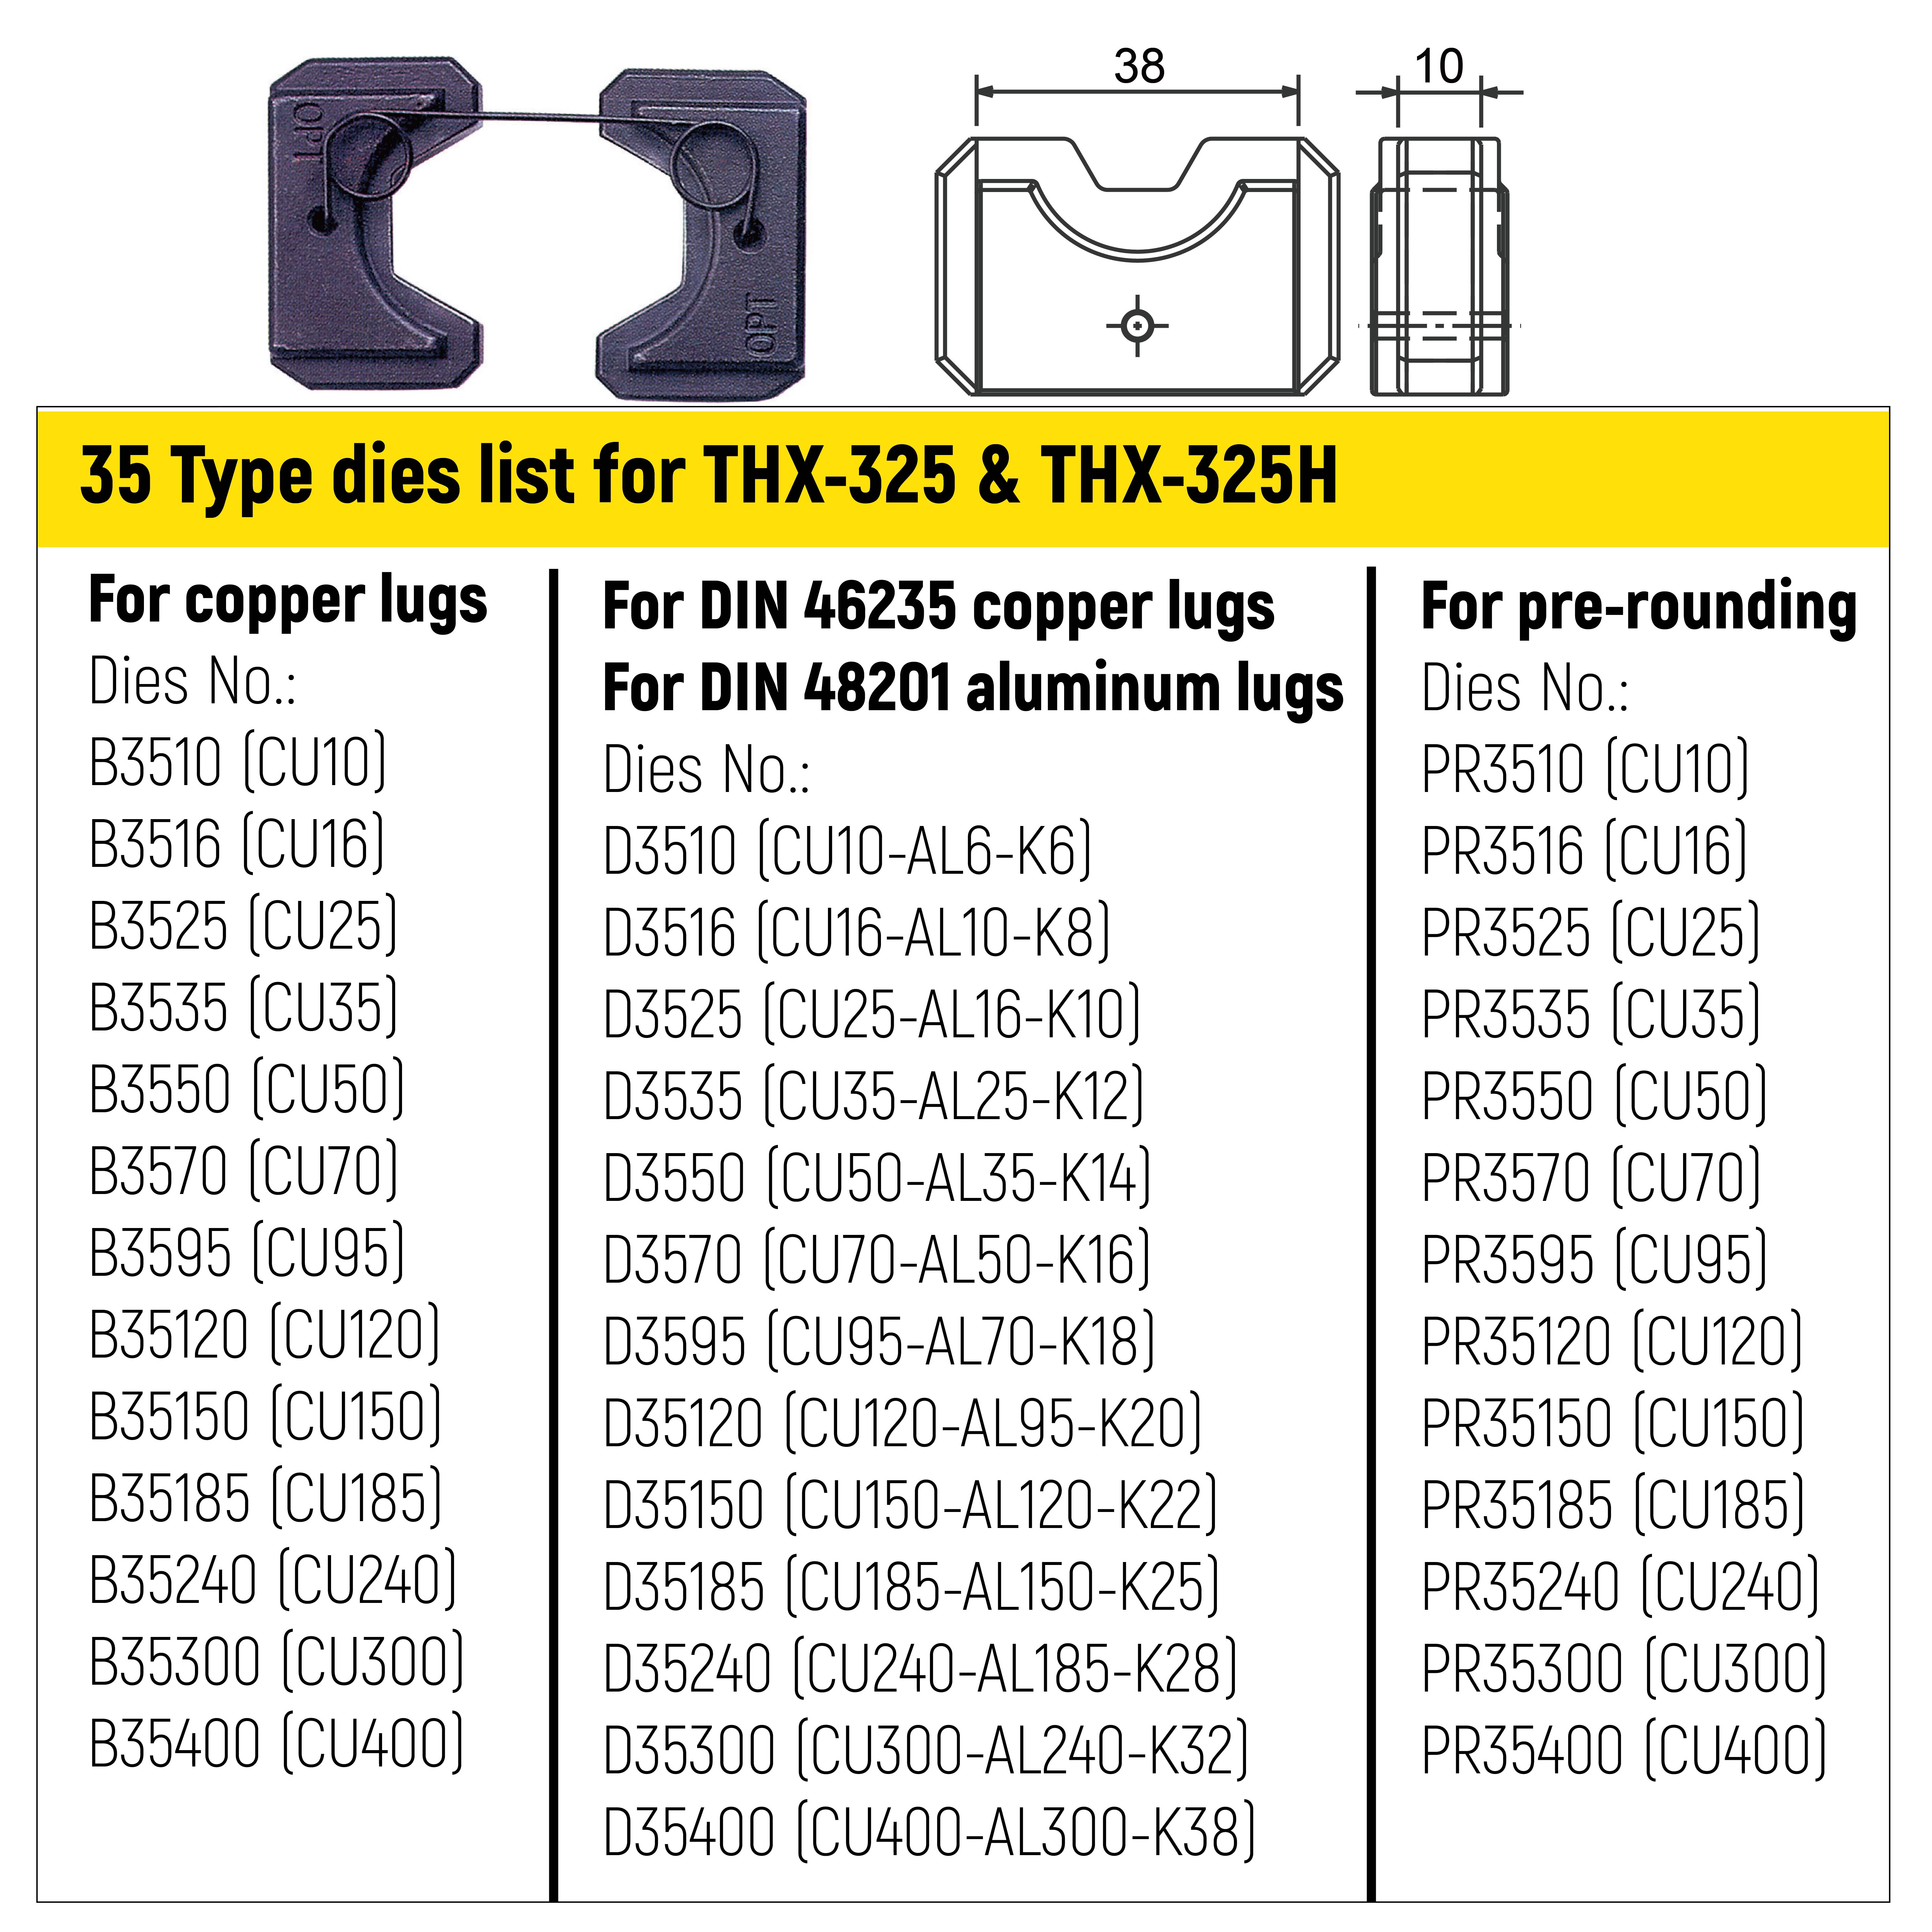
- Budget and spare parts — Factor in dies, calibration, and replacement parts.
This cable lug crimping tool guide helps you weigh cost versus long-term value.
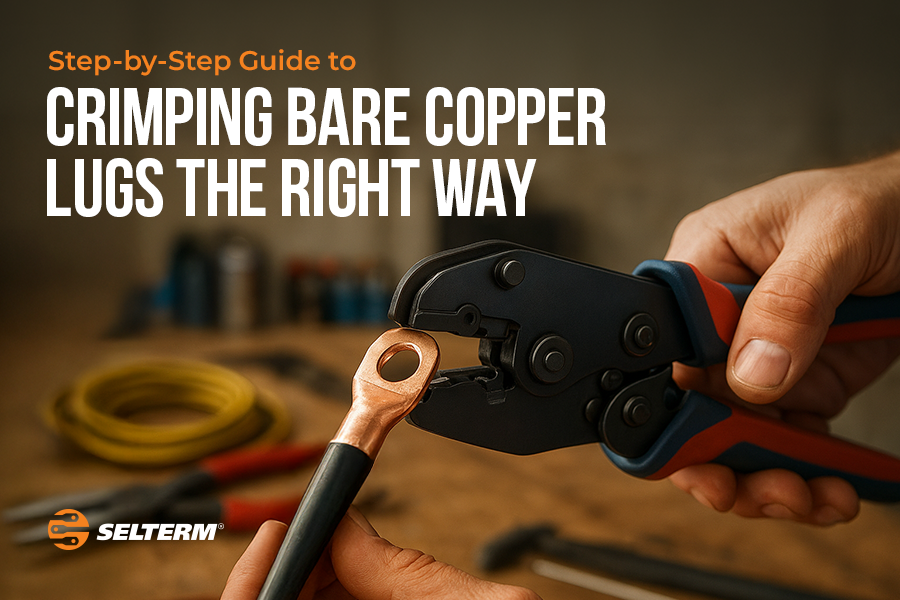
Step-by-step cable lug crimping tool guide
Follow a clear process for safe, reliable crimps. These steps are short and practical.
- Prepare the wire: Strip insulation to the lug’s specified length. Avoid nicking the conductor.
- Select the lug: Match lug type and size to the conductor and application.
- Choose the die or jaw: Fit the die to both lug and wire size. Tight fits reduce falloff.
- Position the lug: Insert the conductor fully into the lug barrel.
- Crimp with steady pressure: Operate the tool until it completes its cycle. Don’t re-crimp a finished crimp.
- Inspect the crimp: Check for tightness, correct shape, and no wire strands outside the barrel.
- Test if needed: Use a tensile pull test or continuity check for critical installations.
This cable lug crimping tool guide gives a step-by-step path that works in shops and on site.

Maintenance, calibration, and safety
Keep tools clean and calibrated for consistent crimps. Simple care extends tool life.
- Clean dies after use — Remove debris and corrosion with a brush and light oil.
- Lubricate moving parts — Use manufacturer-recommended lubricant sparingly.
- Inspect jaws and dies — Replace worn or cracked dies right away.
- Calibrate regularly — Send tools for professional calibration per manufacturer intervals.
- Use PPE — Wear safety glasses and gloves when crimping heavy cables.
- Follow torque and rating limits — Never exceed the tool’s rated capacity.
This cable lug crimping tool guide stresses that maintenance equals reliability.
Common mistakes and troubleshooting
Learn the usual errors and how to fix them quickly.
- Wrong die size — Causes loose or crushed crimps. Fix by matching die to conductor size.
- Stripping errors — Nicked strands reduce strength. Strip carefully or re-cut the conductor.
- Multiple re-crimps — Weakens the lug. Replace the lug and use the correct process.
- Poor lug seating — Leads to high resistance. Ensure full insertion and correct crimp position.
- Ignoring inspection — Skipping tests lets defects pass. Use quick pull or visual checks.
This cable lug crimping tool guide helps you spot issues early and correct them.

Personal experience and pro tips
I once had a three-hour outage fixed by swapping a crimp method. I used cheap pliers before. That ended with a loose joint and a hot lug. After switching to a ratchet crimper and proper dies, the panels stayed cool for years.
Practical tips I use:
- Label dies for quick swaps.
- Keep a small die kit on site for the most common cable sizes.
- Never squeeze a hydraulic crimper with worn seals.
- Always do a pull test on critical feeders.
This cable lug crimping tool guide shares lessons I learned the hard way.
Frequently Asked Questions of cable lug crimping tool guide
What is the best crimper for large battery cables?
For large cables, hydraulic or battery-powered hydraulic crimpers give the needed force and repeatability. They produce clean, compliant crimps for heavy gauges.
How often should crimping tools be calibrated?
Calibrate tools at intervals set by the manufacturer or after a set number of cycles. Regular calibration ensures consistent pressure and safe crimps.
Can I use the same die for different lug materials?
Dies may work across materials but check the lug maker’s specs and standards. Using the wrong die can damage the lug or create a high-resistance joint.
How do I test a crimped connection?
Do a visual check, then perform a pull or torque test for critical connections. You can also test continuity and resistance with a multimeter.
Is soldering a better option than crimping?
Soldering and crimping serve different needs. Crimping is faster and more reliable for vibration-prone or load-bearing joints. Use soldering only where specified.
What safety gear should I use when crimping?
Wear eye protection and cut-resistant gloves for heavy cables. Keep fingers clear of moving parts and follow lockout procedures for live circuits.
Conclusion
A solid crimp is a simple step that prevents big problems. Use the right tool, match dies and lugs, follow the steps, and inspect each joint. Start today by checking your die sizes and scheduling tool calibration. Try one tip from this cable lug crimping tool guide on your next job and notice the difference. Share your experience, subscribe for updates, or leave a comment below.