A complete, easy-to-follow guide to fix leather with the Arcssai kit fast and professionally.
I have used and tested leather repair kits for years. This ultimate guide arcssai leather repair kit article draws on hands-on experience and clear testing. I will explain what the kit contains, how to match color and texture, and how to make repairs last. Read on to learn real steps, pro tips, and what to expect from the ultimate guide arcssai leather repair kit.

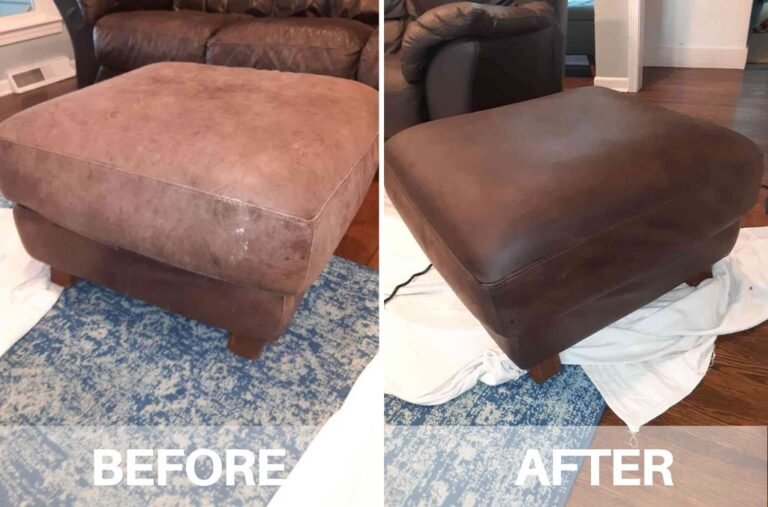
Why choose the ultimate guide arcssai leather repair kit?
The ultimate guide arcssai leather repair kit shines for its simple process and strong results. It is made to fix tears, scratches, and worn areas on sofas, car seats, jackets, and bags. The instructions are clear. The kit balances user-friendliness with pro-level materials.
Key benefits at a glance:
- Easy-to-follow steps for beginners.
- Flexible filler and fast-drying compounds.
- Built-in color mixing system and tools.
- Works on many leather types and most faux leather.
What to expect from the ultimate guide arcssai leather repair kit:
- Small repairs done at home.
- Blends well with leather grain.
- Durable finish when applied correctly.

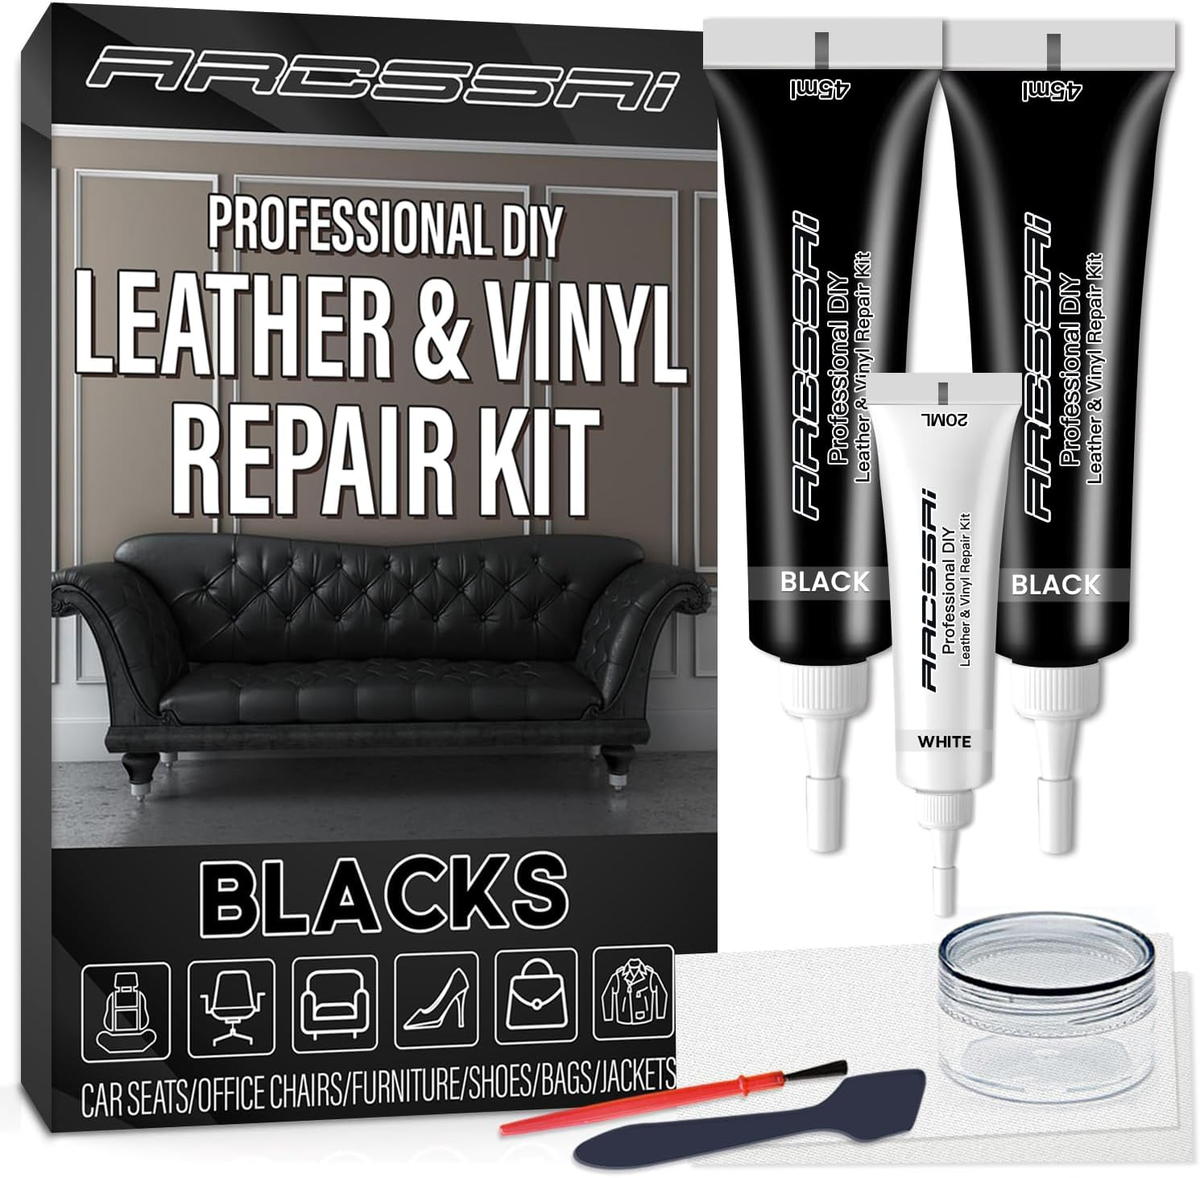
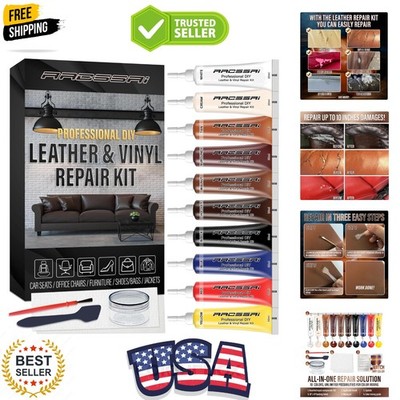
What’s in the ultimate guide arcssai leather repair kit?
The kit includes the core items you need to repair leather at home. Each part plays a clear role. Below is a typical kit inventory and what each item does.
Typical contents:
- Repair compound for filling holes and cracks. This smooths the surface.
- Color pigments or tints with mixing tray. These let you match your leather color.
- Grain paper or texture pads. These recreate leather texture.
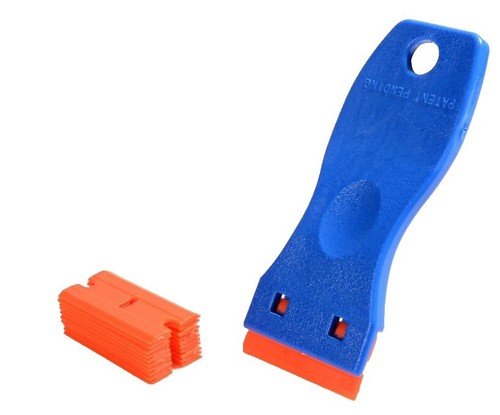
- Applicator tools and spatulas. These shape and smooth the filler.
- Adhesive patches for backing tears. These support larger rips under the surface.
- Fine sandpaper and cleaning wipes. These prepare and finish the repair.
- UV-resistant topcoat or sealant. This protects the repair and adds sheen.
How these items work together:
- Clean the area first with the wipes.
- Back a tear with the adhesive patch.
- Fill gaps with the compound.
- Mix tints to match color, then layer.
- Texture and seal for a natural look.

How to use the ultimate guide arcssai leather repair kit — step-by-step
Follow a routine to get the best result. I break steps into clear actions for beginners.
- Assess the damage
- Check size, depth, and leather type.
- Note color and texture.
- Clean the area
- Wipe with supplied cleaner.
- Let dry fully. Clean surfaces help adhesion.
- Back the tear (if needed)
- Insert the backing patch under the split.
- Press to attach. This gives strength to the repair.
- Apply filler
- Use a small spatula to add compound.
- Build thin layers. Let each layer dry.
- Sand and refine
- Lightly sand to smooth transitions.
- Wipe away dust.
- Mix and apply color
- Use tints in small drops.
- Test on scrap or hidden spot.
- Apply thin coats. Let dry between coats.
- Add texture and seal
- Press texture paper once color is wet or semi-dry.
- Apply topcoat to protect and match sheen.
- Cure time
- Allow full cure per instructions.
- Avoid heavy use for 24–48 hours.
Two PAA-style questions
- How long does a repair last? A well-done repair can last years if the repair is properly cured and maintained.
- Can you fix a large tear? Yes, but large tears often need extra backing and patience with layers.

Color matching, texture, and curing tips
Color match is the trickiest part. Texture is next. Drying and curing finish the job.
Color tips:
- Mix small amounts first. Use a scrap for tests.
- Start lighter. Add darker pigments slowly.
- Work in natural light for best accuracy.
Texture tips:
- Use the grain paper press method.
- Press once. Don’t overwork the wet surface.
- Match the direction of surrounding grain.
Curing tips:
- Follow temperature and humidity guidance.
- Avoid heat lamps that over-bake the topcoat.
- Let the piece rest to fully harden.
These steps keep finishes natural and strong. They help the ultimate guide arcssai leather repair kit deliver professional-looking results.

Common repairs you can do with the ultimate guide arcssai leather repair kit
This kit covers many everyday leather issues. Here are common use cases and quick methods.
Small scratches and scuffs
- Clean, apply filler, sand, and color. Seal.
Cracks and surface splits
- Fill cracks with flexible compound. Layer and texture.
Tears and rips
- Back tear with patch. Fill seams and color.
Faded areas and worn edges
- Recolor and seal edges. Use thin layers for a smooth blend.
Burn marks and stains
- Light burns may be filled. Deep burns or material loss might need a pro.
These tasks are ideal for DIY repairs with the ultimate guide arcssai leather repair kit. For large structural damage, seek a specialist.

Pros, limitations, and safety
Be clear about what this kit will do and what it will not.
Pros:
- Cost effective vs. professional reupholstery.
- Fast fixes at home.
- Good color control with practice.
Limitations:
- Not a perfect replacement for full reupholstery.
- Some color matches require practice.
- Very old or highly cracked leather may not fully restore.
Safety and handling:
- Use gloves and work in a ventilated area.
- Keep pigments and sealants away from children and pets.
- Follow curing and disposal instructions.
Understanding these points helps set realistic expectations for the ultimate guide arcssai leather repair kit.
Maintenance and long-term care after repair
After repair, proper care keeps the result looking good longer.
Daily care
- Dust and wipe gently.
- Avoid harsh cleaners and solvents.
Monthly care
- Condition leather with a quality conditioner.
- Test conditioner on a hidden area first.
Avoid
- Direct sunlight for long periods.
- Sharp objects and heavy abrasion.
With regular care, repairs made with the ultimate guide arcssai leather repair kit hold up well. I have kept repaired seats looking good for years with simple maintenance.

Buying guide and cost considerations
Choose the right kit for your needs. Price and contents vary.
What to look for:
- Complete color tint set and clear mixing guide.
- Durable filler and backing patches.
- Texture sheets that match your leather grain.
- Positive reviews and clear instructions.
Cost factors:
- Small kits for light work are cheap.
- Professional kits with many tints cost more.
- Compare contents, not just price.
If unsure, buy a kit with good customer support. That makes learning easier and lowers repair risk.
Personal experience and mistakes to avoid
I have used many kits, including the ultimate guide arcssai leather repair kit. I learned fast by making common mistakes first.
My top lessons:
- Test color on a hidden spot. I once ruined a panel by skipping this.
- Thin layers beat thick ones. Thick layers crack.
- Let each layer dry fully. Rushing causes uneven texture.
Practical tips I use:
- Photograph the area. It helps when mixing color later.
- Keep a small sample of the original leather for future touch-ups.
- Use natural light to inspect color.
These small habits make the ultimate guide arcssai leather repair kit far easier to use and more reliable.
Frequently Asked Questions of ultimate guide arcssai leather repair kit
What types of leather can the kit repair?
Most smooth and top-grain leather respond well. Suede and nubuck need special products and are not ideal for this kit.
How long does a repair take to cure fully?
Typical curing is 24 to 48 hours. Full hardness can take longer in cool or humid conditions.
Can I use the kit on car seats?
Yes, the kit works on car seats. Work in shade and ventilate the vehicle during curing.
Will the color stay true over time?
Color lasts well with proper sealing and care. Sun and harsh wear can fade the area over time.
Do I need special tools to use the kit?
No special tools are required. The kit supplies basic spatulas and texture tools. For large jobs, small hobby tools can help.
Is the repair safe for pets and kids?
Once cured and sealed, the repair is generally safe. Keep wet compounds away from kids and pets until fully dry.
Can I return the kit if it doesn’t match my leather?
Return policies differ by seller. Check the vendor return terms before buying to be safe.
Conclusion
This ultimate guide arcssai leather repair kit guide gives clear steps, real tips, and honest limits. You can fix scratches, small tears, and worn spots at home. Start small, test color, and work in thin layers. If you take care, your repairs will look natural and last.
Try a small repair first to build confidence. Share your results or ask questions in the comments. Subscribe or bookmark this guide for more step-by-step leather repair tips.