A garage wall tool organizer setup maximizes space, protects tools, and speeds up every project.
I help homeowners and pros build tidy, efficient garage walls. This guide explains practical layouts, tested systems, and step-by-step setup advice so you can plan and install a garage wall tool organizer setup that lasts. Read on for clear plans, budget options, and real-world tips from hands-on experience.

Why organize your garage wall for a garage wall tool organizer setup
A clear wall plan saves time and keeps tools safe. A good garage wall tool organizer setup turns chaos into an easy-to-use system. It makes it simple to find the right tool fast. This section covers the main benefits and who gains most from this setup.
- Benefits of a garage wall tool organizer setup — saves time, protects tools, and frees floor space.
- Who should invest — DIYers, hobbyists, mechanics, and homeowners with limited storage.
- Long-term value — reduces replacement costs and speeds up projects.

Planning your garage wall tool organizer setup
Planning avoids mistakes. Start with a short audit. List the tools you use weekly and those used rarely. Measure wall height, stud spacing, and which walls get natural light.
- Step 1: Take inventory — group tools by type: hand tools, power tools, gardening gear, hardware.
- Step 2: Map zones — create zones for daily tasks, seasonal gear, and heavy items.
- Step 3: Measure and mark — measure studs, wall length, height to ceiling, and outlet locations.
A clear plan informs which systems work best. For example, pegboard fits light tools. Slatwall works for varied hooks and bins. Cabinets hide items and improve safety. Designing zones first keeps the setup logical and easy to maintain.

PAA-style questions
How many tools should I plan for on the wall?
Plan for the tools you use most. Put daily-use tools within arm's reach and seasonal items higher or in cabinets.
Do I need to remove drywall for a slatwall or pegboard?
Not always. You can mount to studs or use anchors. For heavy loads, fastening to studs or building a backing board is safest.
Best systems and materials for a garage wall tool organizer setup
Choose systems based on load, flexibility, and budget. Mix solutions to match tool type.
- Pegboard — cheap and flexible for hand tools. Use metal pegboard for heavier tools.
- Slatwall — modular and strong. Good for hooks, baskets, and shelves.
- French cleat systems — great for heavy items and reconfigurable layouts.
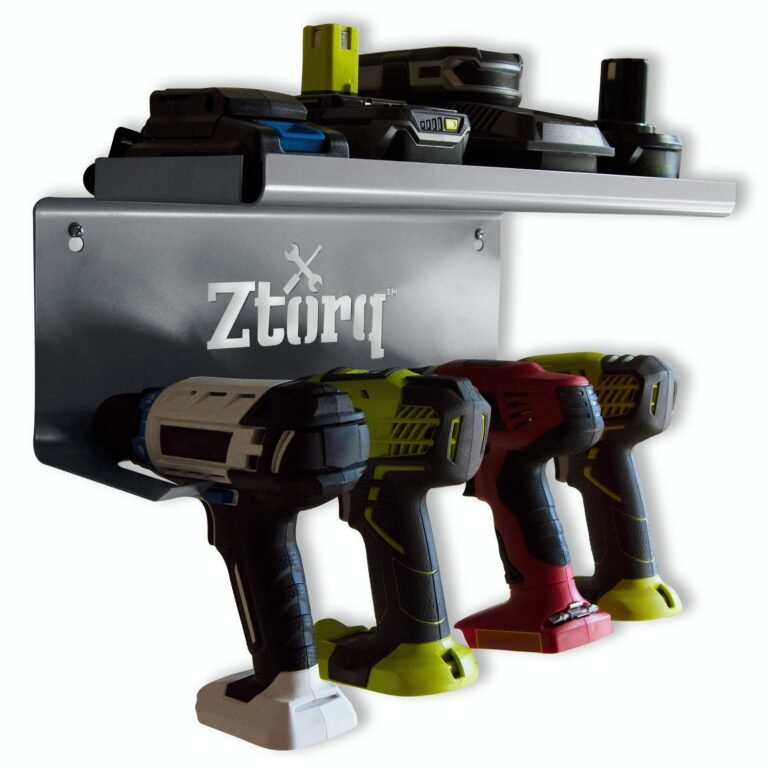
- Wall cabinets — secure storage for power tools and chemicals.
- Magnetic strips — fast access for metal tools.
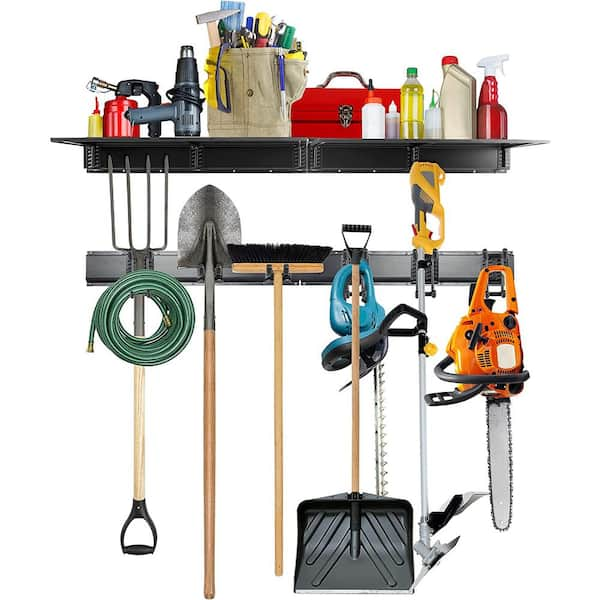
- Hooks and specialty hangers — for bikes, hoses, ladders, and bulky items.
Material notes: use corrosion-resistant finishes in humid garages. Use plywood backing when studs don’t line up with your ideal layout. For heavy loads, always fasten to studs or build a strong backing.

Step-by-step installation guide for a garage wall tool organizer setup
Follow clear steps to get a lasting result. Work in short stages and test fit often.
- Prepare the wall
- Clean surface and remove old fasteners.
- Locate and mark studs with a stud finder.
- Build a backing (optional but recommended)
- Attach 3/4" plywood to studs to create continuous mounting surface.
- Paint or seal plywood to resist moisture.
- Install main rails or panels
- Mount slatwall, pegboard, or French cleats to the backing or studs.
- Use appropriate screws and washers for the material.
- Add hooks, shelves, and bins
- Place daily tools at chest-to-eye height.
- Use labeled bins for small parts near workbench.
- Test load and adjust
- Hang heavy tools and check for wobble.
- Reinforce mounting if any movement appears.
Small tips from experience: pre-drill holes for heavy screws, use a level for every run, and assemble modular components on the floor before hanging.
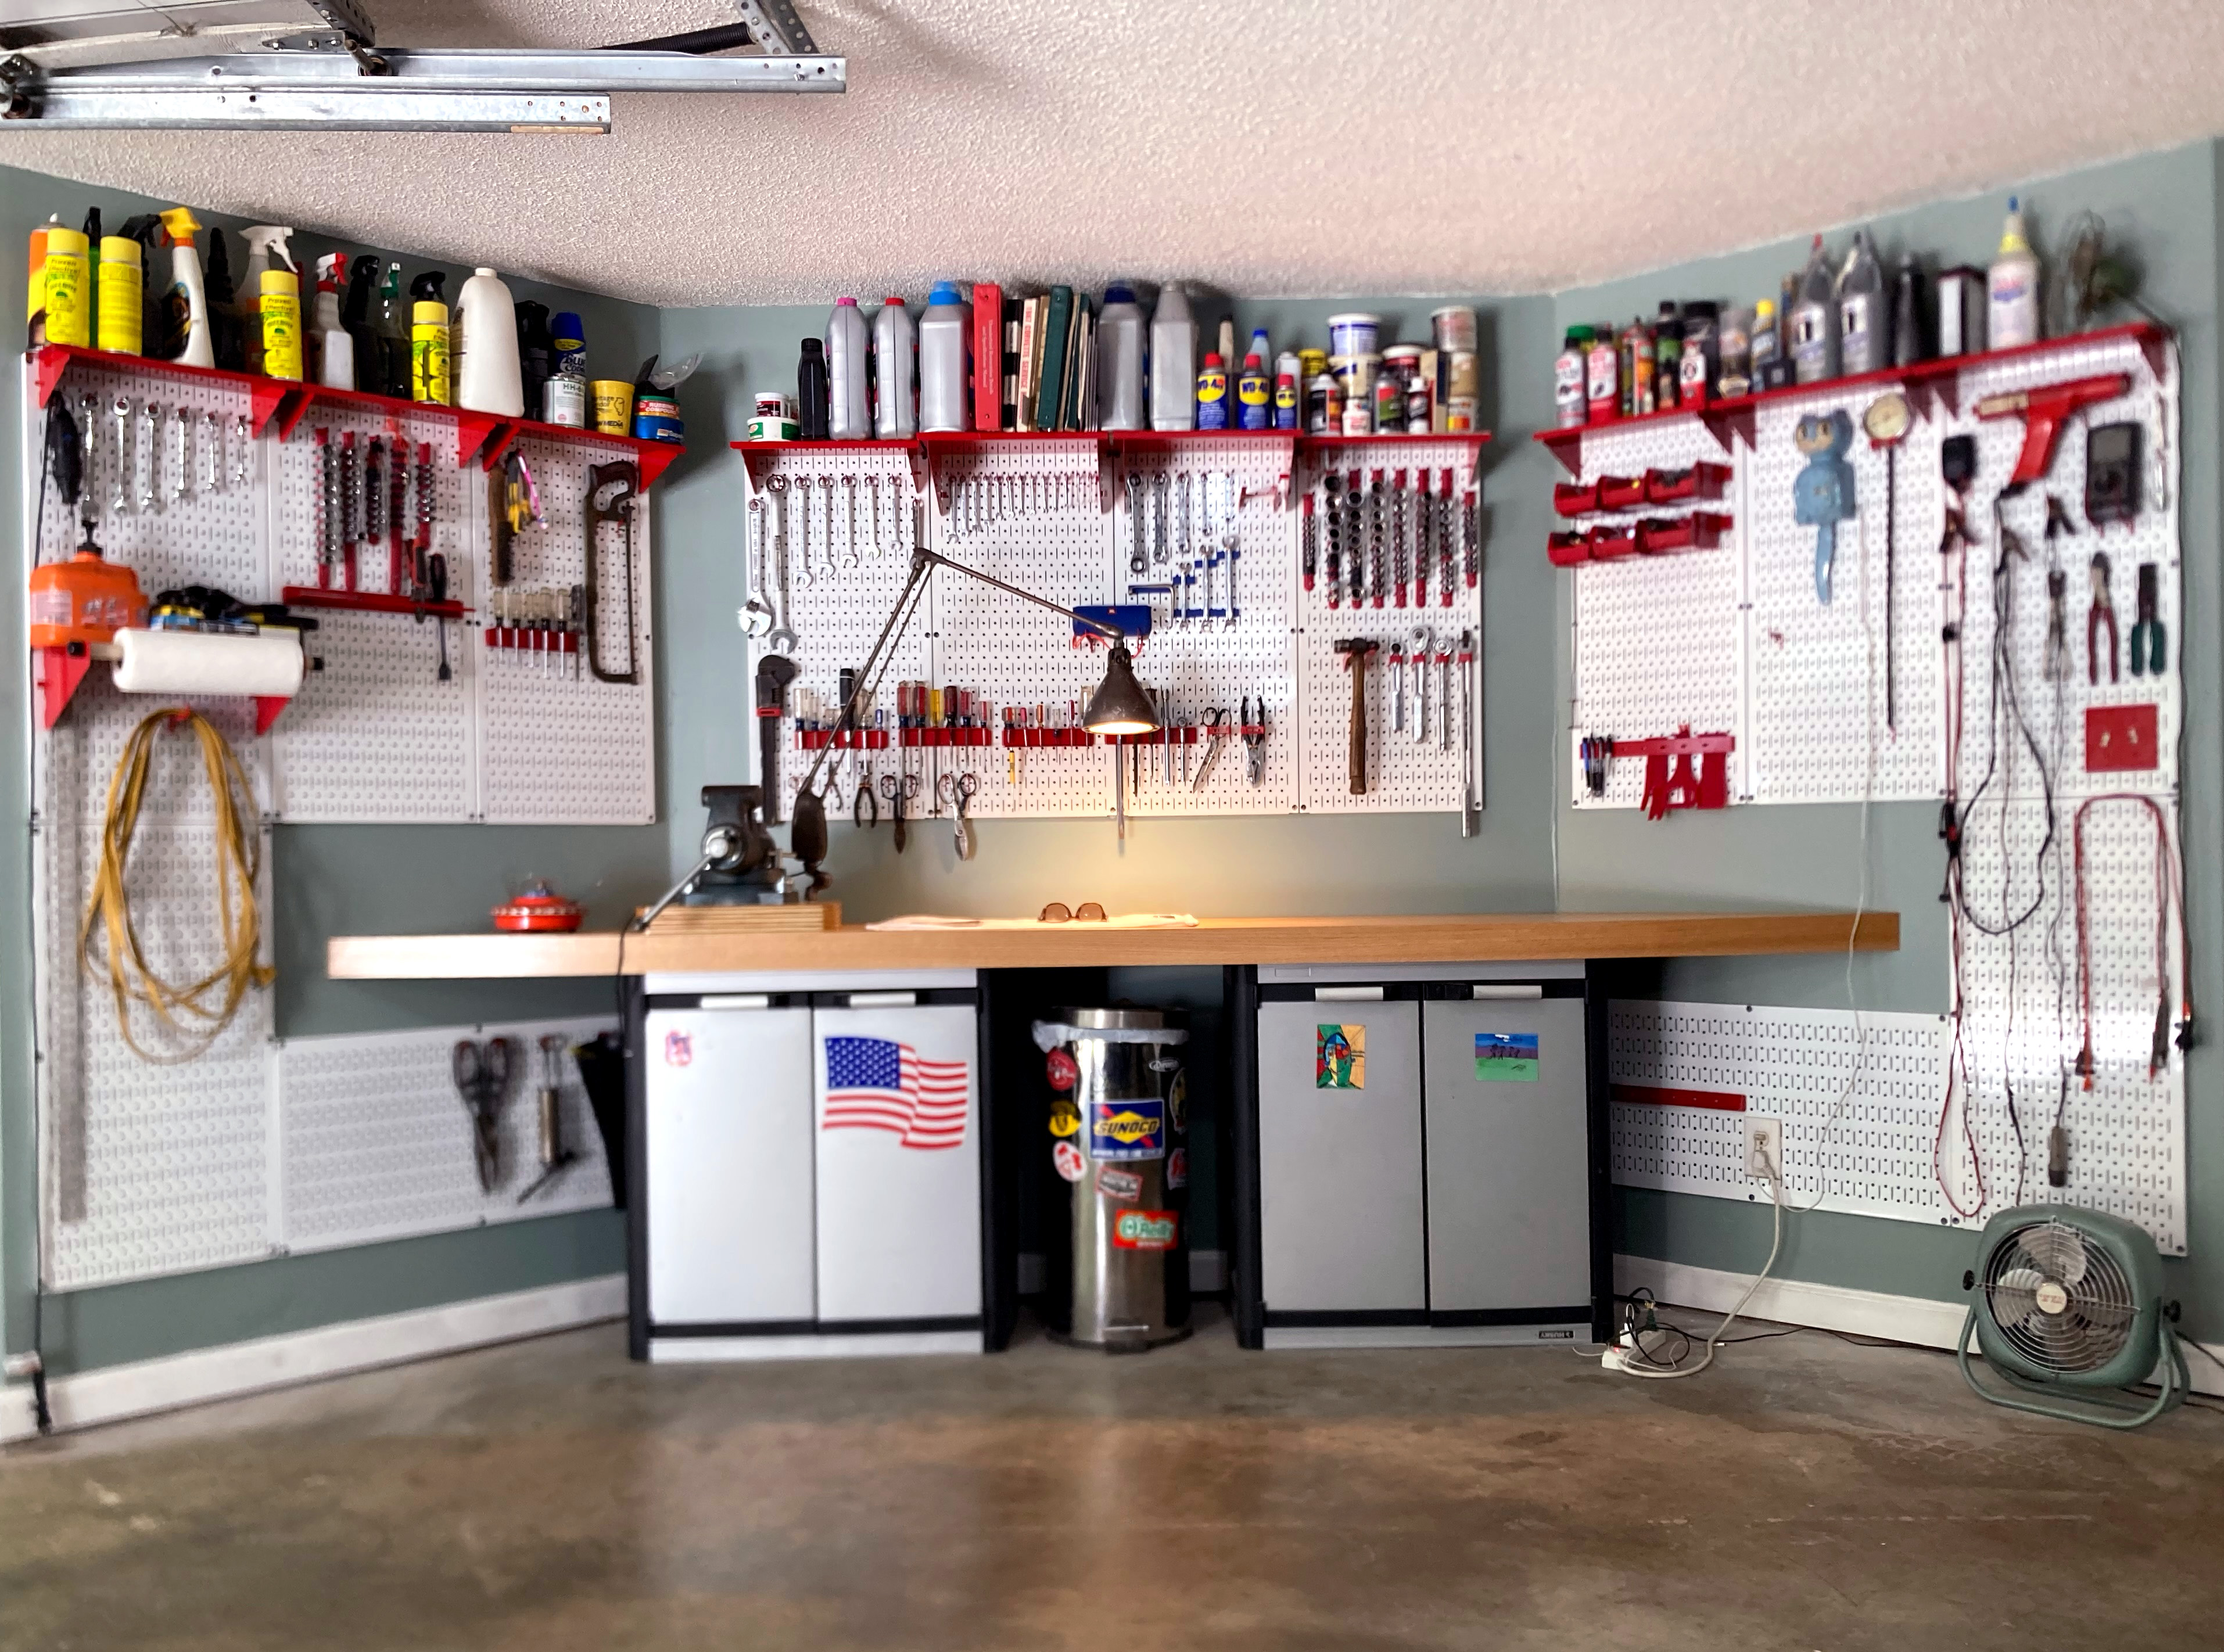
Layout ideas and ergonomics for a garage wall tool organizer setup
Good layout reduces strain and speeds work. Think ergonomics when placing tools.
- Work triangle — place workbench, tool wall, and power outlet in a convenient triangle.
- Reach zones — frequent tools 36–48 inches from the floor. Heavy items below waist level.
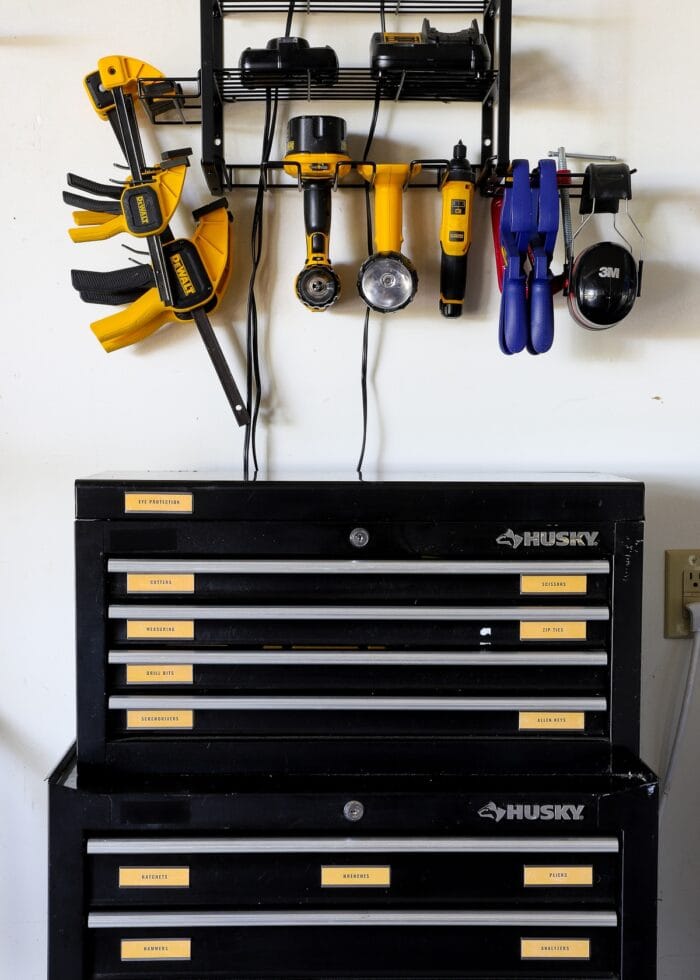
- Visual order — group by function: cutting tools, measuring tools, fastening tools.
- Labeling — clear labels help family members and guests return items.
A simple organized wall looks tidy and encourages everyone to keep it that way.

Safety, maintenance, and longevity for your garage wall tool organizer setup
Safety matters. Proper mounting prevents accidents. Maintenance keeps tools usable.
- Anchor heavy items to studs. Do not rely only on drywall anchors.
- Keep hazardous materials locked in cabinets and away from heat.
- Inspect mounts yearly. Tighten loose screws and swap damaged hooks.
- Apply rust inhibitor on metal tools and strips in humid climates.
Regular upkeep makes your garage wall tool organizer setup reliable for years.
Cost and budget options for a garage wall tool organizer setup
Costs vary by system and scale. Here are common ranges and smart choices.
- Budget build — pegboard, basic hooks, and DIY plywood backing. Low cost and functional.
- Mid-range — slatwall panels, quality hooks, and a few cabinets. Balanced cost and durability.
- Premium — custom cabinetry, heavy-duty French cleats, and professional installation.
Save money by doing prep work yourself. Buy modular components gradually. Prioritize zones and add more storage over time.

Personal experience, lessons learned, and mistakes to avoid with garage wall tool organizer setup
I have set up many garage walls for friends and clients. I learned fast what works and what fails.
- Do this: mount a continuous plywood backing when studs are irregular. It saved time and gave flexibility.
- Do this: group tools by task, not by random type. It made mornings faster.
- Avoid this: overloading pegboard with heavy drills. Metal pegboard or slatwall is better for weight.
- Avoid this: mounting items too high. I had to redo mounts when seniors or kids needed access.
Practical tip: take photos of your completed layout. Photos help recreate the system after moves or upgrades.
Frequently Asked Questions of garage wall tool organizer setup
What is the easiest system to start with?
Pegboard is the easiest. It is cheap and simple to install for hand tools.
How do I hang heavy items like a mower or ladder?
Use studs, heavy-duty hooks, or a French cleat system. Reinforce with plywood backing if studs don't align.
Can I use drywall anchors for my tool wall?
Drywall anchors work for light items only. For long-term or heavy loads, fasten to studs or backing.
How high should I install shelves and hooks?
Place daily tools between 36 and 48 inches high. Store heavy items at waist level to avoid lifting strain.
Is slatwall better than pegboard?
Slatwall is more modular and stronger. Pegboard is cheaper and fine for lighter tools.
How do I keep small parts organized on the wall?
Use clear bins, labeled drawers, or divided trays mounted to the wall for fast access.
Conclusion
A smart garage wall tool organizer setup saves time, protects gear, and makes projects enjoyable. Start with a simple plan, mount secure backing, choose systems that fit your tools, and place daily items within easy reach. Take one wall and convert it this weekend—small changes add big returns. Share your setup photos or subscribe for more plans and tips.