A wire rope crimping tool guide helps you choose, use, and inspect swaged fittings safely and correctly.
I have decades of hands‑on experience with rigging, marine work, and industrial lifts, and this wire rope crimping tool guide distills that know‑how into clear, actionable steps. Read on to learn how to pick the right tool, prepare fittings, crimp like a pro, avoid common mistakes, and keep gear safe and strong.

What is a wire rope crimping tool guide and why it matters
A wire rope crimping tool guide explains tools and steps for making secure, permanent wire rope terminations. It covers ferrules, sleeves, dies, and the pressing or swaging process. A good guide helps you match tool capacity to wire size and application. That lowers failure risk and keeps people and loads safe.
Key points this guide covers:
- Definitions of crimping and swaging
- Tool types and capacities
- Step‑by‑step crimping instructions
- Inspection, testing, and safety tips

Types of wire rope crimping tools
Tools come in many forms. Choose based on volume, wire size, and environment.
Manual hand crimpers
- Best for small ferrules and light work
- Low cost, portable, and simple
Hydraulic crimping tools
- Higher force for larger ferrules and industrial use
- Faster and produces uniform crimps
Battery‑powered crimpers
- Mobile with hydraulic power without hoses
- Good for field work and medium volume
Bench or shop swagers
- Fixed station for heavy duty, repeatable crimps
- Often used in professional shops and factories
Die sets and jaws
- Dies match specific ferrule shapes and sizes
- Replaceable dies let one tool crimp many sizes

How to choose the right wire rope crimping tool guide for your job
Selecting the correct tool is about fit, capacity, and repeatability.
Consider these factors:
- Wire size and type — stranded, 7×19, 6×36, etc.
- Ferrule material — aluminum, copper, stainless steel
- Crimp force needed — check manufacturer ratings
- Volume — one‑off jobs vs daily production
- Portability — field service or fixed shop use
- Budget and available dies
Practical tip from experience: match the tool rating to the largest ferrule you will use. Underrated tools can give poor crimps and false confidence.

Step‑by‑step crimping procedure
Follow these steps for a safe, reliable termination.
- Measure and cut
- Cut wire rope cleanly with a proper cutter.
- Unravel and seat strands if making a loop.
- Choose ferrule and die
- Match ferrule type and size to rope and load.
- Select the correct die set.
- Mark insertion depth
- Slide ferrule on and mark where the rope ends should sit.
- Leave correct tail length per ferrule instructions.
- Position in jaws
- Place the ferrule in the die pocket.
- Align so the crimp will form symmetrically.
- Crimp in stages
- For larger ferrules, make multiple compressions to form shape.
- Use full stroke on hydraulic and battery tools.
- Inspect and test
- Check crimp profile against the ferrule chart.
- Perform a pull test if required by regulations.
- Trim and seal
- Trim tails and apply care to prevent fraying.
- Optionally use heat shrink or tape on loops for neatness.
I learned to always do a small pull test on a new job. It saved time and prevented a near‑miss when a supplier’s ferrules didn’t meet spec.

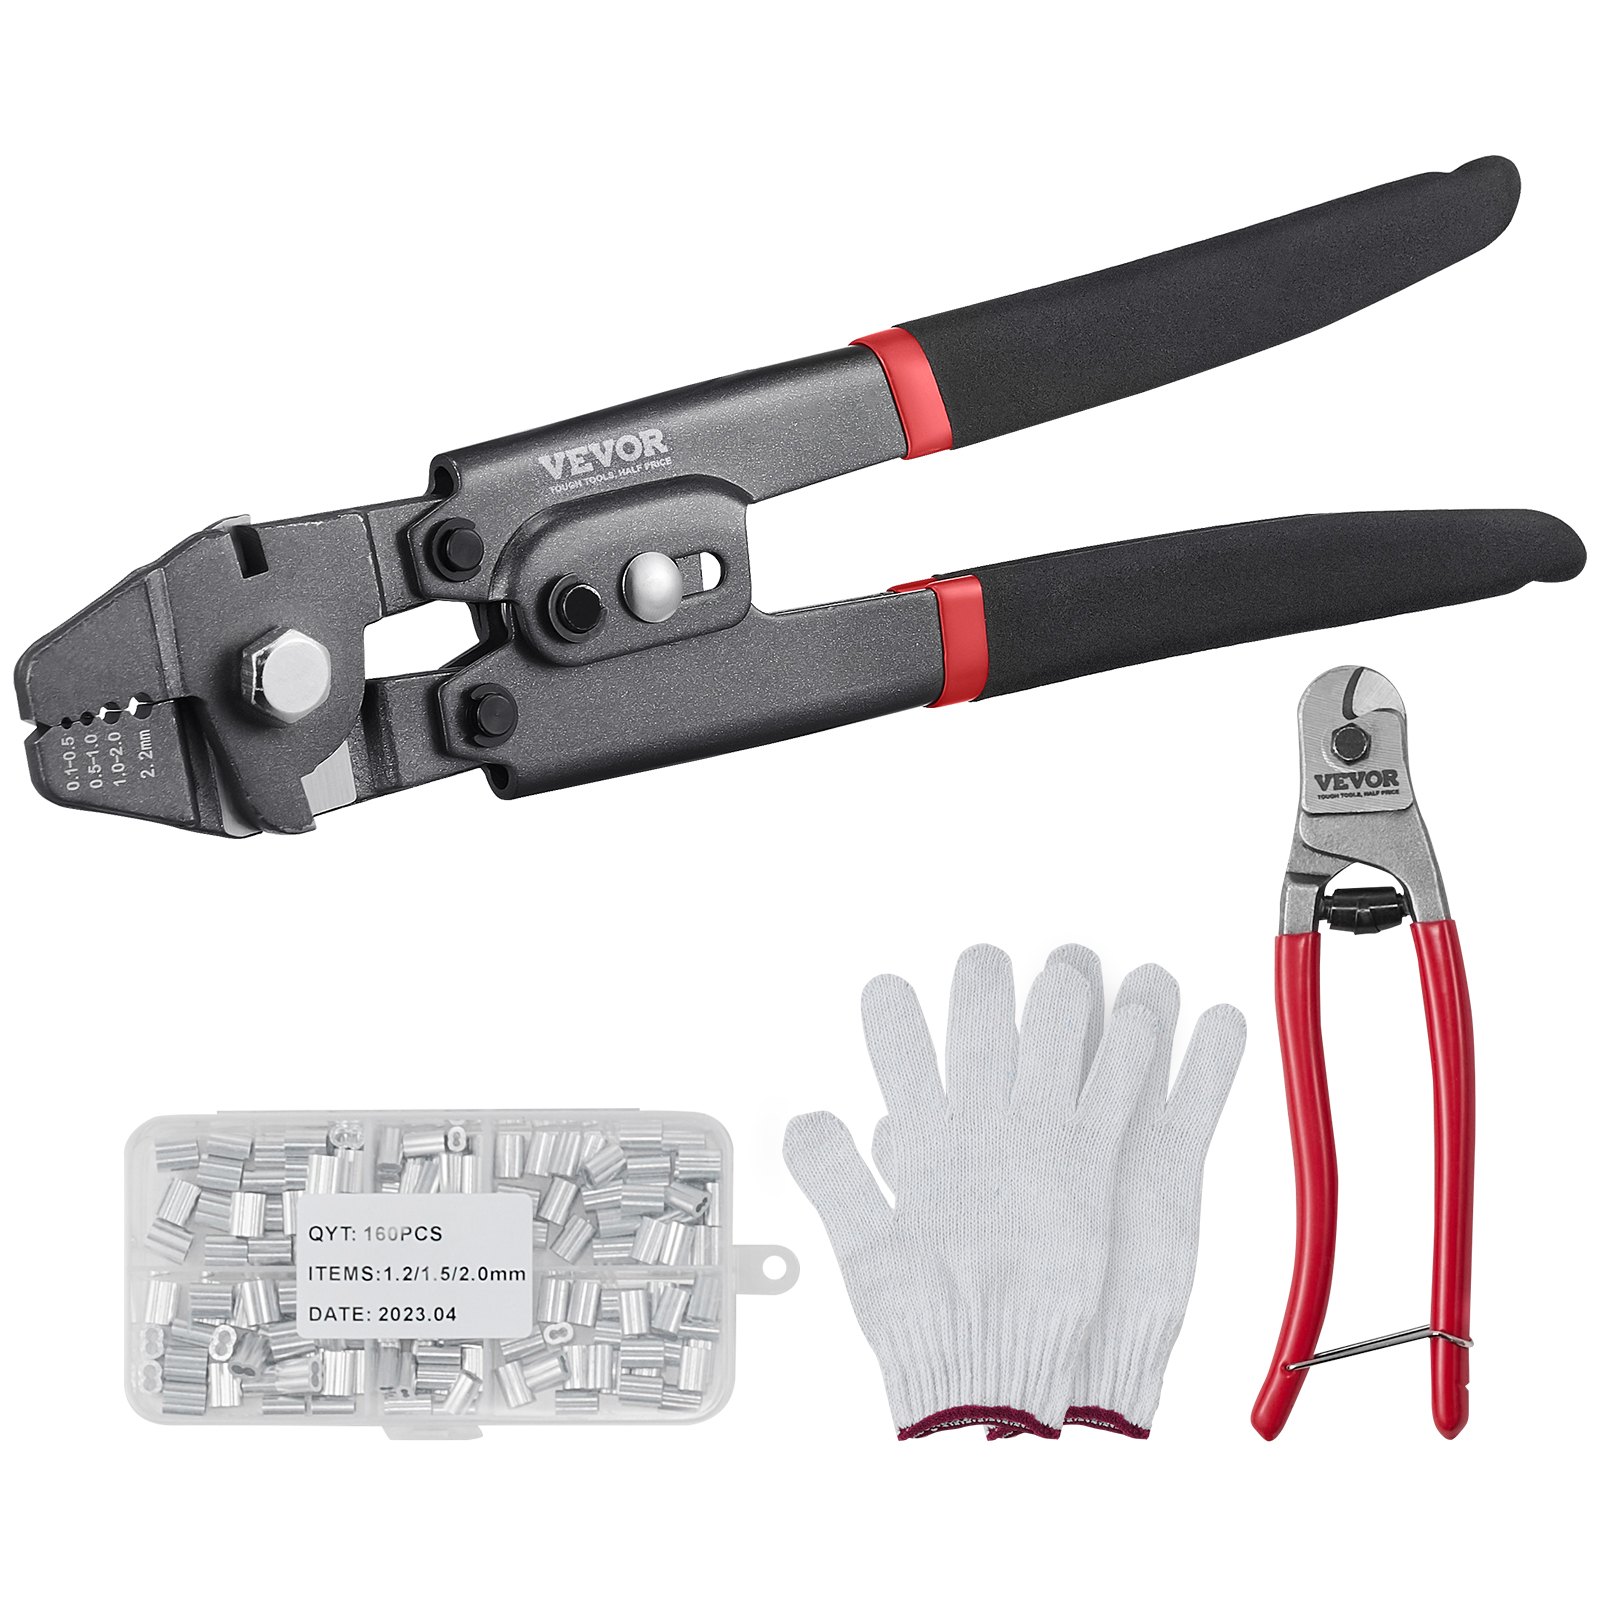
Common crimp shapes, ferrule types, and what they mean
Understanding ferrule material and shape helps pick the right method.
Ferrule materials
- Aluminum — common, light, best for non‑critical, general use
- Copper — softer, used for certain fittings and electrical contacts
- Stainless steel — strong, corrosion‑resistant, used in marine and harsh environments
Crimp profiles
- Oval/figure‑8 — common for looped terminations
- Hexagonal — used for higher strength, precise dies
- Sleeved compressions — for multi‑strand reduction
Strength notes
- Crimped terminations are often 70–95% of rope strength depending on method.
- Correct die and process maximize retained strength.
![]()
Inspection, testing, and industry standards
Safety depends on verification.
Inspection checklist
- Proper die used and serial number logged
- Even crimp profile with no cracks or splits
- No crushed or deformed rope outside ferrule
- Correct insertion depth and tail length
Testing steps
- Visual inspection first
- Hand pull or calibrated load test per job specs
- Periodic destructive testing for quality control
Standards and records
- Follow local and industry standards for lifting and rigging.
- Keep crimp records, tool calibration data, and test results.
Common mistakes and how to avoid them
Avoid these frequent errors.
Using the wrong die set
- Causes under‑ or over‑compression.
- Always label dies and check fit before crimping.
Skipping staging on large crimps
- Single stroke can crack ferrules.
- Use multiple, evenly spaced compressions.
Not verifying ferrule material
- Aluminum ferrules don’t suit salty or high‑heat environments.
- Match material to conditions.
Failing to document work
- Without records you can’t prove compliance.
- Keep simple logs of crimps and inspections.

Maintenance, calibration, and tool care
A tool is only as good as its upkeep.
Daily care
- Wipe jaws and moving parts clean.
- Check for obvious wear or damage.
Periodic service
- Calibrate hydraulic and battery tools per manufacturer.
- Replace worn dies and store sets in labeled cases.
Safety checks
- Inspect hoses and fittings on hydraulic tools.
- Keep battery packs charged and check for swelling.
Personal note: I once decommissioned a hydraulic crimper after a hose leak. The small maintenance cost saved a major tool failure at a job site.
Costs, buying tips, and where to save
Budget with purpose.
Buying new vs used
- New tools give warranty and calibration records.
- Used tools can be cost‑effective but inspect dies and pressure ratings.
When to splurge
- Invest in hydraulic or battery crimpers for high volume or heavy duty.
- Buy matched die sets for your most common ferrules.
When to save
- Use manual crimpers for occasional work on small ferrules.
- Standardize ferrule sizes across projects to minimize die sets.
Negotiation tips
- Buy dies in kits.
- Ask for calibration certificates and spare parts.
Real‑world examples and lessons learned
Here are short cases from real jobs.
Marine rigging job
- Problem: stainless terminals failed in salt spray after cheap ferrules were used.
- Lesson: choose ferrule material to resist the environment.
Bridge maintenance crew
- Problem: one‑off crimps done with wrong die set led to rework.
- Lesson: standardized tooling and a checklist prevented future mistakes.
Shop production run
- Result: swapping to a hydraulic battery crimper sped work and improved consistency.
- Lesson: invest when volume and safety demands rise.
People also ask
Q: Does crimping weaken wire rope?
A: Proper crimping reduces strength less than poor alternatives. Correct dies and procedures keep strength high.
Q: Can you reuse ferrules?
A: No. Ferrules deform permanently. Always use new ferrules for safe terminations.
Q: Is crimping better than wire rope clamps?
A: Crimps are durable and tidy. Clamps are adjustable and easier to field‑replace. Choose per use case.
Frequently Asked Questions of wire rope crimping tool guide
What is the best tool for marine wire rope terminations?
Hydraulic or stainless‑compatible battery crimpers work best for marine use. They give consistent crimps and match corrosion‑resistant ferrules.
How do I pick the correct ferrule size?
Match the ferrule size to the rope diameter and consult the ferrule chart. Use a test crimp if unsure.
How many compressions are needed for large ferrules?
Large ferrules often need multiple staged compressions. Follow the ferrule maker’s steps for best results.
Can I crimp wire rope in the field with battery tools?
Yes. Battery crimpers provide mobility and sufficient force for many field jobs. Keep spare batteries and calibration info.
How often should crimping tools be calibrated?
Calibrate based on manufacturer guidance or at least annually for regular use. High‑volume shops may need more frequent checks.
What signs indicate a bad crimp?
Cracks, uneven profile, visible rope distortion, and loose fitting are all bad signs. Rework any questionable crimps.
Conclusion
This wire rope crimping tool guide gives practical steps, tool choices, safety checks, and real examples to help you make strong, reliable terminations. Start by matching tools and dies to your rope and ferrules. Practice standard steps and keep records. Small habits—proper dies, staged crimps, routine inspection—prevent big failures. Try a test crimp today, log the results, and share questions or experiences in the comments to learn faster.