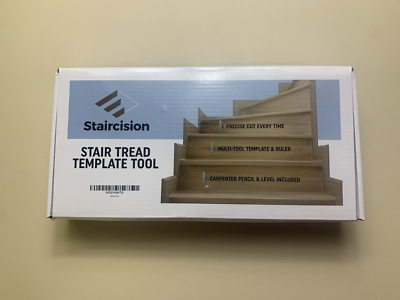
The Staircision template quickly and accurately traces stair treads for precise cuts and consistent results.
I’ve used staircision stair tread template tool usage for years in stair renovation and new builds, so I’ll walk you through why it works, how to get reliable fits, and tricks that save time. This guide explains staircision stair tread template tool usage step-by-step, highlights common pitfalls, and shares hands-on tips from real projects so you can measure, cut, and fit stair treads with confidence.

What is the Staircision stair tread template tool and why it matters
The staircision stair tread template tool usage refers to using a flexible, adjustable template to trace the exact shape of stair treads and nosing onto new material. The tool captures irregular angles, riser curves, and nosing overhangs that standard measuring can miss. Using the staircision stair tread template tool usage reduces guesswork and cuts down fitting time.
Stair treads must fit tightly for safety and aesthetics. The staircision stair tread template tool usage helps both DIYers and pros achieve that fit without repeated dry fits.

Key features and benefits of the tool
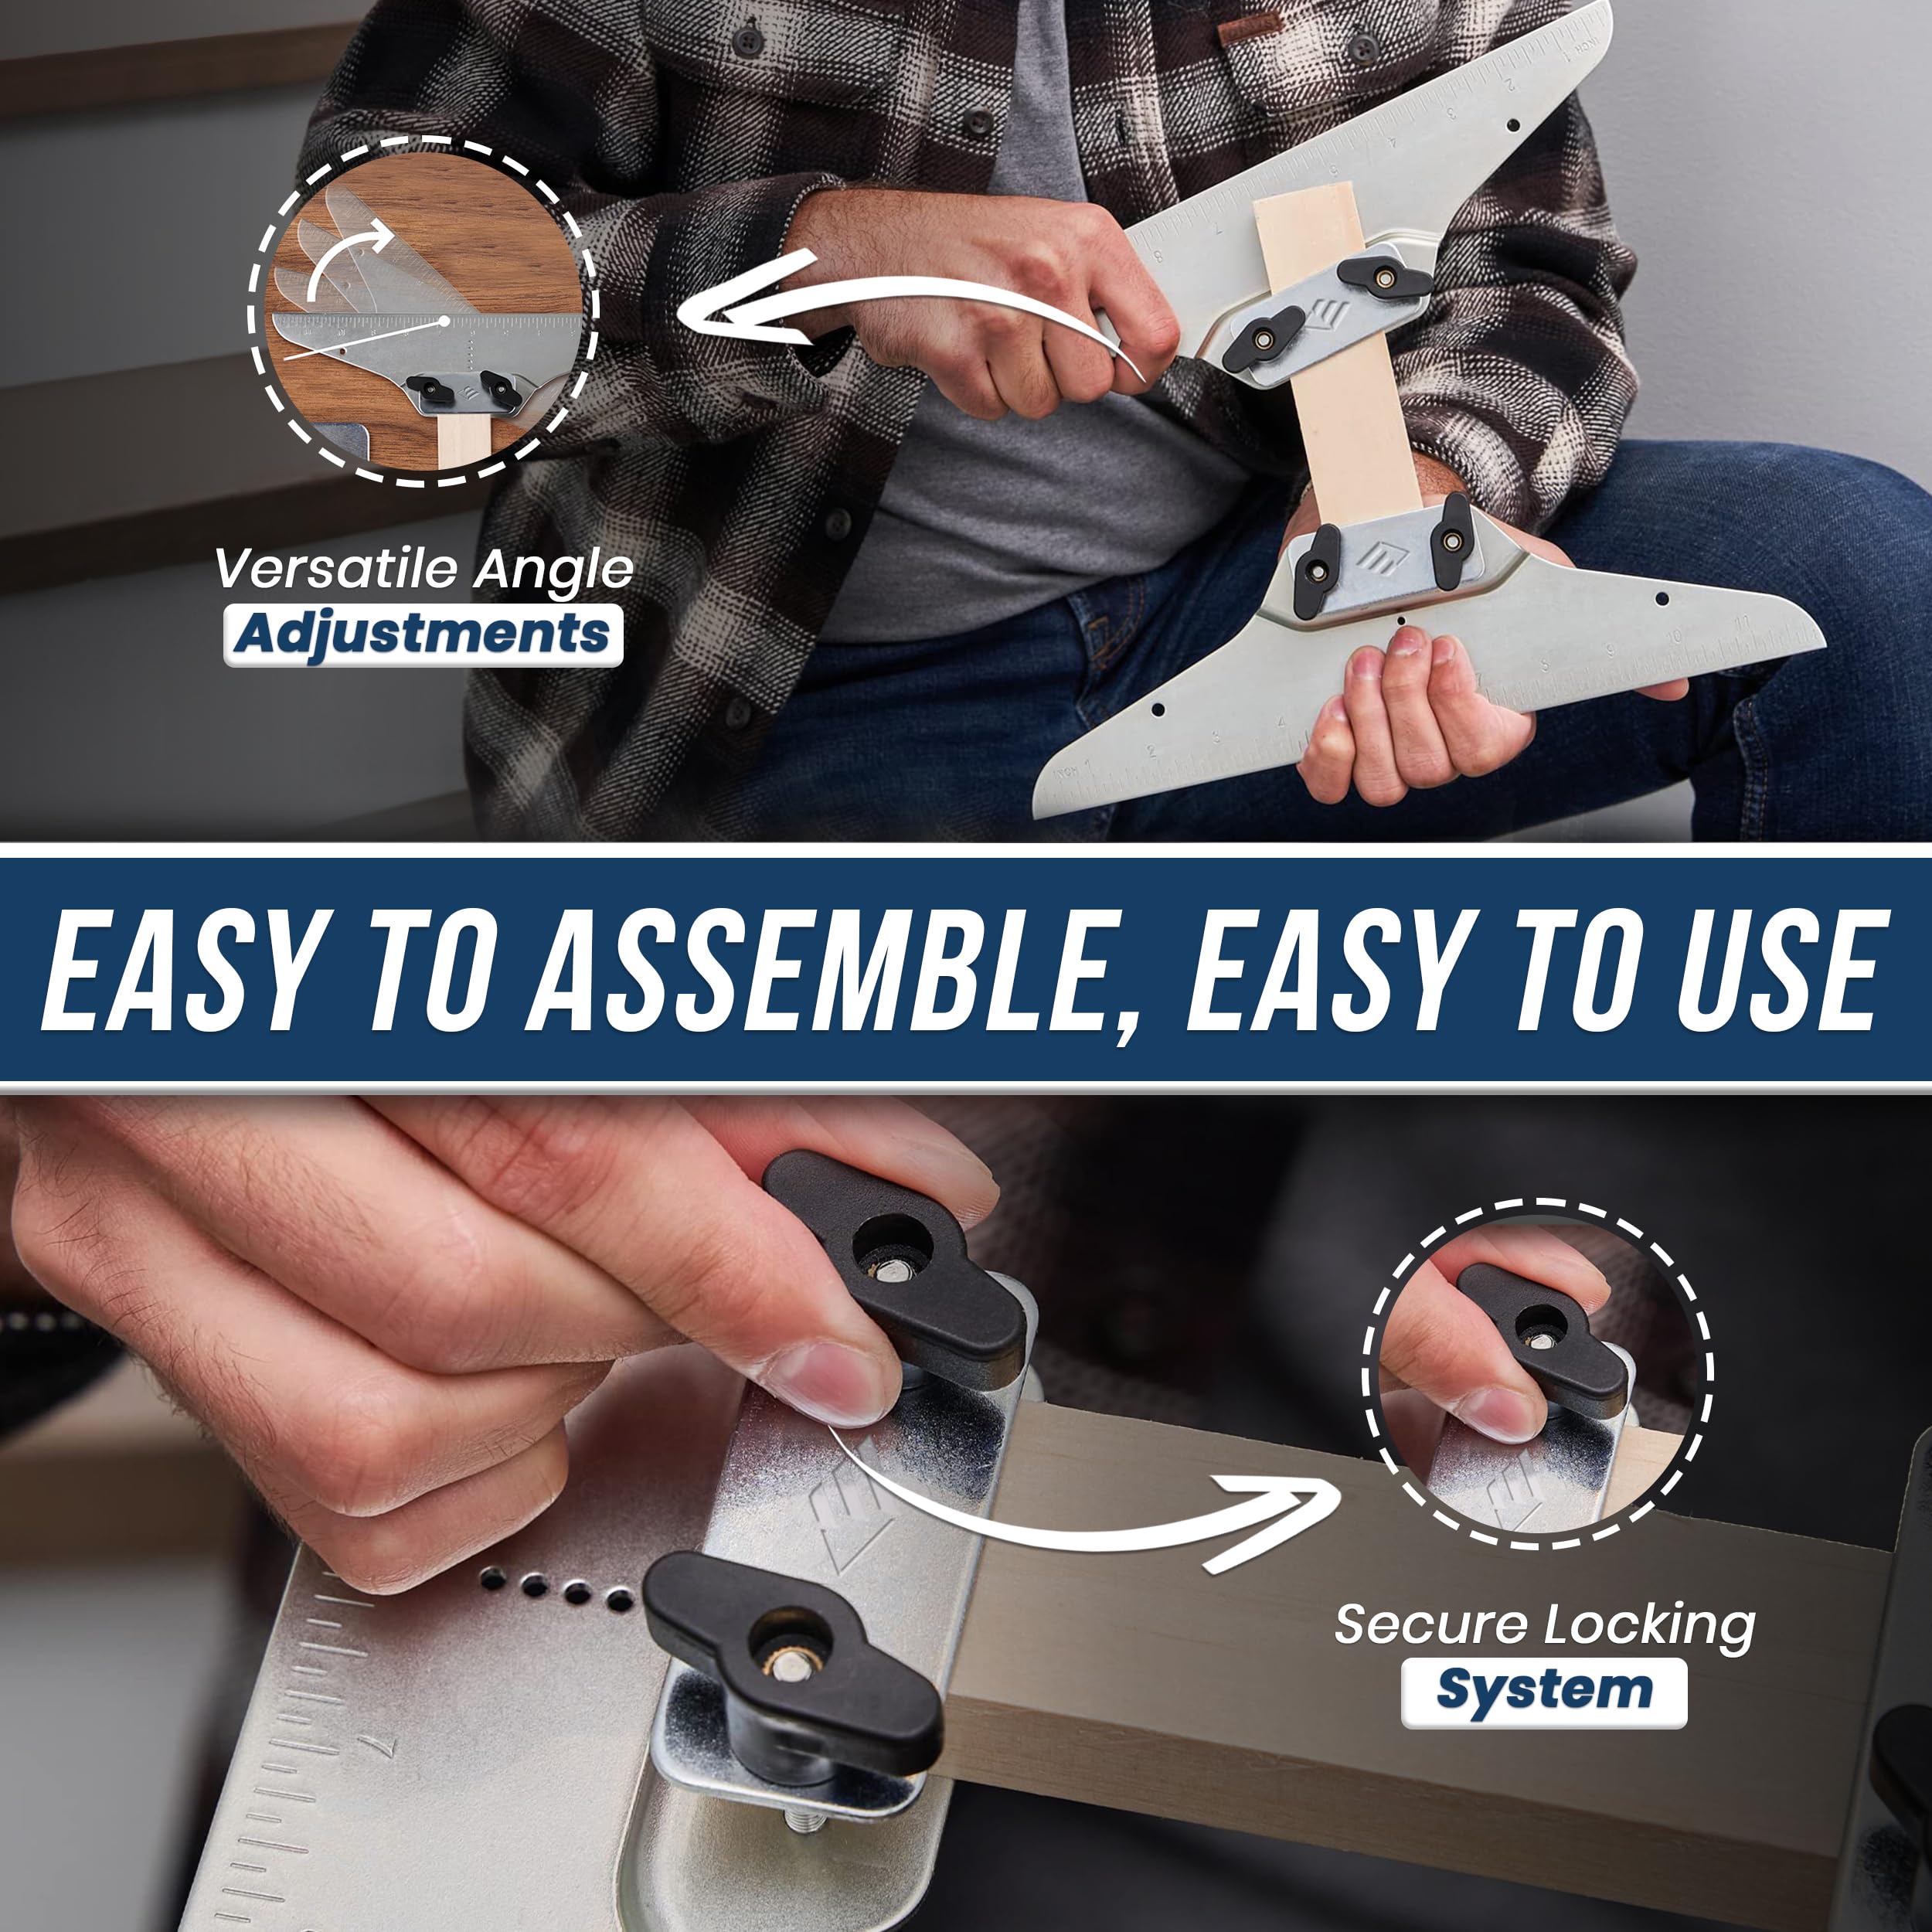
- Flexible contour arms that follow complex shapes.
- Locking mechanisms to hold the profile steady.
- Clear scales for quick measurements and transfer.
- Lightweight and portable for on-site work.
Benefits of consistent staircision stair tread template tool usage:
- Faster installation with fewer scraps and re-cuts.
- Safer stair edges and cleaner visual lines.
- Works on wood, composite, and metal treads.
- Easier custom work on irregular or old staircases.
How to use the staircision stair tread template tool usage (step-by-step)
- Prepare the stair
- Clean the tread and riser areas.
- Remove loose material or old adhesive.
- Position the template
- Open the template and place it snugly against the riser, nosing, and stringer.
- Press contour arms into shape so they mirror the stair profile.
- Lock the profile
- Tighten the locks to hold the shape.
- Double-check that arms match the nose and overhang.
- Transfer the trace
- Lay the template on your new tread material.
- Trace with a pencil or scribe along the template profile.
- Cut and test fit
- Cut using a jigsaw or router, following the traced line.
- Dry fit the tread, then sand as needed for a snug fit.
- Final installation
- Apply adhesive or screws as recommended.
- Recheck alignment and finish edges.
Practicing staircision stair tread template tool usage on a scrap piece first reduces mistakes. I often make a mock cut to confirm the template transfer before touching expensive material.

Tips, tricks, and common mistakes to avoid
- Tip: Always press the template firmly into corners to capture tight radiuses.
- Tip: Use a contrasting pencil for clearer transfer lines on dark materials.
- Mistake to avoid: Don’t rush locking the template; a loose profile causes overcuts.
- Mistake to avoid: Avoid tracing when the template is tilted—keep it level.
- Trick: For repeated treads, mark a reference line on the template to speed identical transfers.
I learned early that small errors compound. On one job I trusted a quick lock and had to remake three treads. Now I lock twice and test-fit on scraps.

Materials, compatibility, and measurement notes
- Wood treads: easy to transfer and cut with standard blades.
- Composite or PVC: use blades suited to the material to avoid chipping.
- Metal treads: trace the template then transfer to metal using a punch or transfer wheel.
Measurement best practices:
- Measure depth and width after tracing, not before. The template captures essential quirks.
- Always allow for finish thickness when cutting final pieces.
- When using staircision stair tread template tool usage on curved stringers, make smaller incremental adjustments for a cleaner trace.
Maintenance, storage, and care
- Clean the template after each use to avoid buildup that distorts the profile.
- Store in a flat case to prevent bending of arms.
- Periodically check locking screws and replace worn parts to maintain accuracy.
Proper maintenance ensures accurate staircision stair tread template tool usage for years and prevents on-site delays.

Buying guide and alternatives
- Look for solid locking mechanisms and a warranty.
- Check reviews for repeatability and build quality.
- Alternatives include:
- Contour gauges (cheaper, less precise for long treads)
- Custom cardboard templates (quick but fragile)
- Digital scanners (high-end, fast but expensive)
If you want repeatability and speed, prioritize a well-built staircision tool. For one-off jobs, a simpler gauge can work.

Personal experience and lessons learned
I’ve used staircision stair tread template tool usage across dozens of staircase projects. My key lessons:
- Take time at the tracing stage—precision there saves hours later.
- Use a scrap cut as a “fit check” before final installation.
- Combine the template with a digital measure for long runs to reduce cumulative error.
One project with irregular Victorian stairs taught me to expect surprises. The staircision method cut my fitting time in half and gave a cleaner final look.

PAA-style quick questions
Q: How long does it take to learn staircision stair tread template tool usage?
A: Most users learn basic tracing in one job and master techniques after three to five installs.
Q: Can the staircision stair tread template tool usage handle tight radii?
A: Yes, the flexible arms are made to capture tight curves and irregular nosing.
Q: Is the staircision stair tread template tool usage worth it for one job?
A: If the job involves costly material or irregular treads, it often pays for itself by reducing waste.
Frequently Asked Questions of staircision stair tread template tool usage
What materials work best with the staircision stair tread template tool usage?
The tool works well with wood, laminate, composite, and some thin metals. Use appropriate blades and transfer methods for each material type.
Can I use the staircision stair tread template tool usage on curved staircases?
Yes, the tool’s flexible arms capture curved stringers and uneven nosing. Take small adjustments and test-fit on scraps for best results.
How do I avoid errors when using the staircision stair tread template tool usage?
Lock the profile securely, keep the tool level, and always make a scrap test cut. Small verification steps prevent costly mistakes.
How durable are these templates during heavy use?
Quality templates are durable with metal or reinforced plastic parts. Regular maintenance of locks and arms extends life and accuracy.
Do I need special blades or tools when following staircision stair tread template tool usage?
Use blades suited to the tread material—fine-tooth blades for clean cuts on composites and wood. A jigsaw, router, or circular saw can all be used depending on cut complexity.
How do I transfer complex nosing details accurately?
Press the template firmly into the nosing area, lock, and then trace slowly with a fine pencil. For very fine details, use a scriber or transfer wheel.
Is the staircision stair tread template tool usage suitable for professionals?
Yes, many contractors use it for speed and repeatability. It reduces on-site measurement errors and improves installation quality.
Conclusion
Using staircision stair tread template tool usage makes stair tread layout faster, more accurate, and more professional. Follow the step-by-step method, lock profiles carefully, and always test on scrap before final cuts. Try these tips on your next stair project and you’ll save time and material while delivering a cleaner result. If this guide helped, subscribe, share your questions below, or leave a comment about your own staircision successes.