Use Trex hidden fasteners by spacing clips on joists, sliding boards, and fastening per Trex specs.
I’ve installed dozens of composite decks and will walk you through how to install Trex hidden fasteners properly. I explain tools, prep, step-by-step installation, spacing rules, common mistakes, and maintenance. Read on for clear, tested guidance that saves time and avoids costly fixes.

Why use Trex hidden fasteners and what they do
Trex hidden fasteners are clips that attach boards to joists without visible screws on the deck surface. They give a clean look and help boards expand and contract evenly. When you learn how to install Trex hidden fasteners properly, your deck looks better and lasts longer.
Benefits
- Clean, screw-free deck surface.
- Even gaps and faster installation on grooved boards.
- Reduced risk of surface cracks or screw pops.
Limitations
- Works best with grooved-edge composite boards.
- May need special starter clips or adapter pieces.
- Slightly more planning than face-screwing boards.
When deciding how to install Trex hidden fasteners properly, consider board type, joist layout, and local climate. These factors change clip spacing and expansion gaps.

Tools and materials you will need
Gathering the right tools makes installation fast and accurate. Here’s a checklist to help you prepare.
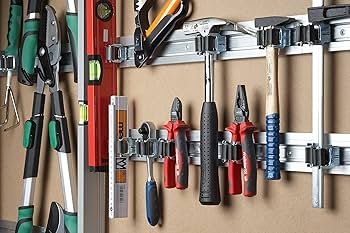
Required tools
- Impact driver or drill with clutch.
- 1/8" pilot drill bit (for some joists).
- Tape measure and chalk line.
- Carpenter’s square and pencil.
- Rubber mallet for gentle tapping.
Materials and fasteners
- Trex hidden fastener clips sized for your board (standard or starter clips).
- Trex screws or stainless screws as specified.
- Joist tape or protective flashing if recommended.
- Blocking material and joist hangers if needed.
I always keep extra clips and screws on hand. Running out mid-run wastes an afternoon. When you know how to install Trex hidden fasteners properly, prep saves time and frustration.

Preparing the deck and joists
Good prep prevents mistakes. Start by checking joist layout and surface level.
Check and prepare joists
- Confirm joists are level and spaced per Trex recommendations—usually 12" to 16" on center for composite boards.
- Remove debris and protruding nails. A clean joist face helps clips sit flush.
- Consider joist tape or sealant in wet climates to protect against moisture.
Board acclimation and layout
- Let composite boards acclimate if required. Some composite materials stabilize faster than wood.
- Snap a chalk line to mark your first board placement and ensure square corners.
- Decide start and end patterns. Reserve full boards for high-visibility areas.
Proper prep is a big part of how to install Trex hidden fasteners properly. It sets you up for straight lines and consistent gaps.

Step-by-step: how to install Trex hidden fasteners properly
Follow these numbered steps for a reliable install. Read them once, then follow on the job.
-
Install the starter clips
- Fit starter clips along the ledger or outer rim where the first board will sit.
- Leave the recommended expansion gap between the board edge and any fixed structure—typically 1/4" to 1/2".
-
Place the first board
- Slide the first board into starter clips. Check that it sits square and tight to your chalk line.
- Fasten the board face screw only if the manufacturer requires additional restraint for the first board. Otherwise use starter clip screws.
-
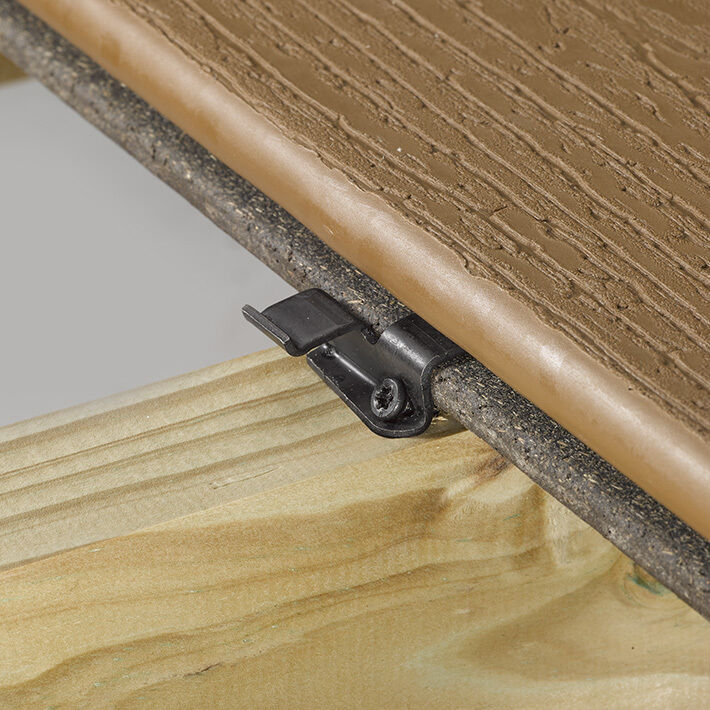
Insert hidden fasteners
- Push a clip into the grooved edge of the board and align it on the joist.
- Pre-drill pilot holes through the clip if using hardwood joists or as specified.
- Drive the Trex screw straight into the joist until the clip is snug but not crushed.
-
Seat the next board
- Slide the next board into the clips. Tap with a rubber mallet if needed to engage clips completely.
- Ensure boards are flush and gaps are even.
-
Continue across the deck
- Repeat clip insertion and screwing at each joist.
- Stagger seams as recommended. For multi-piece boards, follow pattern guides.
-
Finish edges and end boards
- Use face screws or fascia clips for the last board where clips are not accessible.
- Cover screws with matching caps or trim as desired.
These steps cover how to install Trex hidden fasteners properly for most Trex grooved boards. Always check the specific product install guide for torque and screw size.
Spacing, expansion gaps, and layout rules
Spacing and gaps are where many installations go wrong. Composite boards expand and contract. Proper gaps prevent buckling.
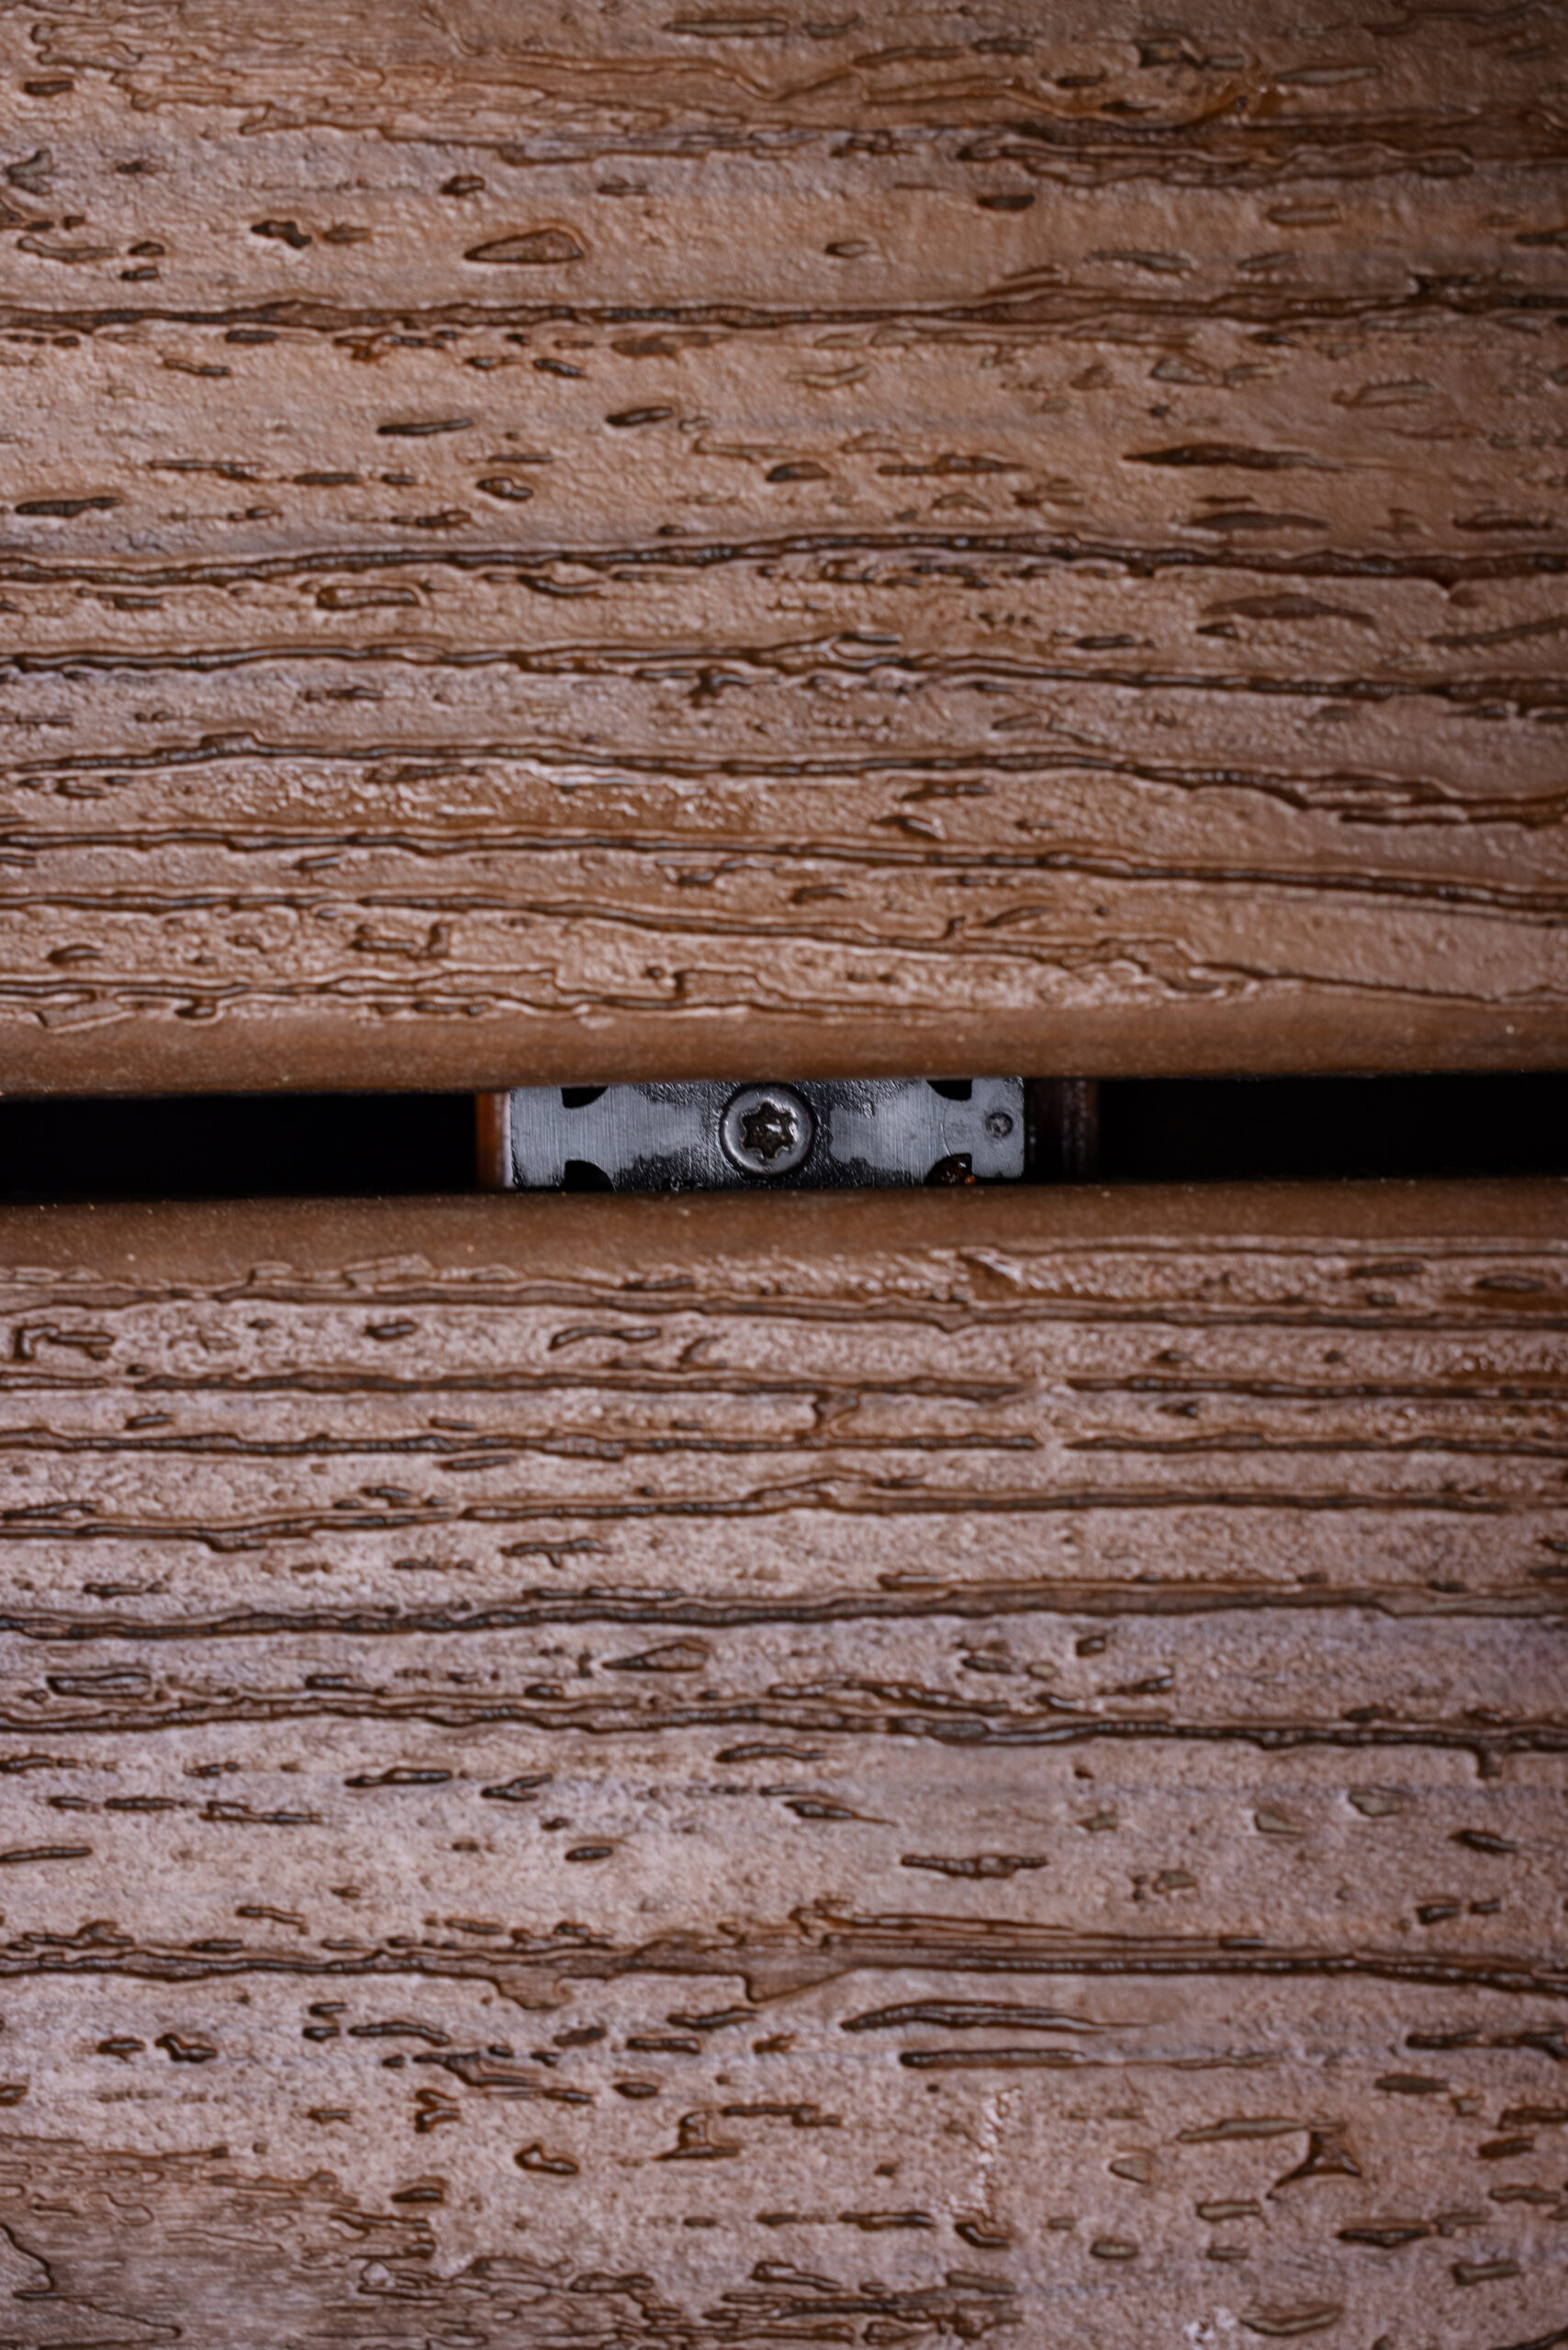
Joist and clip spacing
- Place clips at every joist intersection under each board edge.
- For standard joist spacing of 16" on center, install a clip at each joist. Closer joist spacing may be required in heavy-load zones.
End-to-end gaps
- Leave manufacturer-recommended end gaps. This is often 1/4" to 1/2" between board ends.
- For long runs, allow for cumulative thermal movement by planning breaks or butt joints.
Board width gaps
- Maintain consistent spacing between board faces as clips set the gap. Avoid forcing boards tight.
Following spacing rules is a key part of how to install Trex hidden fasteners properly. It prevents snapped clips and warped boards.

Common mistakes and troubleshooting
I’ve fixed decks where simple errors caused big problems. Learn from these common mistakes.
Mistakes to avoid
- Using the wrong clip for the board profile. Clips must match the board groove type.
- Over-driving screws which crush the clip. Drive screws until snug only.
- Skipping starter clips or failing to square the first board. Small errors grow across the deck.
Troubleshooting tips
- Bowed boards: loosen screws and re-seat clips, then re-tighten.
- Uneven gaps: check joist spacing and level. Shim or plane problem joists if required.
- Popped boards: ensure clips were installed at every joist and not omitted.
These real issues show why attention to detail matters when you learn how to install Trex hidden fasteners properly.

Maintenance and long-term care
A well-installed deck is low maintenance. Still, a little care extends life.
Routine care
- Sweep debris and rinse with water regularly.
- Clean with manufacturer-approved deck cleaner once a year.
Inspections
- Check for loose or corroded screws. Replace if needed with correct type.
- Inspect gaps and board ends after seasonal changes and adjust if necessary.
Proper maintenance helps keep your deck functioning how to install Trex hidden fasteners properly intended—clean, stable, and safe.

Personal experience: tips, lessons, and things I learned
I’ve learned that small choices change the outcome. Here are practical tips from real installs.
What helped me most
- Mark joist centers on the board underside. It speeds placement and keeps clips aligned.
- Use a magnetic bit holder for quick screw driving. It saves time and wrist strain.
- Keep a sample board to test clip placement before starting the full run.
Hard lessons
- Skipping the first board squaring step led to an ugly diagonal deck once. Always square the first board.
- Using face screws to “fix” a misaligned board masked a layout problem. Fix the layout, not the symptom.
These insights come from hands-on work. They reduce rework and make the process of how to install Trex hidden fasteners properly smoother.
Related topics and PAA-style quick answers
Here are a few common related questions with short answers.
What is the best fastener pattern for a Trex deck?
- Use a clip at every joist for each grooved edge and follow the manufacturer’s spacing for seams and ends. This provides even support and consistent gaps.
Can I use Trex hidden fasteners on pressure-treated wood joists?
- Yes, but pre-drill if the joists are dense, and use corrosion-resistant screws recommended for treated lumber. Check local codes for fastening requirements.
Do I need special tools to install hidden fasteners?
- No special power tools are required beyond a drill or impact driver and common layout tools. A rubber mallet and pilot bit help.
How long does installation take per board?
- It varies by deck complexity, but once you’re practiced, expect a clip every 12 to 16 inches per joist. Time improves with layout and a helper.
Are Trex hidden fasteners reusable?
- Clips are generally single-use. Screws can be reused if undamaged, but it’s best to replace clips when removing boards.
Frequently Asked Questions of how to install trex hidden fasteners properly
How do I start the first board when using Trex hidden fasteners?
Start with starter clips along the ledger or rim. Square the first board to your chalk line and secure with the clips as specified.
How far apart should I place hidden fasteners?
Place a clip at every joist under each grooved edge. Follow product guidance for end and seam spacing.
Can I use hidden fasteners on all Trex boards?
Hidden fasteners work with grooved-edge composite boards. Solid-edge boards require face screws or special adapters.
What screw type should I use with Trex clips?
Use the screws recommended by the manufacturer, typically corrosion-resistant composite screws sized for the clip. Avoid generic screws that may not seat correctly.
How do I handle board expansion at the ends?
Leave the manufacturer-recommended expansion gap at board ends and along fixed structures. Allow room for seasonal movement.
Conclusion
You now have a clear, practical path for how to install Trex hidden fasteners properly. Prep well, use the correct clips and screws, keep clips at each joist, and follow spacing rules. Start square, work methodically, and inspect as you go to avoid rework.
Take action: gather your tools, test a short run with one or two boards, and then proceed with confidence. If you found this guide useful, try these steps on a small section first, subscribe for more tips, or leave a comment with your project questions.